this is a sponsored post – all opinions are my own
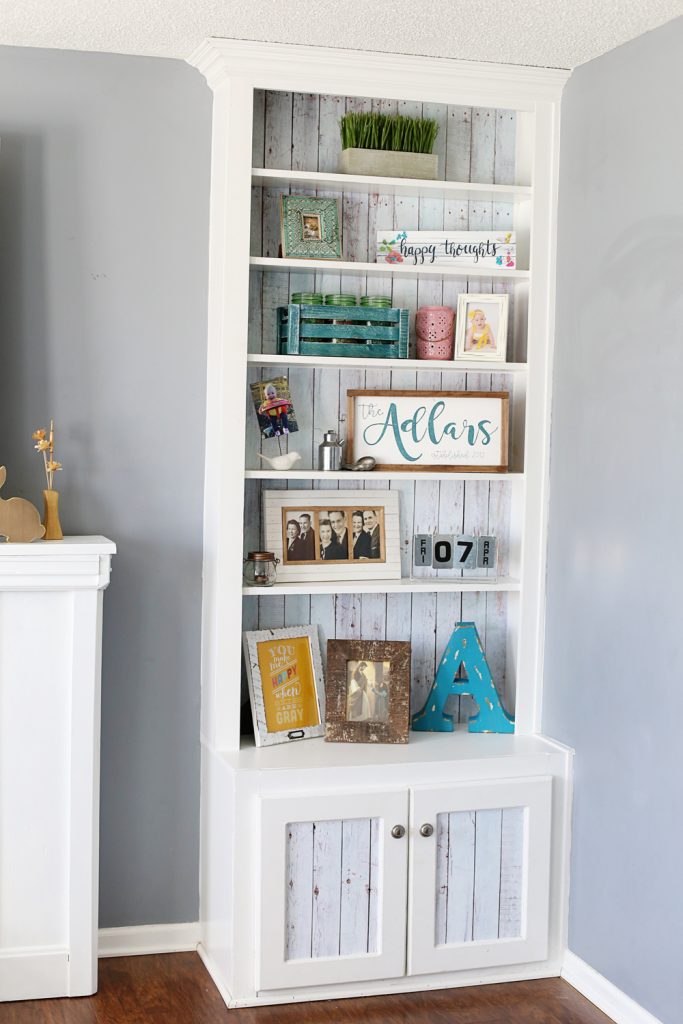
I love mini makeovers of a room – it’s just so fun to see it transformed! I recently helped a friend do a Bookshelf Refresh and it turned out ah-mazing! The star of the show is the Pixers from pixerstick adhesive-backed wallpaper. The idea of using the wallpaper not just for walls is awesome, and it really took this bookshelf up a notch. What would you use as the back of your bookshelf??
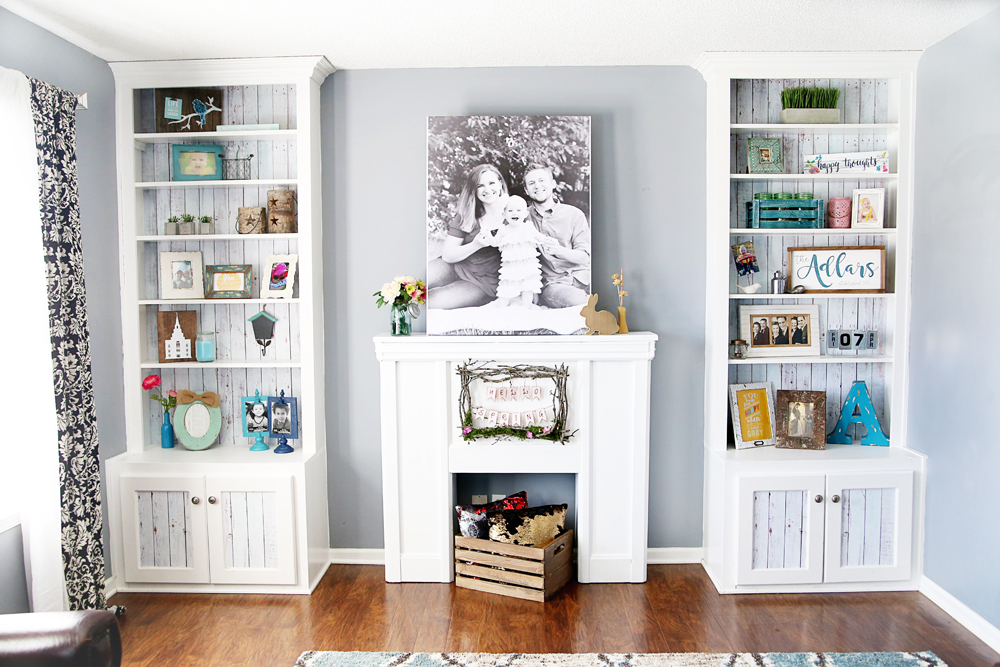
You can compare the before and see how adding that rustic wood touch really changed the whole look:
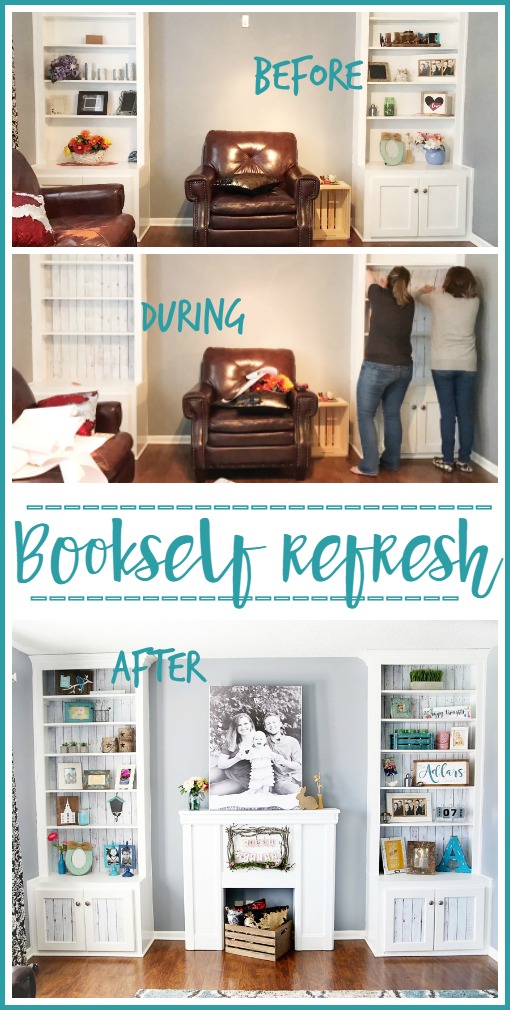
Find your choice of Adhesive Wallpaper HERE.
Here’s a side-by-side if that’s better:

If you are looking for a pop of fun in an area of your home, you need to think about PIXERStick! You can use one material and stick it on almost any flat surface in your home – yes, including bookshelves. Think beyond just the walls. There are tons of modern and graphic and awesome designs, AND it is vinyl sheets, so they’re like a giant sticker, with adhesive already on the back, so no messing with wallpaper glue or anything like that. And this new type means you can stick and restick the wallpaper!
Durable and matte, reusable and self-adhesive material – easy to install in just a few seconds. PIXERStick sticks to any flat surface. It is resistant to tearing and creasing. You can peel it off easily and move it to another location or store it on the protective paper to use it anytime. Does not leave any traces after peeling off the wall; maintains its adherence for many years. It’s the perfect choice for people who either frequently redecorate their home, live in a rented apartment or who are looking for seasonal decorations.
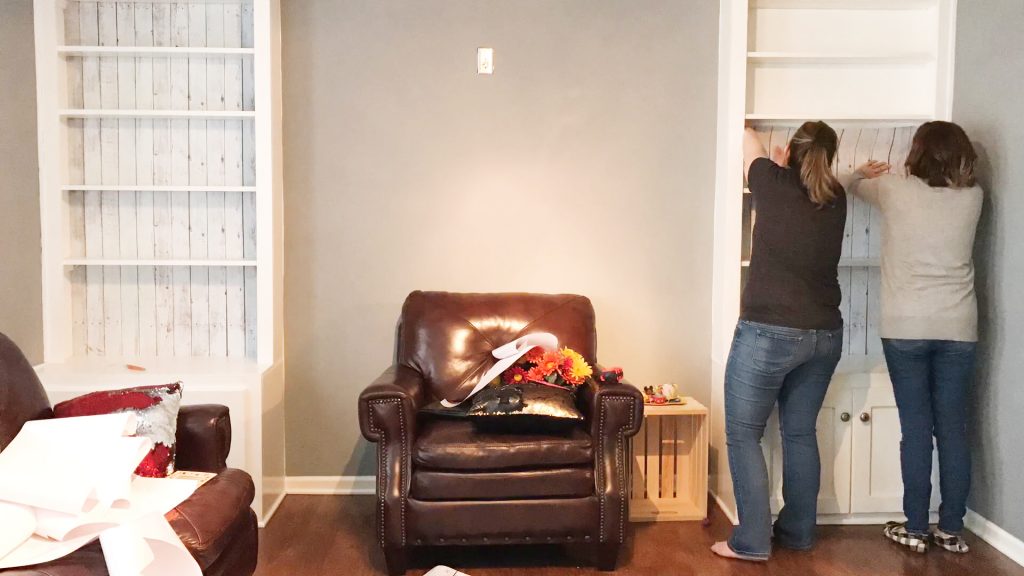
INSTALLATION
It was super easy for her and I to install – with this particular bookshelf, the shelves were stationary and unmovable. So we applied it shelf-by-shelf. If your shelves are removable, you could take them out and then put in the backing in one sheet.
Installing this product will be more convenient with the help of somebody else.
How to install the wall mural step by step:
- Unfold the wall mural on a clean and dry surface. Remember that the printed side should be on top. Match the elements of your print.
- When the wall is ready – clean and dry, use a pencil to draw a light line where the edge of the wall mural is going to be. Use a long ruler or a spirit level.
- Start gradually peeling off the backing paper, starting from the shorter side, so that the PIXERStick remains on the protective film.
- Then place the PIXERStick to the surface and smooth the installed fragment with a squeegee or with a rolled paper towel in order to eliminate any air bubbles and to make sure that the it sticks to the surface. The second person should stretch the wall mural at the same time . If any irregularities or air bubbles appear, or if you install the sticker badly, peel it off and stick it again. Do not worry! PIXERStick allows it 🙂
- Slowly peel off another piece of the backing paper, and then press the PIXERStick l to the wall, as in the previous step. Repeat this process until you manage to peel off the entire backing paper.
- If the wall mural consists of several elements, follow the above steps for each of them . Remember to match the elements, sticking them edge to edge.
Video Tutorial
Yep, we filmed a little bit of the process – so fun to see it come together!
Styling
After we installed the Pixers, we added fun touches and styled the shelves – that might be the hardest part! A few handmade things, pops of color, and lots of pictures!
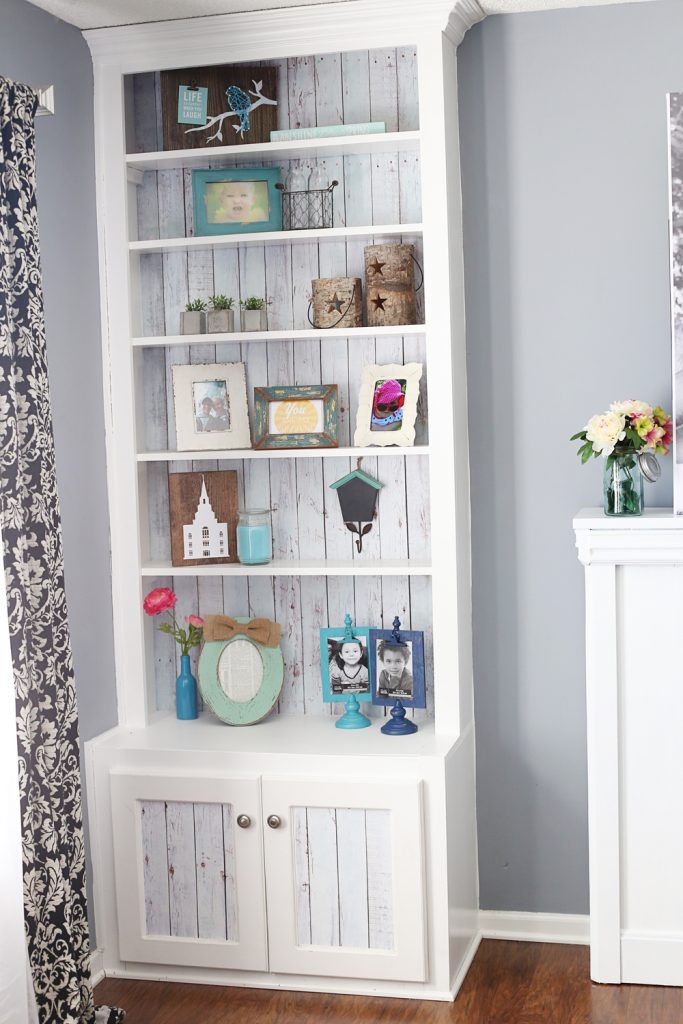
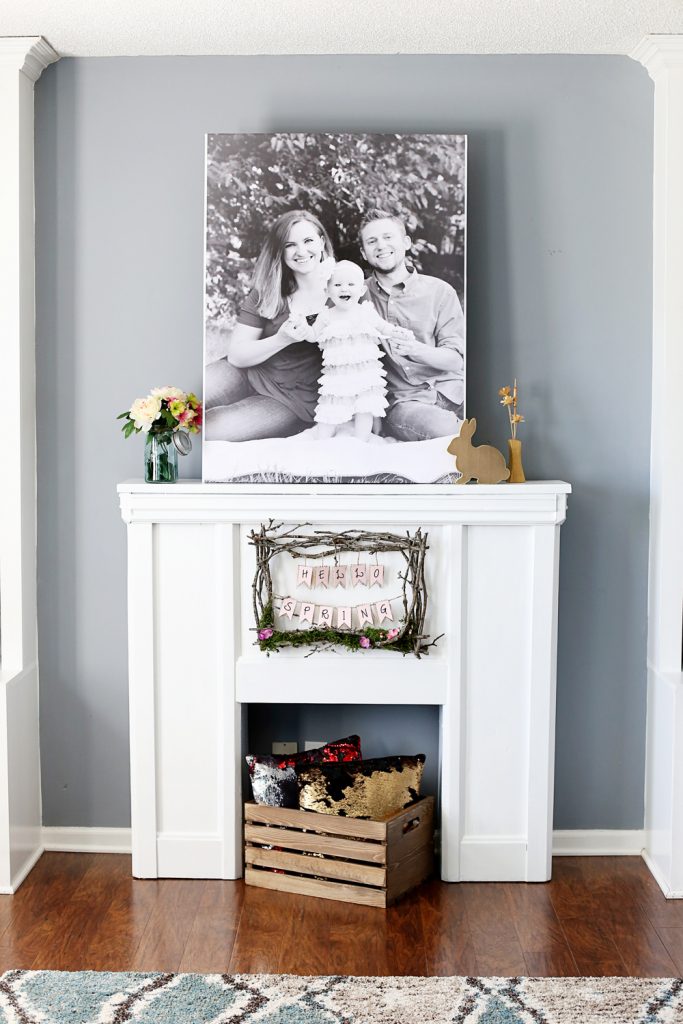
For in between the bookshelves, she was able to use a faux fireplace her sister-in-law wasn’t using – it was black, but it got a white coat of paint and fills the space perfectly. There is actually a TV mounted over the faux fireplace – hiding it behind the giant canvas was a perfect solution!! The canvas is lightweight and can be easily moved when it’s tv time. The canvas is simply an engineer print glued to a large canvas – you can read all about making Giant Pictures for Cheap here.
And sidenote, I’m sure you’re noticing that super-cute spring wreath – her sister whipped that up for her – isn’t it just the cutest thing you’ve ever seen?
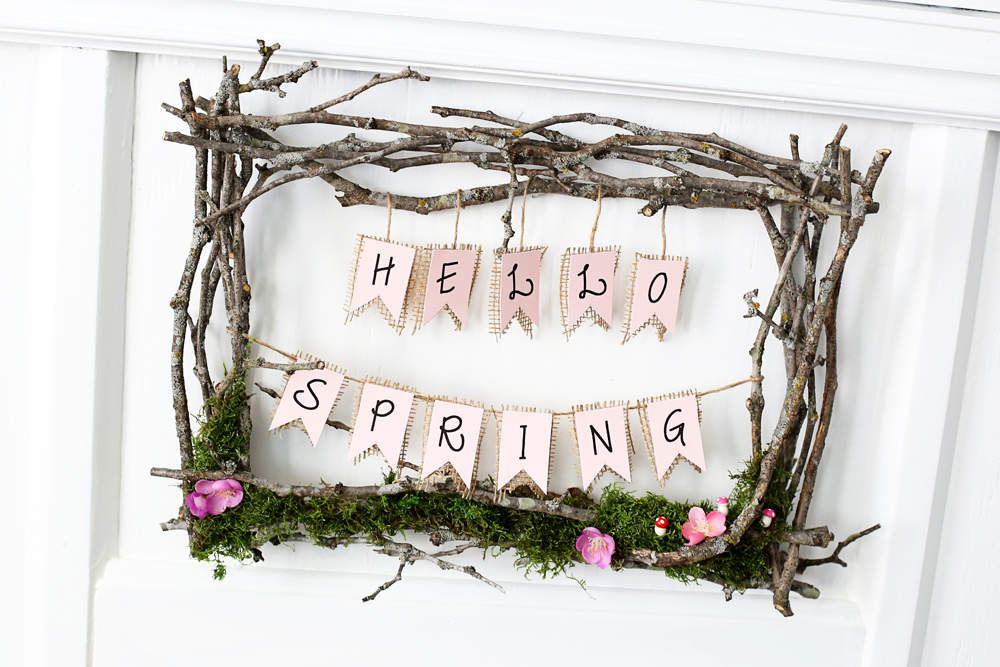
The hand-lettered banner, the moss, the tiny mushrooms – it has it all!!
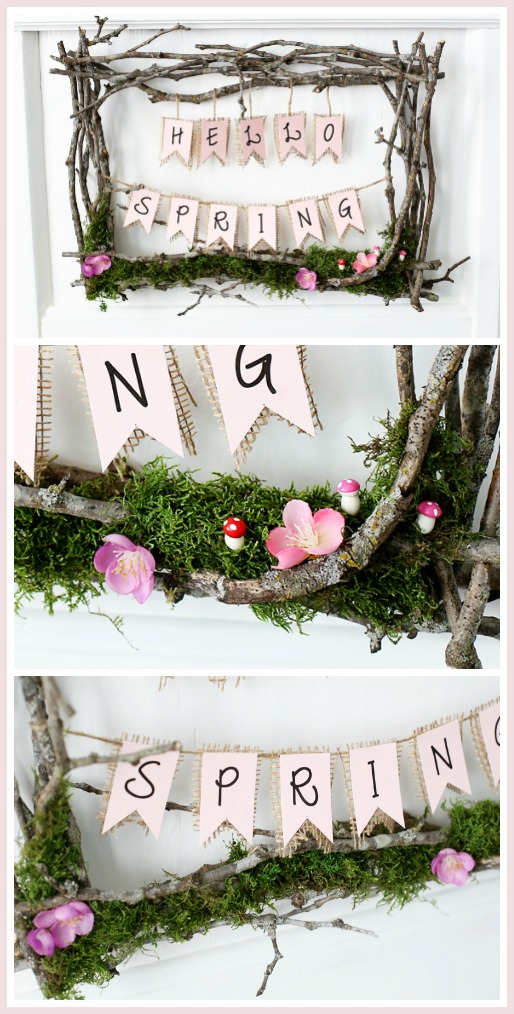
Let’s back up and take a glance one more time – so so perfect!
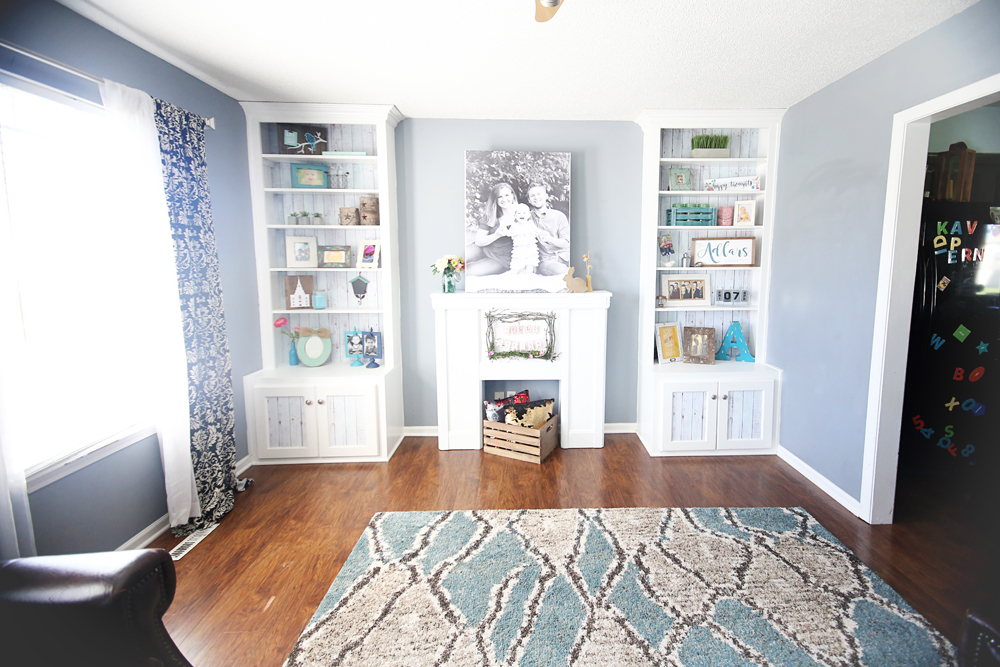
Grab your adhesive-backed wallpaper from Pixers and start transforming your own bookshelves – the hardest part may be picking the pattern – there are so many awesome options! Have fun with your Bookshelf Refresh!


Oh my goodness, this is beautiful! And so easy! Such a great way to refresh for cheap!
Chelsea @ Life With My Littles recently posted…9 Things to Do When You’re Breastfeeding
I love this! I’ll be refreshing a room that has similar bookcases flanking the fireplace, and I might have to borrow the idea of using wallpaper for the shelves! Thank you for the tips!
I love love love those bookshelves! Any idea where she bought them?
they were built in when she bought the house 😉