This post has been a lllooooonnng time in the making, but I finally put a tutorial together to walk you through the Basics of Screen Printing with vinyl. I’m admittedly no pro, but I’ve tried it lots of times and feel confident in the basics and I want to share with you all that info!
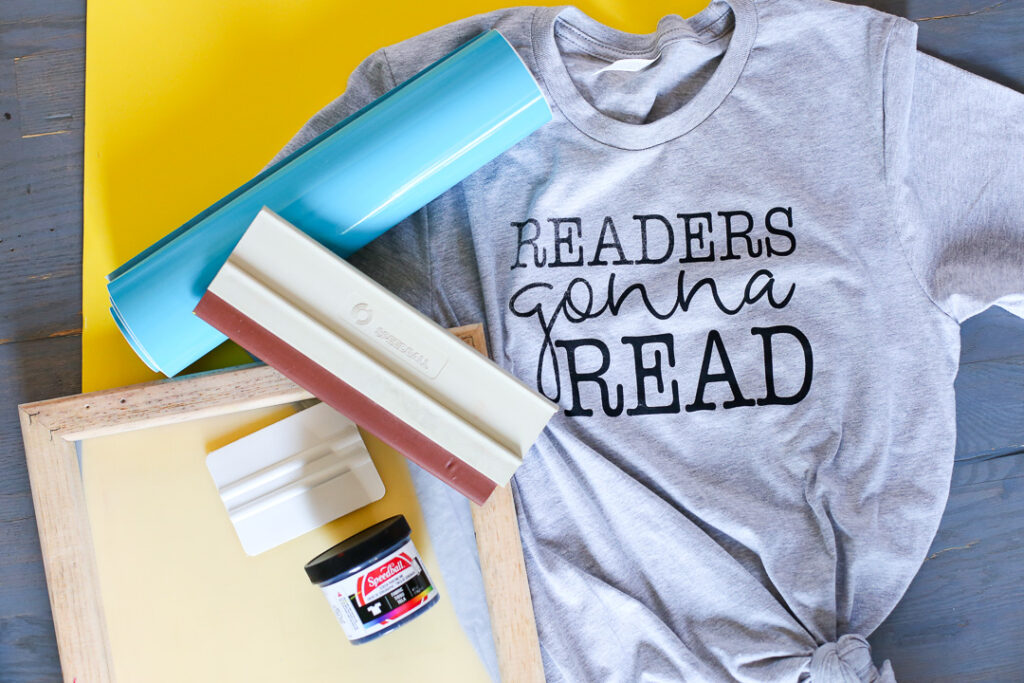
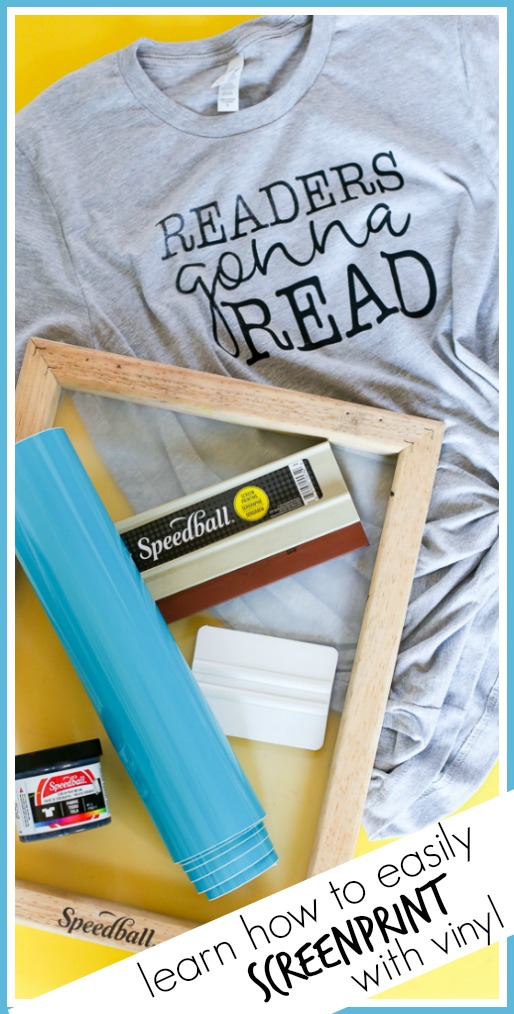
Yes, you can use your vinyl cutting machine to tackle screen printing – in fact, it’s the easy way to give screen printing a try! Here are a couple of images to pin so you can save all this info for later. This post may contain affiliate links.
DIY Screen Printing TShirts
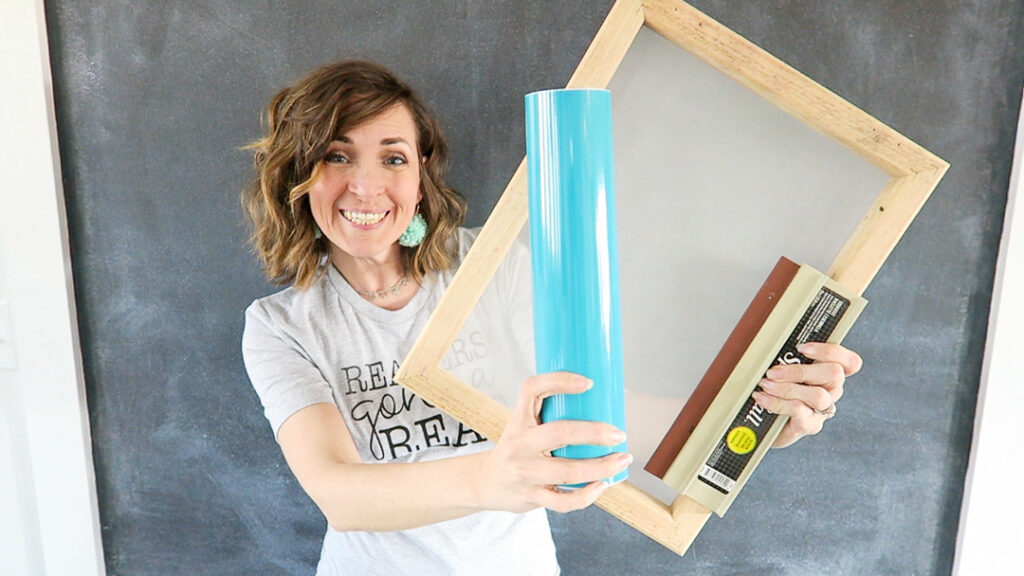
get ready!!
For this method of screen printing, you’ll need:
Permanent Vinyl (this is the best vinyl for screen printing) and cutting machine, and transfer tape
I have a step-by-step tutorial on below, but sometimes it’s just easier to explain things outloud, so lucky you, I put together a VIDEO TUTORIAL as well!! It’s not long and hopefully it’ll make it easy to understand the process.
Screen Printing with Vinyl VIDEO TUTORIAL
Simple Screen Printing Instructions
The traditional method of screen printing involves a lot, but a super simple way to accomplish the same thing is to use VINYL to make your screen stencil. And you know us crafters, we love vinyl!!
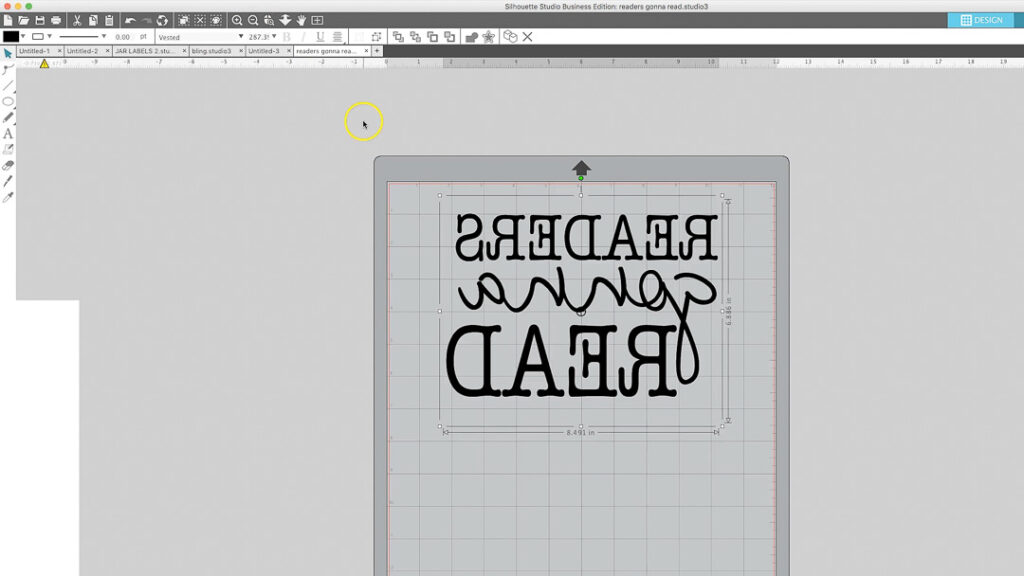
First up, cut your design MIRRORED – trust me on this one!
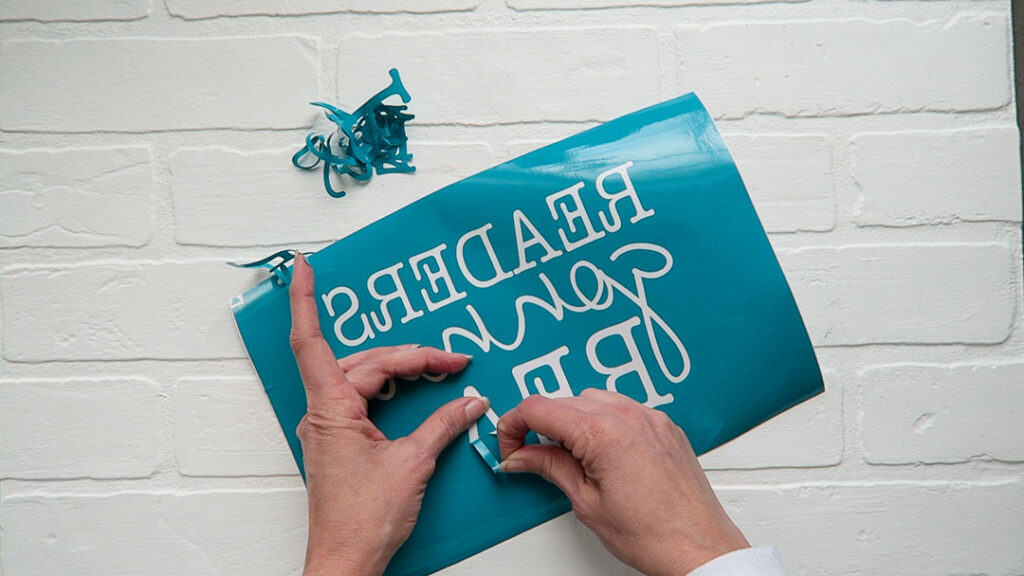
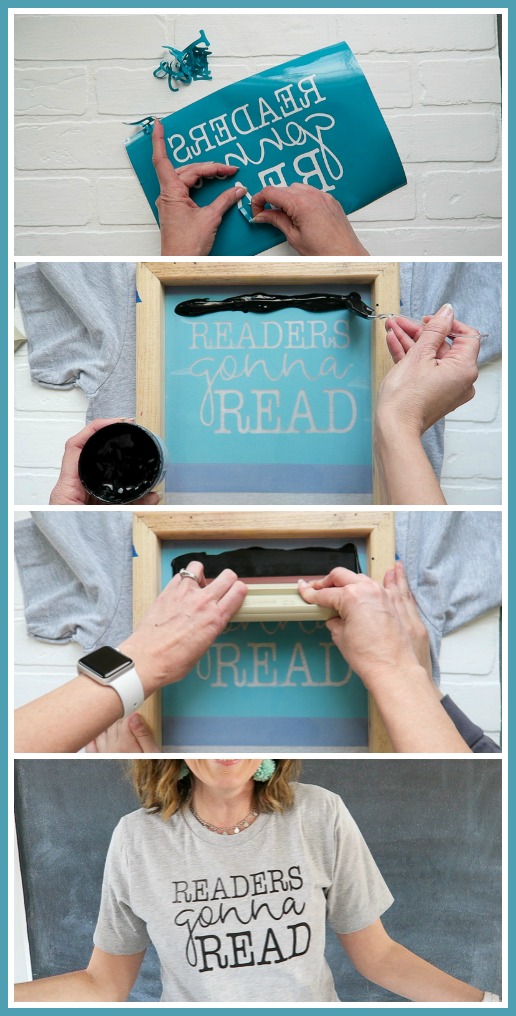
Then since it’s a stencil, you need to WEED out the LETTERS. Weed out where you want the paint to go.
Then use transfer tape like normal (here’s details on how to use adhesive vinyl), attach it to the vinyl and then peel the backing off:
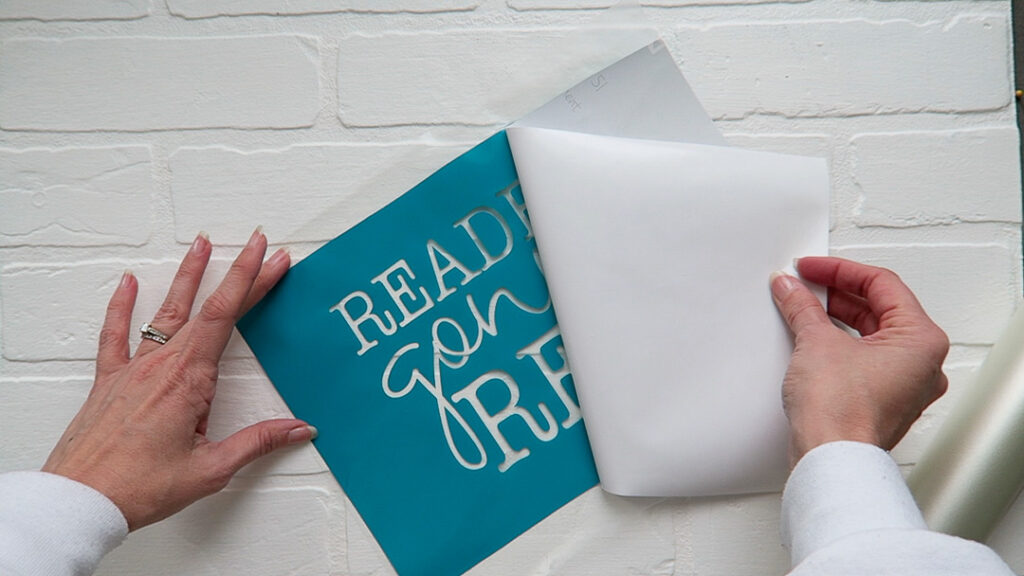
With the sticky side UP, place the screen on top of the vinyl. You are attaching the vinyl to the BACK side of the screen. This is why the design needs to be mirrored. Rub into place. Then very carefully (slow and steady), remove the transfer tape:
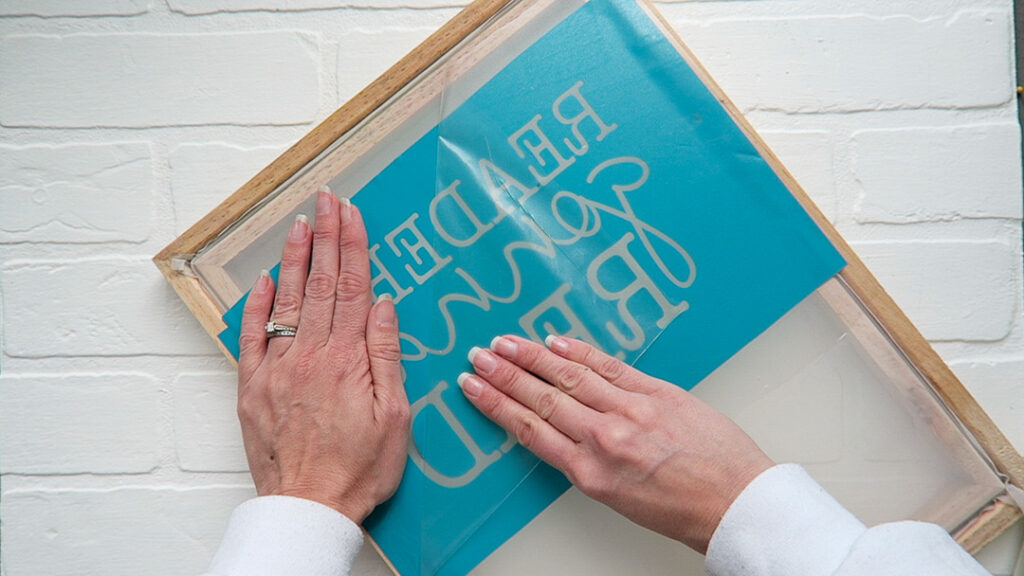
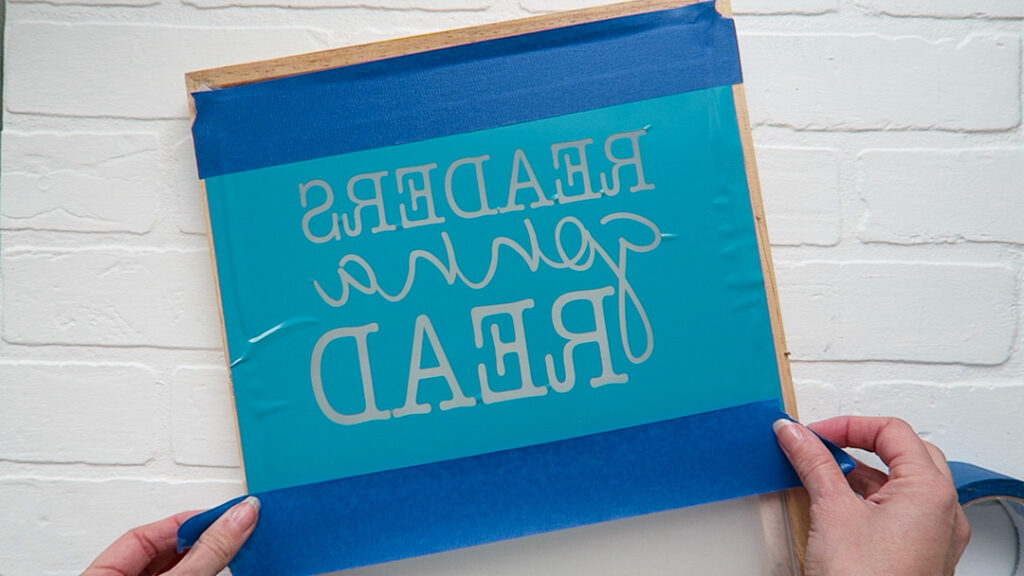
Tape off any showing screen with painters tape:
Now that your screen is prepped, you’re ready!! Spread a generous amount of ink at the top:
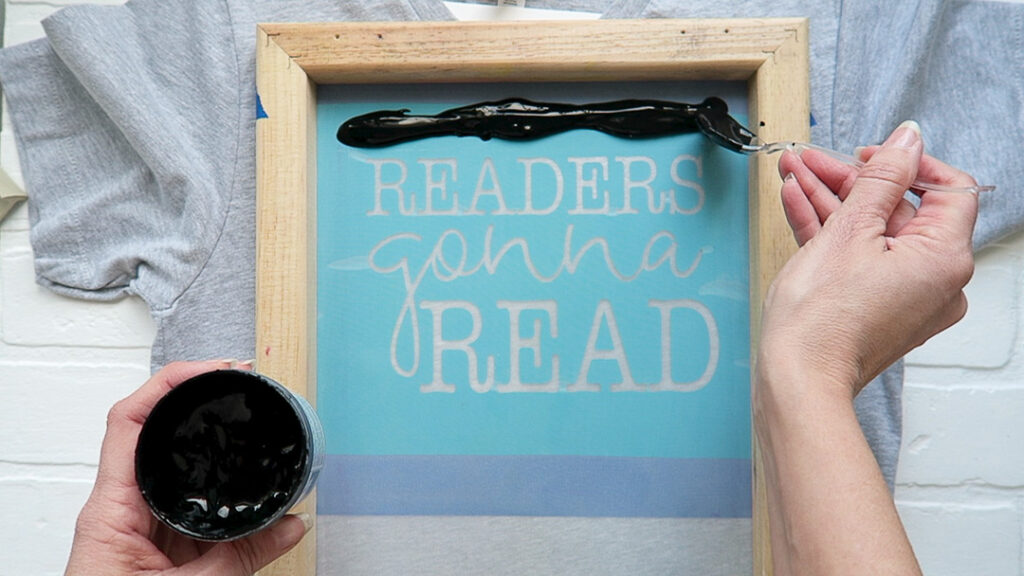
And use the squeegee to pull evenly across the screen:
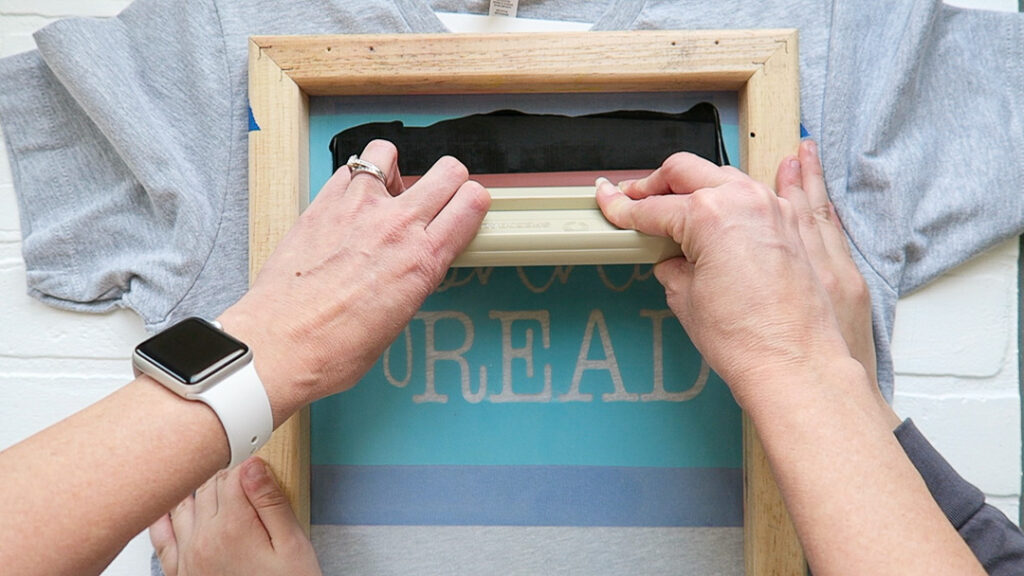
Lift up the screen and voila!! You can reuse the screen for multiple applications. When all done, pull off vinyl and rinse out your screen with water. When the ink is completely dry, use a iron to heat set it into the fabric:
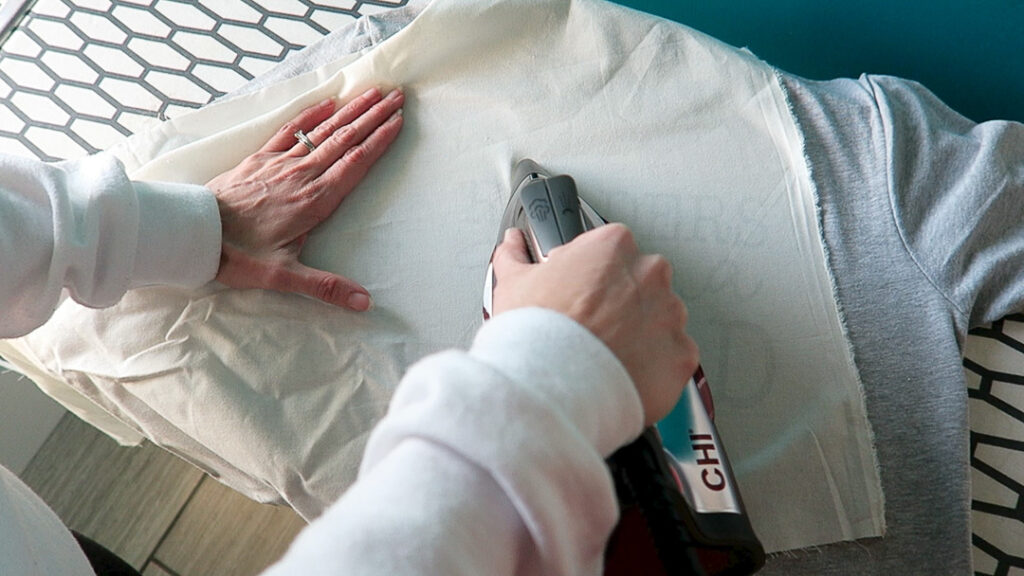
So fun, right?!

Screen Printing compared to Vinyl
You’re probably wondering, how does screen printing compare to vinyl – – well, stay tuned! I have a bunch of thought on that, so it’ll be coming in a whole full blog post 😉


This is adorable! I love how it turned out!
Paige
http://thehappyflammily.com
Paige Cassandra Flamm recently posted…12 St Patrick’s Day Books (Chapter and Picture Books!)
Does the ink bleed through the shirt? Do you need to put something between the front & back of your shirt?
Thanks!
I did put a posterboard inside the shirt – I showed it in the video, but I think I forgot to type out that part, great question!! I haven’t had it bleed through, but better safe than sorry
Hello! I have a question. I was wondering can regular fabric paint be used or only the screen printing ink? If you have tried with an alternate ink, can you give your thoughts on which one works better?
the fabric ink is definitely different than fabric paint – I’ve used fabric paint with stencils before, but not with screenprinting. You’ll want the ink because it’s thinner than paint and it’s designed to flow through the screen. hope that helps!
I love this? How long does it take for the ink to dry?
not long, but you can always use a blow dryer to make it go even faster 😉
Thank you for this tutorial! I just made my first shirt following your instructions and had no issues at all.
One question, though … do you know how many times I can use the screen with the vinyl?
I have only use a screen a few times, but I’ve heard you can use it like 30+ times – glad your project turned out!!
Hi from Phoenix, Ariona! Newbie to your site…loving it so far, thanks for sharing your good ideas!
I just caught your vid on YT where you showed how to do this shirt. I’ve never done screenprinting…not yet anyway, LOL…and I am wondering if it is possible to go over the screen a second time if you wanted to darken the areas that came up light?
yep! you can definitely swipe over it twice, it makes the design darker and more prominent
Looks so much fun. Would definitely try this out!
This is a very helpful tutorial, thank you! I have a quick question… can you use the same stencil but change out the colors of ink? Meaning, if I wanted to do the same design on several bandannas but I want half of them to have white ink and the other half to have black ink. Do I have to start from scratch in order to do a different color or can I just wipe it down really well and use the other color with the same stencil.
I haven’t tried it, but I think it should work!
Thanks for the tutorial. Any chance you could share your stencil image? Thanks.
Hi. How long can I expect t shirts made like this to last? Do I need to wash them in a special way? I’m desperate to make myself some quirky shirts but want to know the full picture first! Thanks!
Great idea. I can’t find the blog post about your thoughts after. Did the ink stick well after washing?