


There are lots of ways to create watermarks for your pictures, but my favorite is how my friend Sara told me to make one. It makes a “brush” out of your watermark, then every time you use it, you just select that brush and click it onto your picture. Let me walk you through it.
From Sara:
So let’s walk through it with screen shots. First off, I’m using Photoshop elements – I think it’s great. I bought a version one older than the newest version out, off of ebay for $30 – it’s been great for me. If you need photo editing software, it’s what I would recommend.
First, you probably have a picture open, that’s irrelevant. Either way, you’ll want to open a new picture. So click “File” and pick “new” then you’ll get to pick what size the new image should be (Sara said: Open new, size by pixels make 2500 wide and as tall as you want, but no taller than 2500. I think mine was 1800 by 2500):

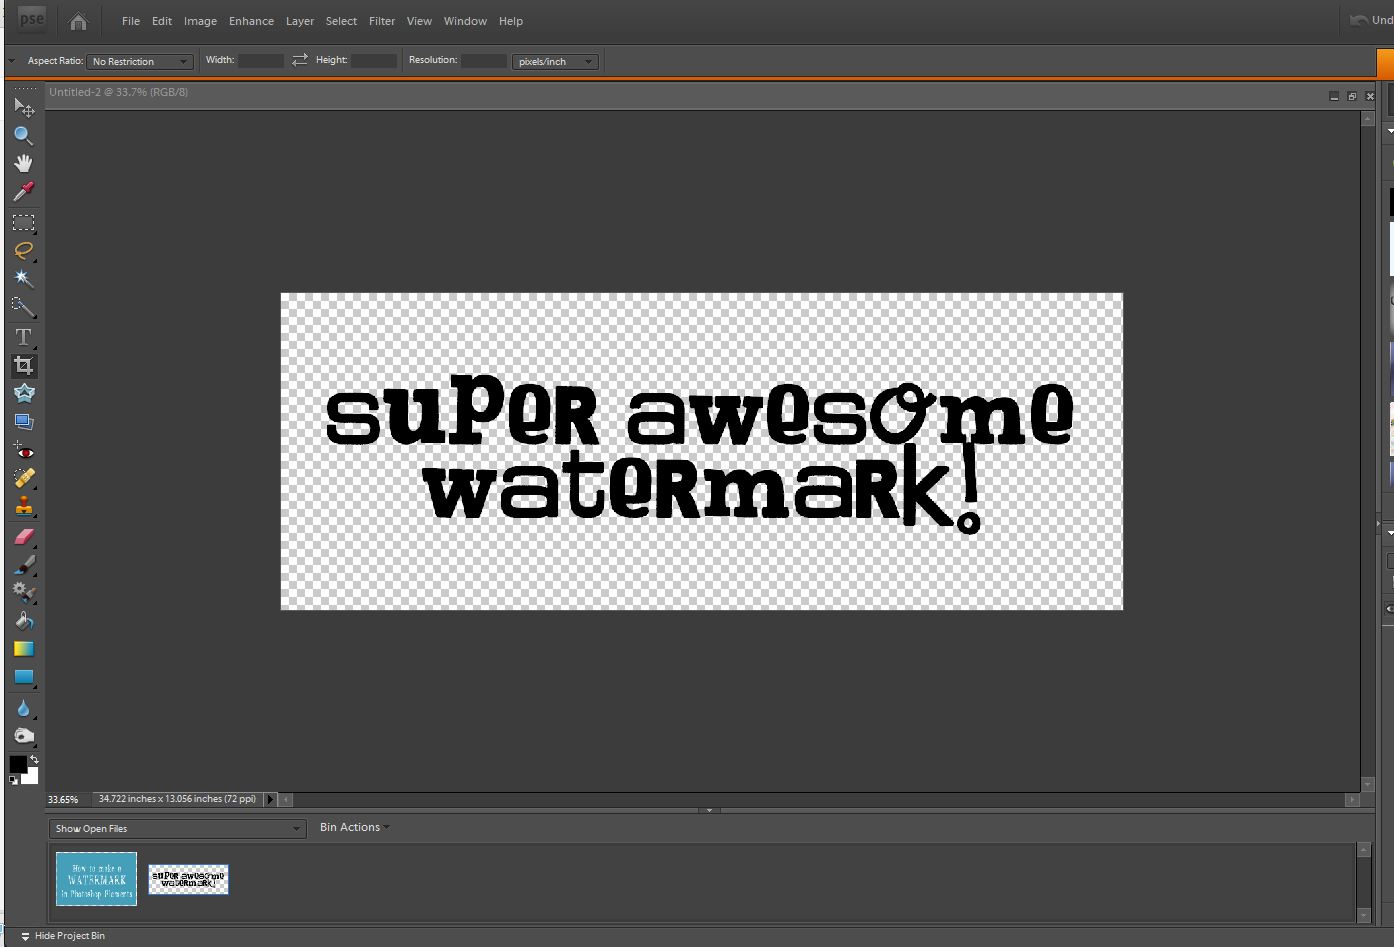
That’ll open up a blank place to create your actual watermark. A Simple one is just typing out words. I typed the words “super awesome watermark”, made it big enough to fill most of the page, then cropped out the extra space. You could also add an image (like my little bee):
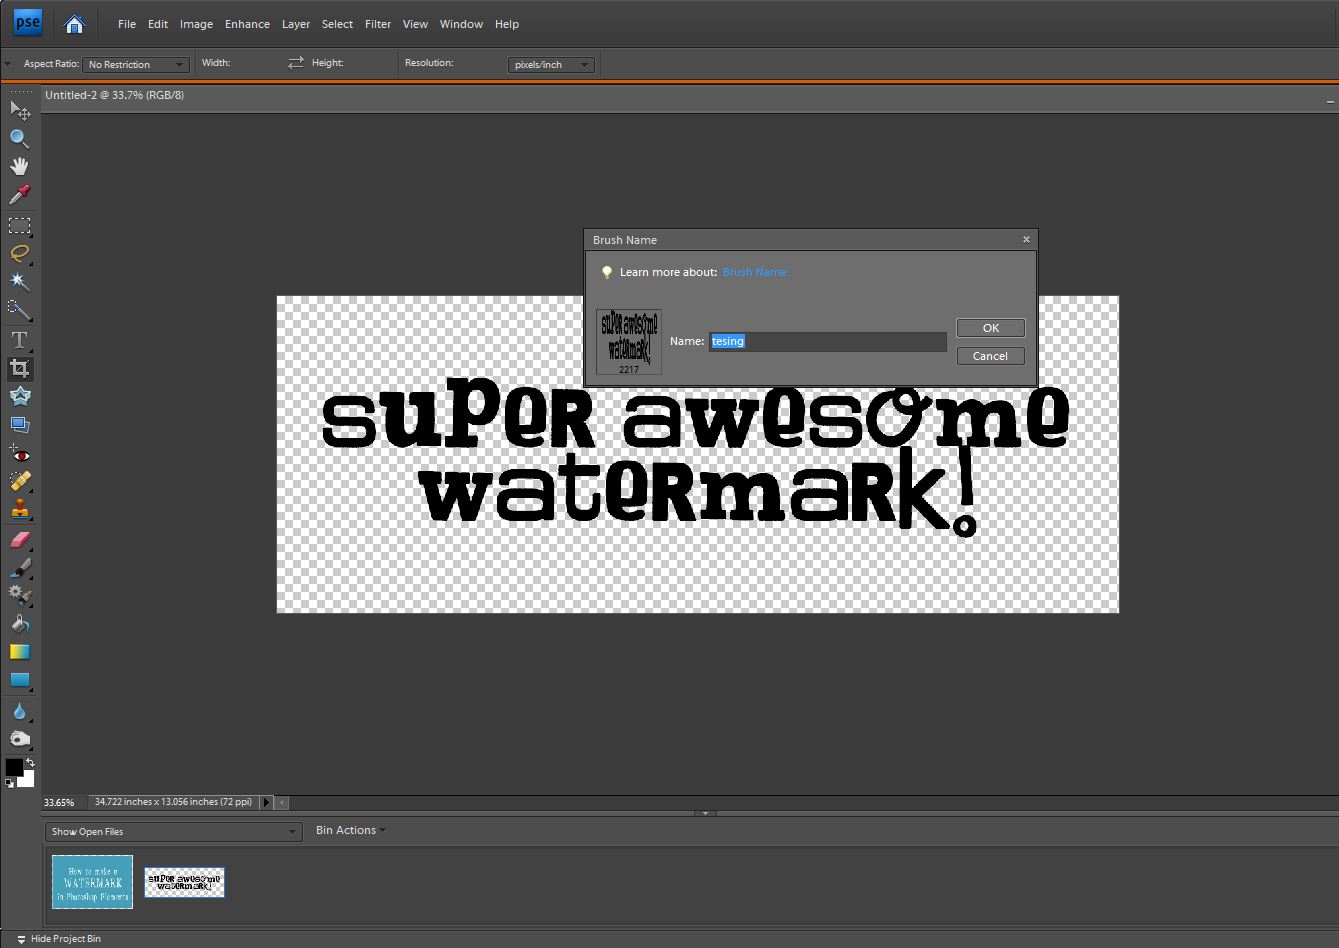
Now at the top click “edit” and pick “define brush set”. You can name it whatever you want. That’s it – easy, right?!?
Now, a quick how to use a brush since when I first made mine I had no idea how to use it. Open up the picture you want to put it on (here the picture is the words “how to make a watermark” but normally it’s an actual photo). Then on the left under the eraser picture is a picture of a brush. Click that. Then see the place I drew the box around – it’s where you select which brush you want – it’s a dropdown and your brush should be the last choice listed. Then you’ll need to adjust the size – down to around 200ish. Other things to adjust are opacity (how see-through it is) and color (bottom left corner) – – once adjusted, you just hover your mouse where you want your watermark and click. (trick – click twice to make it double-dark)

In the above photo I placed several watermarks across the top in different color and opacity.
Hope this helps!!


Thanks so much…I’ve just started using my photoshop elements program….it can be so overwhelming…I need
a good watermark…gonna try it today:)
This sounds so much easier than what I’ve been doing. I already had a watermark that I copy and pasted onto each picture.
So quick question…I tried this and it keeps telling me that it can’t define the brush because no pixels are selected? I’ve tried a few things to “select” them and nothing seems to be working. Any ideas?
Thank you SO much for this! I’m moving my blog to WP and for ages have intended to put a watermark on my pix and this couldn’t have come at a better time. Awesome! Just did it and it works. Now on to tackling the thousands of pix I have and stamping them all with my new watermark! 🙂
great idea as much as I use my photoshop cs4 & cs5 i had never thought to make a watermark paintbrush for my websites. Definitely will bemusing from now on.
I am thinking of getting Photoshop software. What is the difference between Elements and one of the more advanced Photoshops?
Thank you very much for this tutorial!! I’ve had Photoshop elements for a couple of years and have never managed to do anything on it… I actually managed to make a watermark whilst waiting for dinner to cook!
Helen x