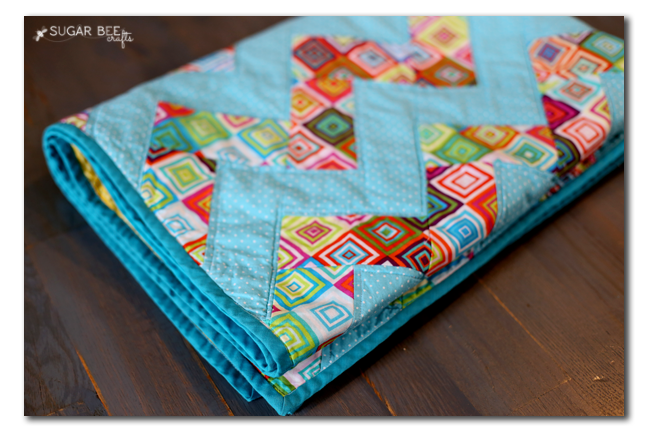
I’ve been wanting to make a Zig Zag Colorful Quilt forever and ever. Several years at least. Then one day a friend mentioned she wanted to as well, and I thought hey, we should just do it! So we had a little quilt-a-long group, where we all worked on our own thing, but encouraged each other through the steps, etc….
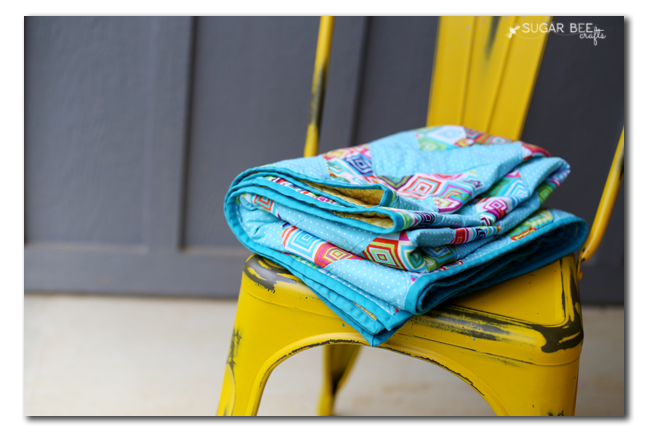
Well, as most projects go, it kind of fell to the side. And never got done… (PS, everyone always asks about our Metal Yellow Chairs – we bought them distressed like that from amazon, they’re super super awesome and the best price I found (cause I shopped around a ton) – love them!!)
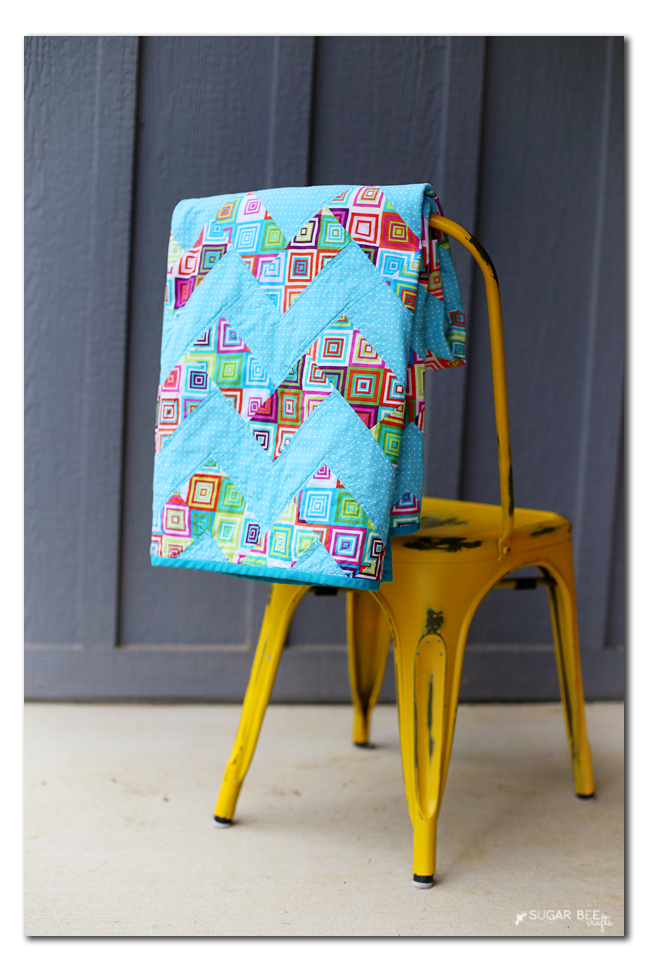
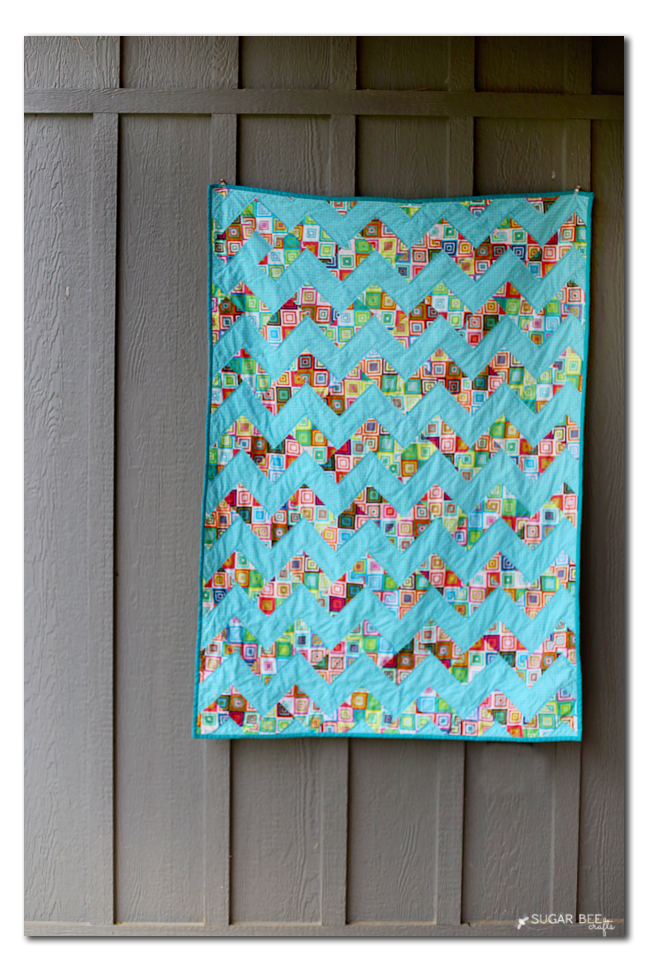
And then we moved, and lived in my parents’ basement for 9 months while we self-built our own house (you know how that story goes…) and all our stuff was boxed up. Well, when it finally came time to unpack my craft boxes, I was pretty excited to find a half-finished quilt that I had forgotten about.
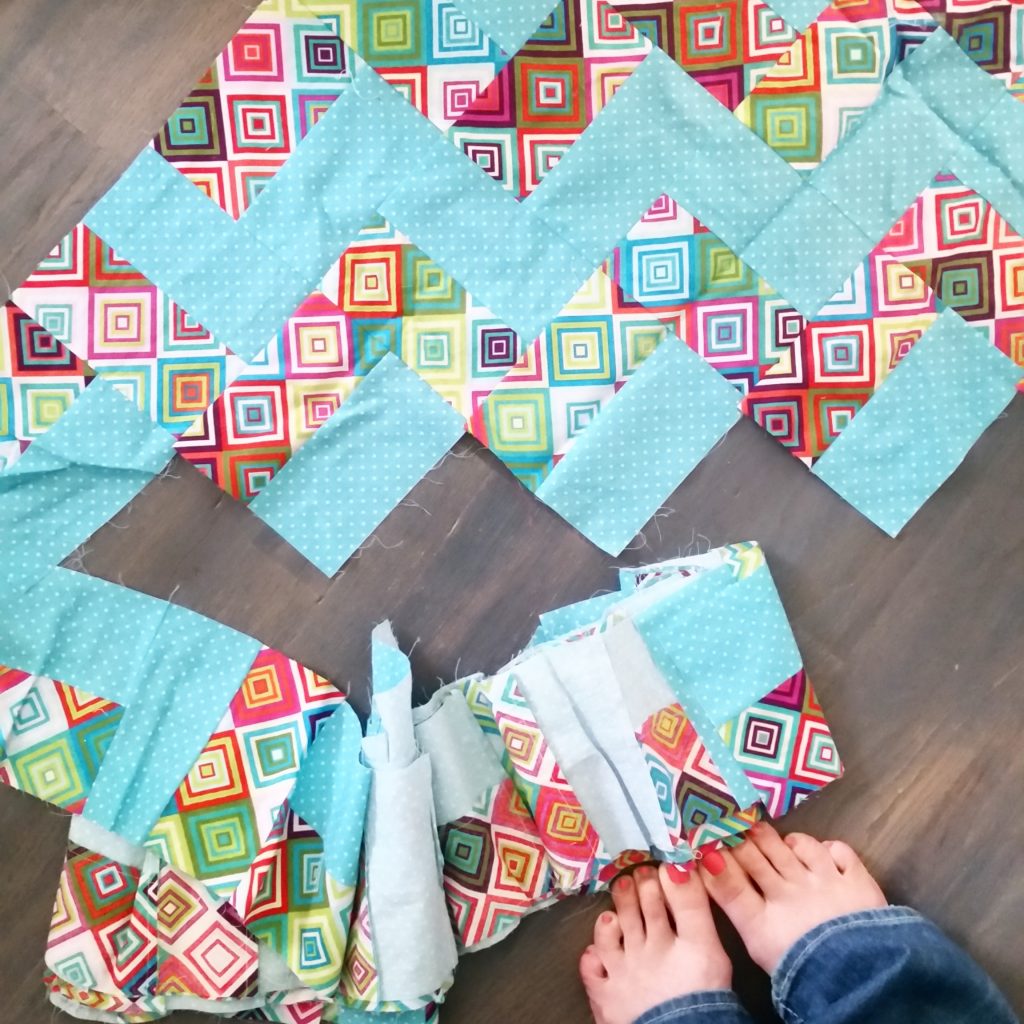
And you know, anything to avoid unpacking and cleaning – I thought, I should just finish sewing these rows together, so I did…
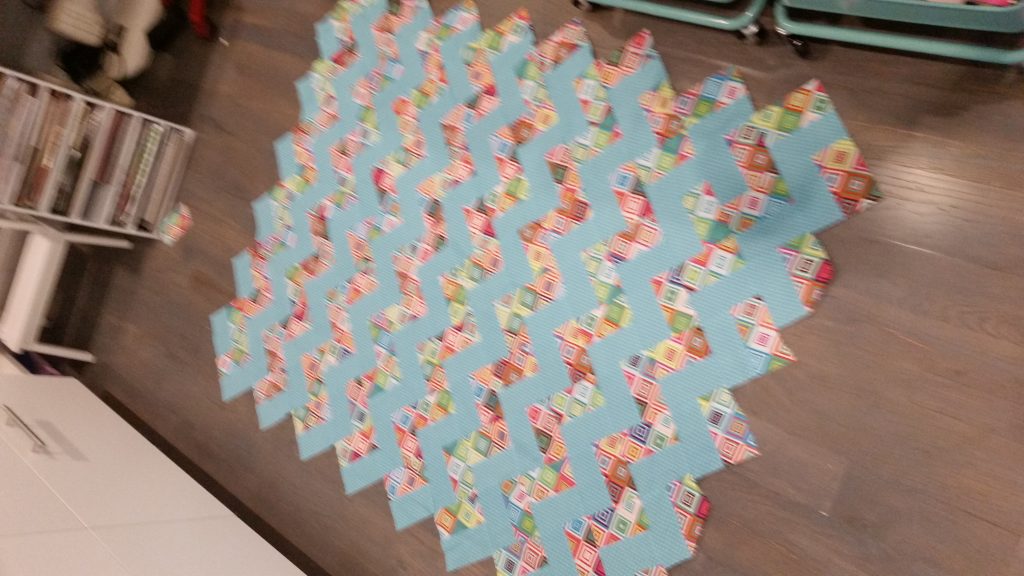
And just about that time, Kimbo from A Girl and A Glue Gun fame emailed about the awesome project called #LukesLoves, spearheading a blanket drive to Project Linus. If that’s not perfect timing, I don’t know what is! I had a random blanket I was already making, just cause I wanted to try a zig zag, but with no use in mind. It was meant to be 😉
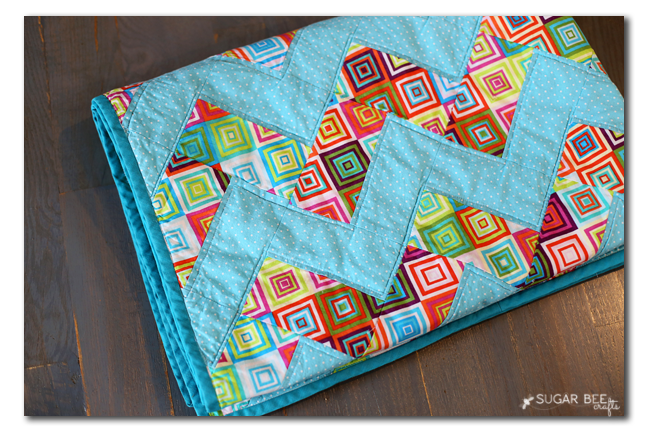
and so I got to work, finishing it up with a driven purpose.
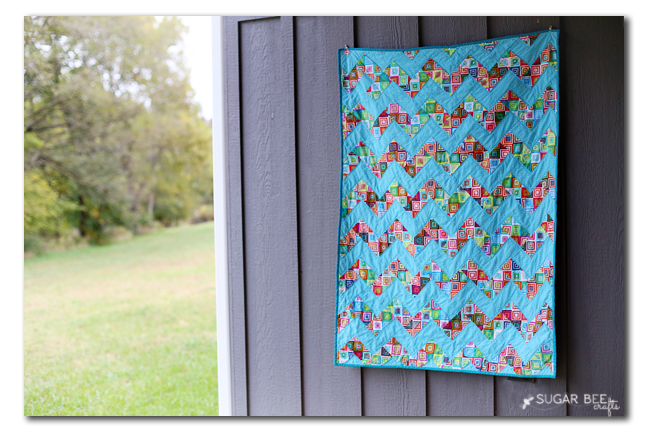
SO, let me tell you how I did it – – cause if I can do this, you for sure can!! I browsed lots and lots of Zig Zag quilt tutorials, and it seems like there are two ways to about making one. The first was is to make a bunch of HST, which are half-square triangles. It’s where you take 2 squares of fabric, sew them together a couple times down the middle, cut between the seams, then open then up and you have a square with one triangle of fabric on one side and one on the other side. There are lots of tutorials out there for that! The way I ended up doing is is the strip method. I just sewed strips of fabric together, then cut them into squares. The main tutorial I used is over at Crazy Mom Quilts, so head over there to see what I mean.
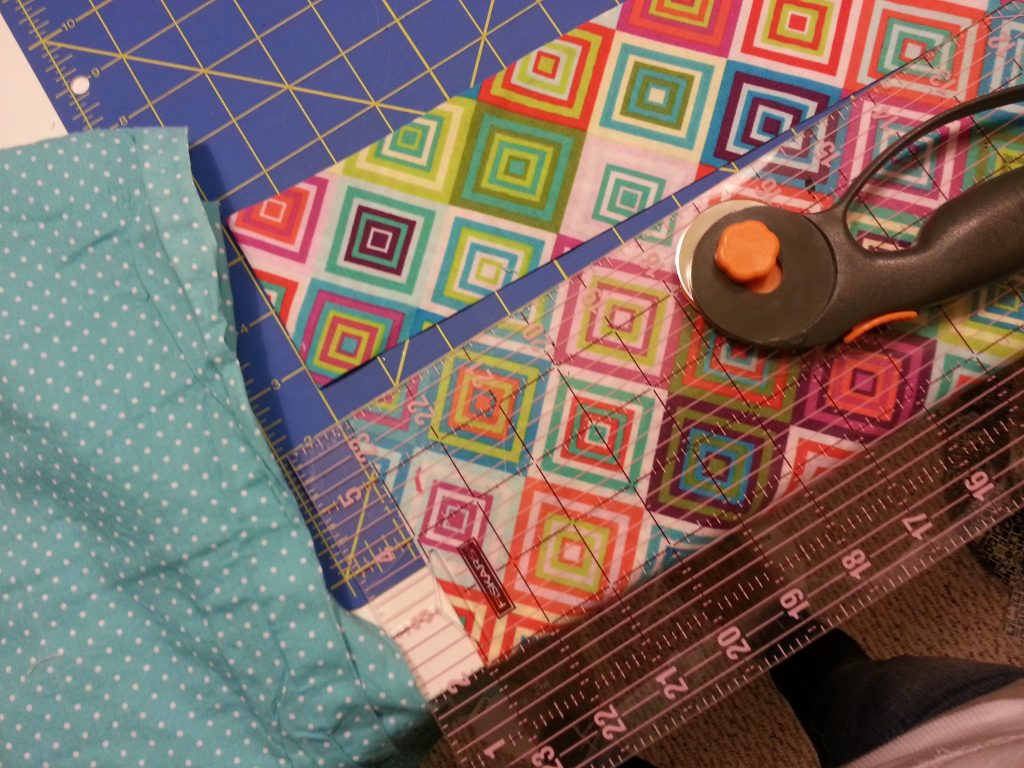
Then following her instructions I laid all the squares out to make zig zags:
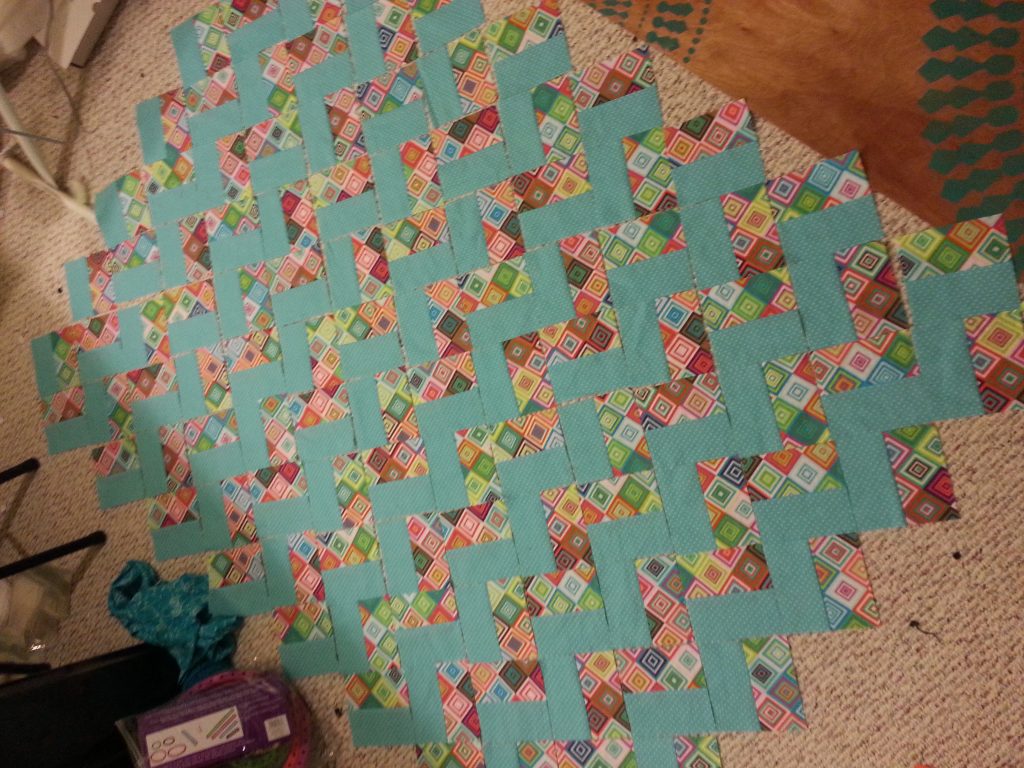
Then you just sew the strips together. The only thing is that with this method you’ll need to sew your strips together on the diagonal row pattern. Then you sew those strips to each other to form the blanket – see, you can totally do this!
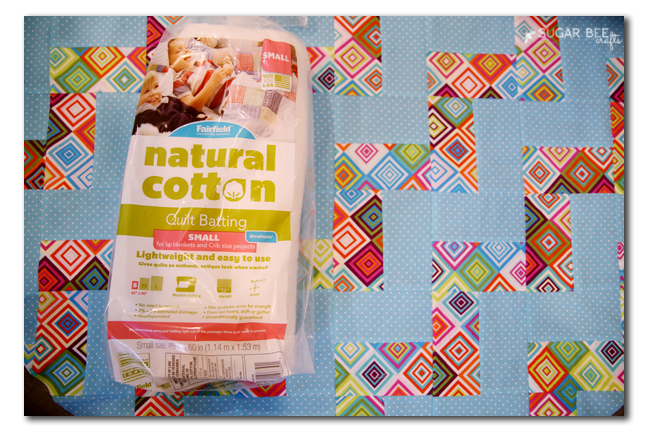
When you have the top all done, it’s time to make it into a quilt. I was sent natural cotton batting from Fairfield, and it’s awesome! (and I’m giving some away on my Instagram acccount, @sugarbeecrafts … just sayin….)
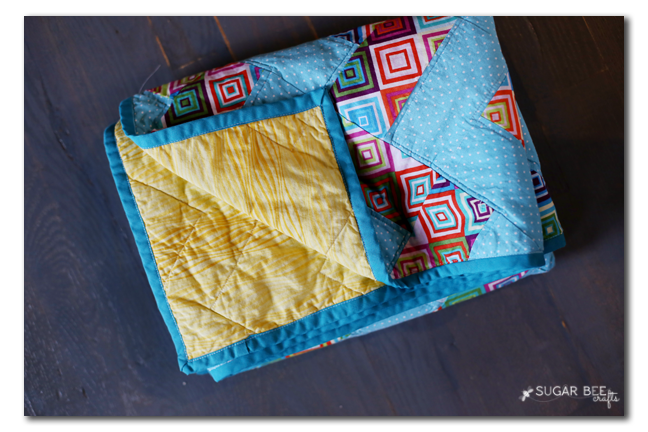
You’ll take your backing fabric (I used an old sheet that I had bought at a garage sale – it’s a fun yellow)…
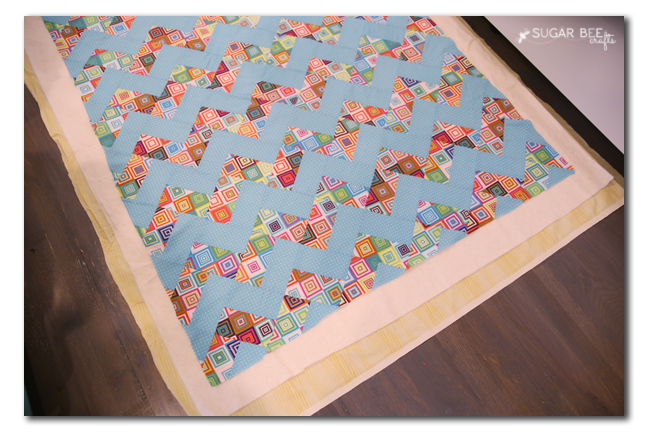
..then lay out your batting, then lay out your quilt top. There’s a special quilt sandwich spray glue, but I couldn’t find mine, so I just used Elmer’s Spray glue inbetween my layers, and that totally worked. If you glue it, it just means you can pin it together a lot less (I still pin in a few places).
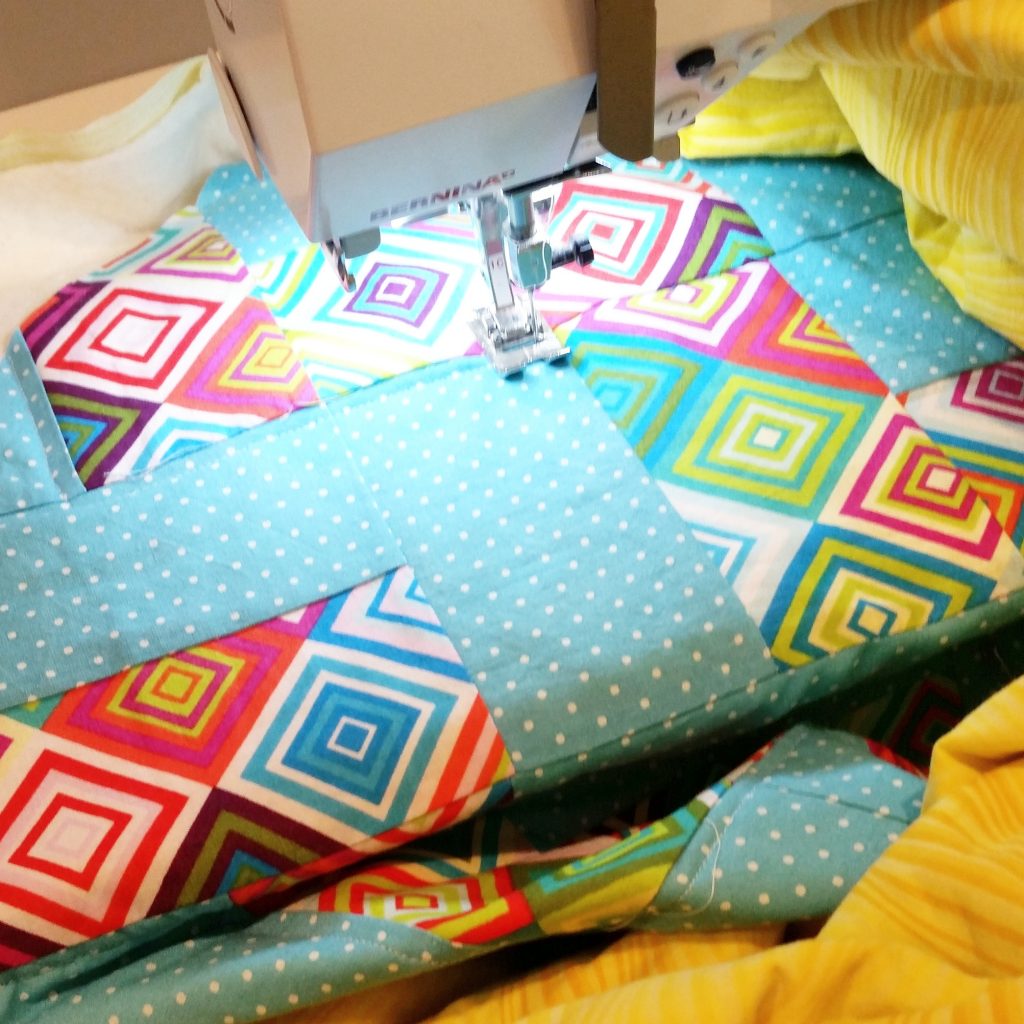
Then it’s on to quilting! You can quilt it yourself, no worries! Quilting is just sewing through layers of fabric. So I just quilted a straight stitch along either side of the solid zig zag.
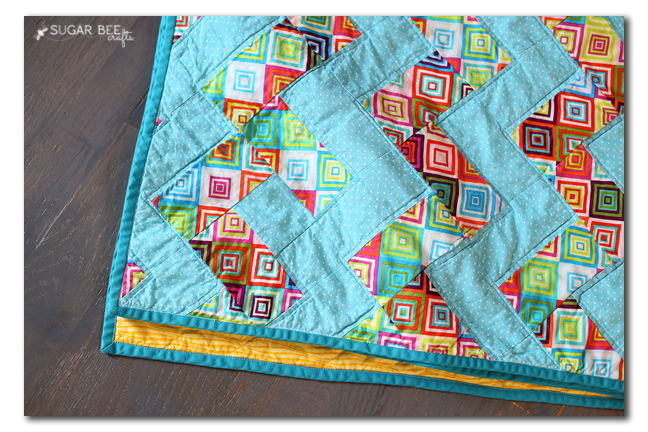
You can kind of see the quilting in this pic below (it’s after I washed the blanket, so it’s a little fluffed up and wrinkly)
Then I tackled the binding. I actually accomplished a mitered corner which I’m pretty proud of! For that I used the tutorial at Diary of a Quilter, but I did the machine binding method, not the one by hand (cause I’m not crazy!)
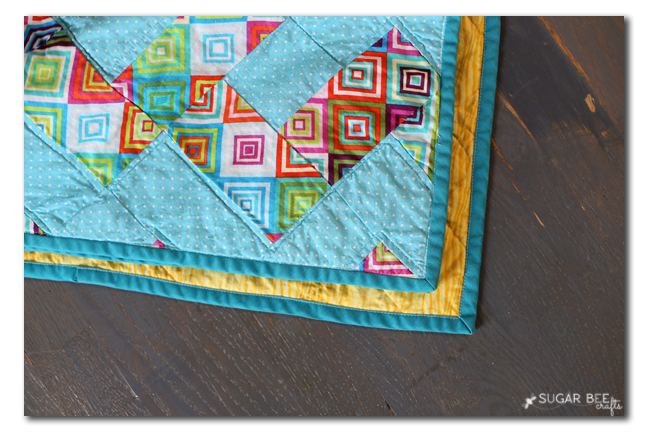
I just used some double-fold bias tape (2 packages) that I happen to have on hand:
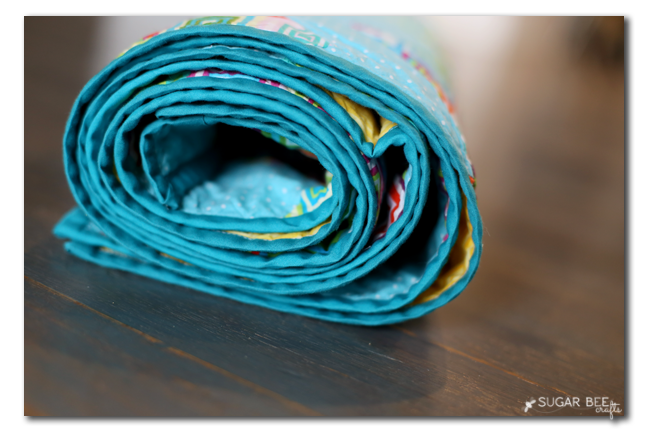
And that’s one of the best things about this quilt – I made it all with things I had on hand – isn’t that awesome?! Put that stash to use!
{Posts may contain affiliate links}


That is so cute Mandy!! I love the fabrics you picked!
Beverly {Flamingo Toes} recently posted…Show and Tell Link Party
This is so beautiful! I don’t know if “Easy” is the word I would use though. I clearly need to work on my sewing skills haha
you’ve got this!! it’s just squares!
Beautiful quilt! I love the colors. Your story reminds me of this scrap quilt I decided to make at least 5 years ago and still haven’t completed – maybe I will try and get busy with sewing it again in between all the other things I have going on…
Kimberlee recently posted…New Crochet Designs