


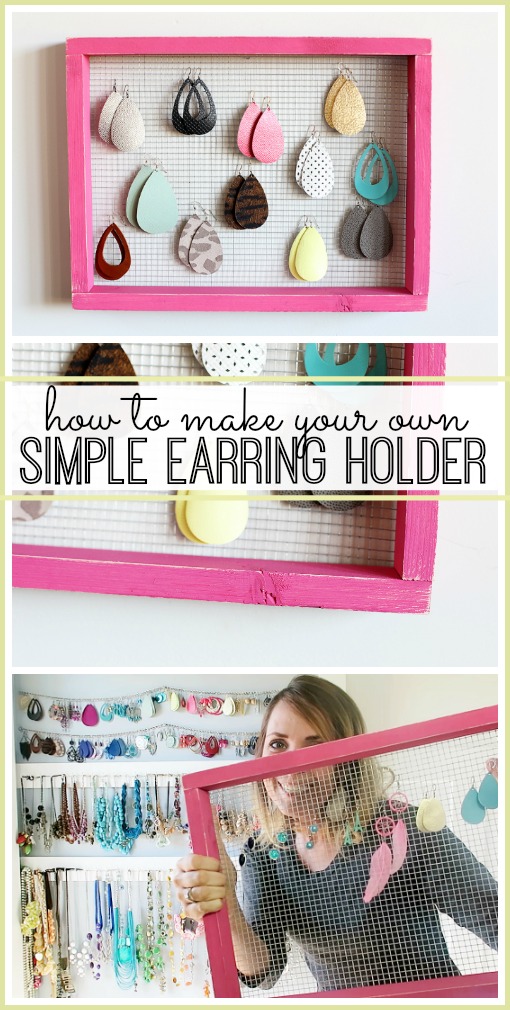
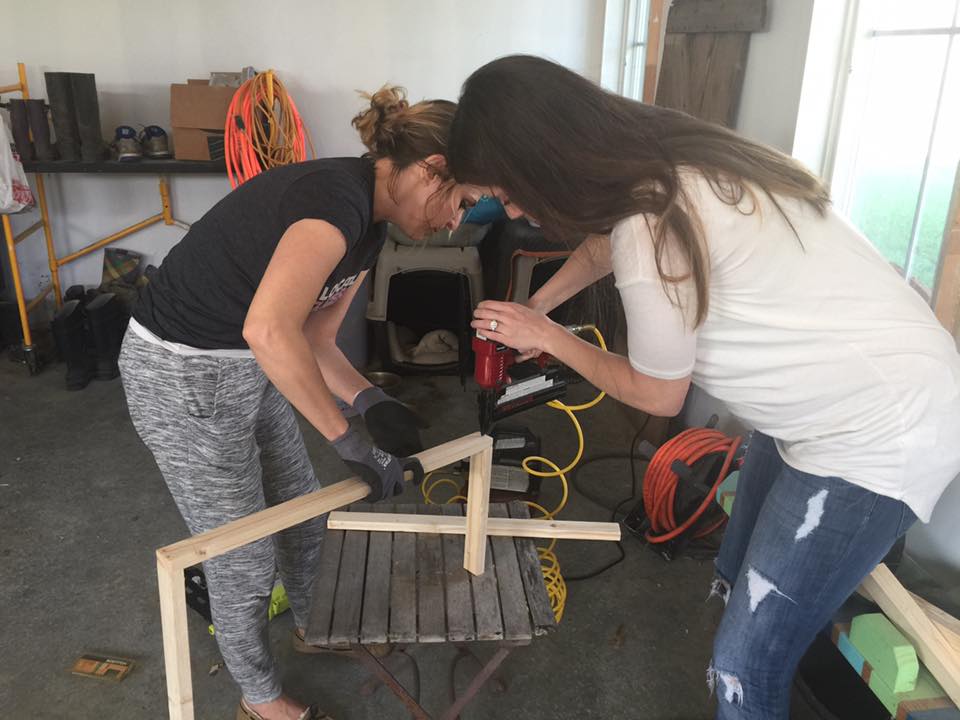
I love how this turned out! I actually made my Simple Earring Holder back in the fall, and then we made them at my Craft Club where lots of people made them for gifts, as well as themselves. And now I’m finally getting around to sharing the tutorial with you guys, wahoo!! And the bonus is that they’re super inexpensive to make, around $5 each!
The things I love about this Earring Holder:
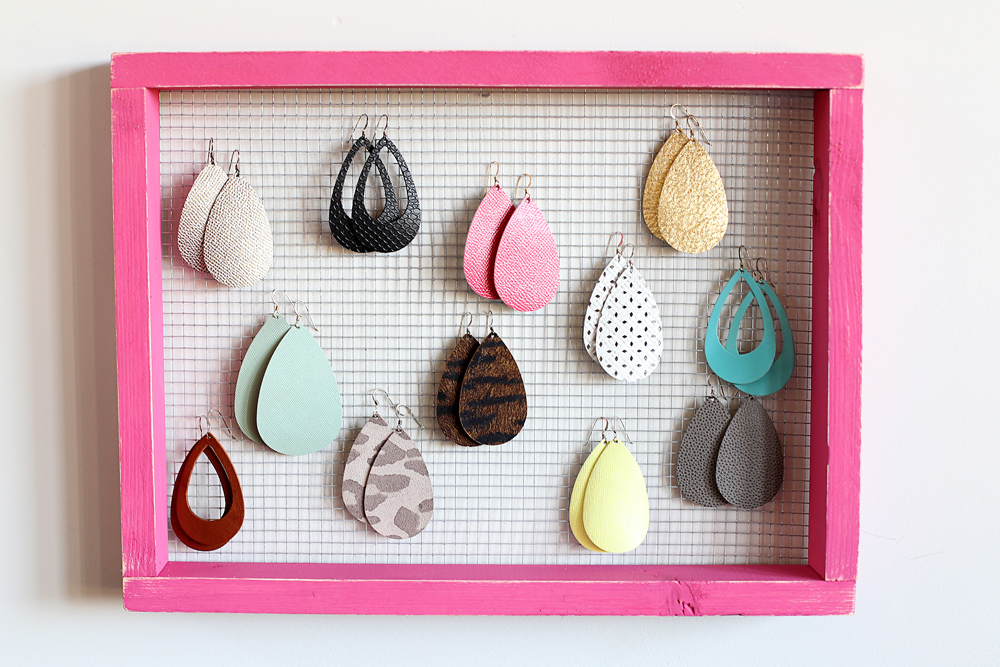
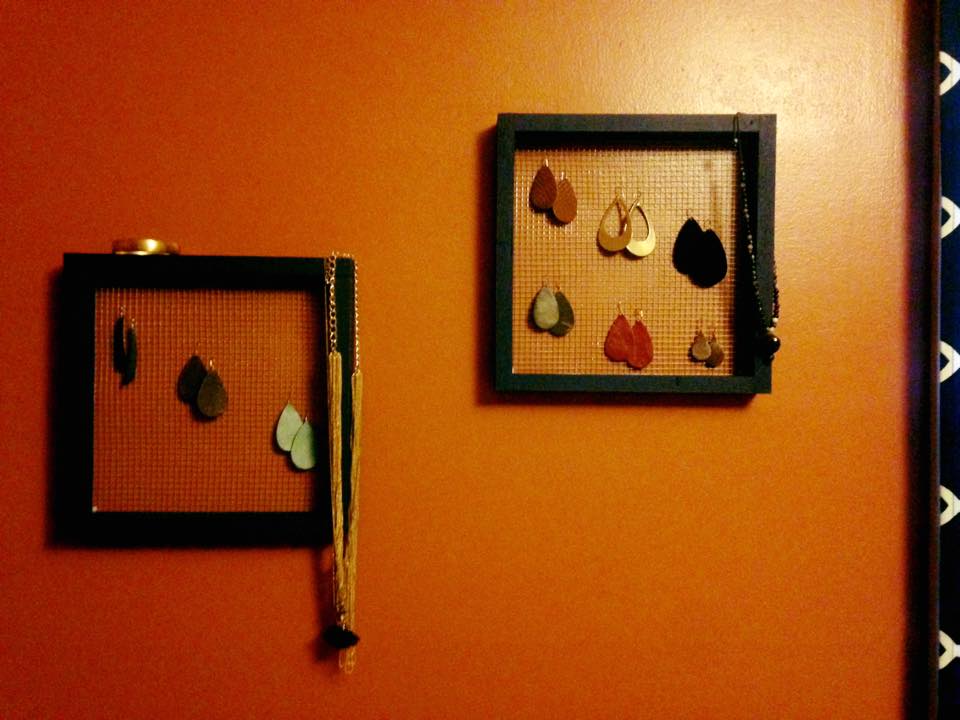
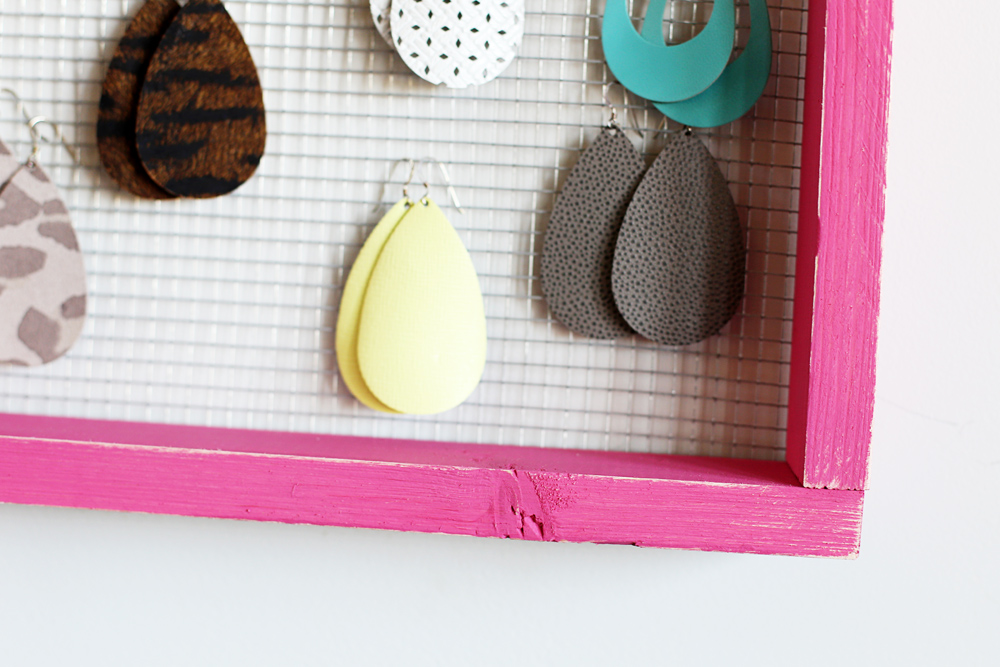
–it holds LARGER earrings (those ones that never seem to have a place to go), along with smaller ones (note, I love big earrings! I sell Paparazzi Accessories, so half are those and half are the awesome leather ones from my friend’s business Nickel & Suede – all are so cute!)
–it puts all your cute earrings on display
–it can STAND BY ITSELF, right on your dresser – or you can hang it on the wall
-it is simple to make (you can do this!)
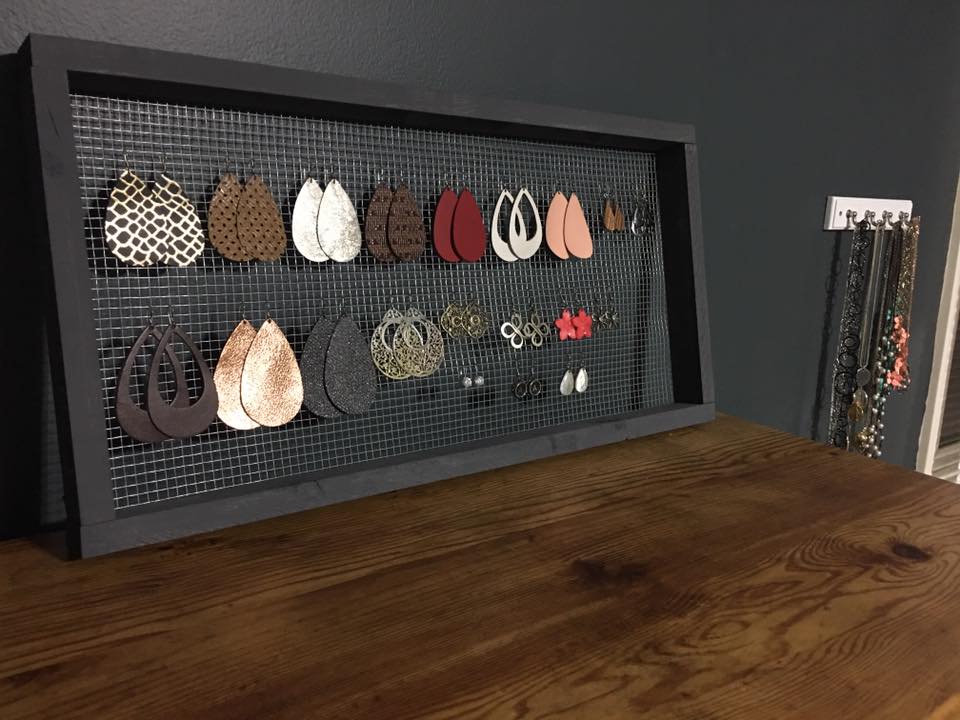
Before we get to the tutorial, check some of the fun versions that other people made at my craft club – that’ll give you some ideas about color options, etc – –

Simple Earring Holder Tutorial
You’ll need:
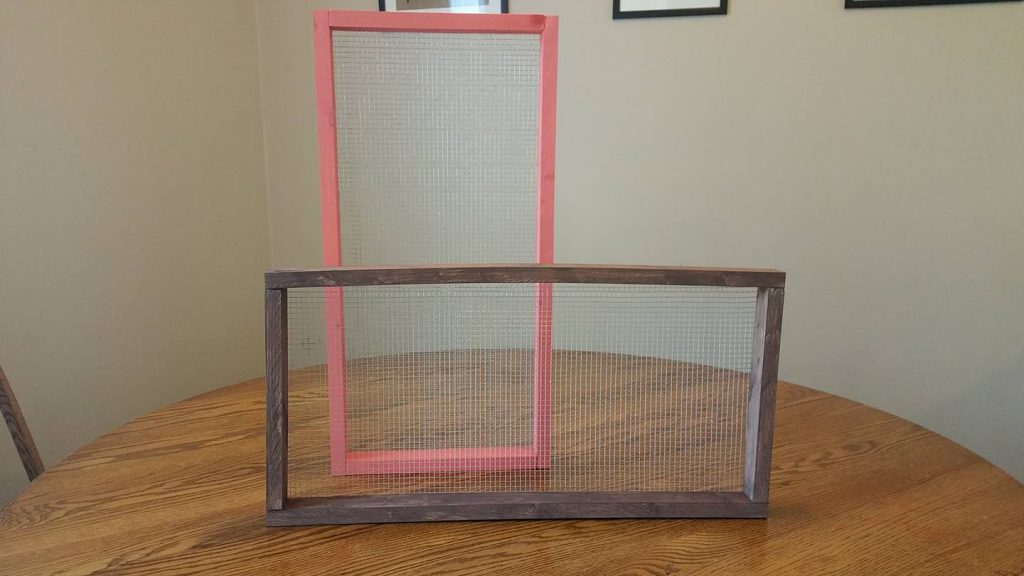
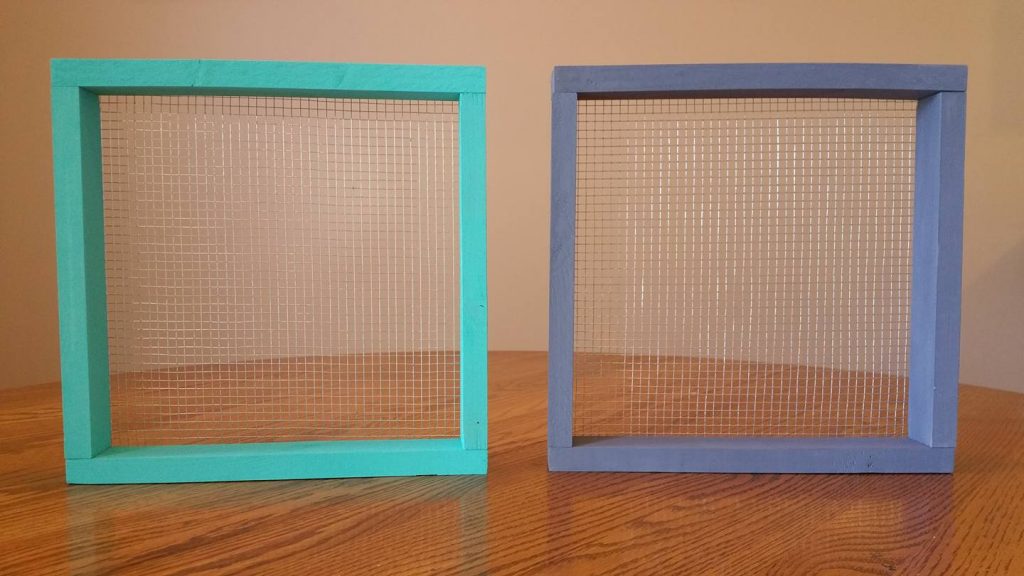
1×2 boards, 2 that are 10.5 inches long, 2 that are 24 or 12 inches long (depending on the size you want to make)
paint
wire mesh
staple gun and nails
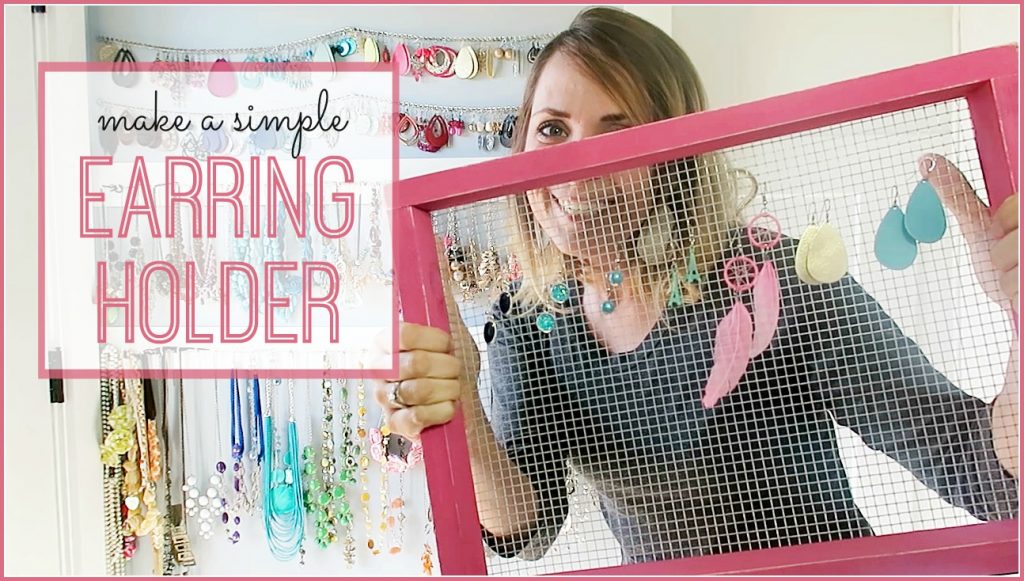
And guess what – today’s tutorial is a VIDEO, wahoo!! That way I can really talk you through all the steps. You can view it right here on the blog below, or you can check it (and more!) out on my Sugar Bee Crafts YouTube Channel.
I love the distressed look lately, so I was sure to sand the edges on the one I made:
Have fun making your Simple Earring Holder!
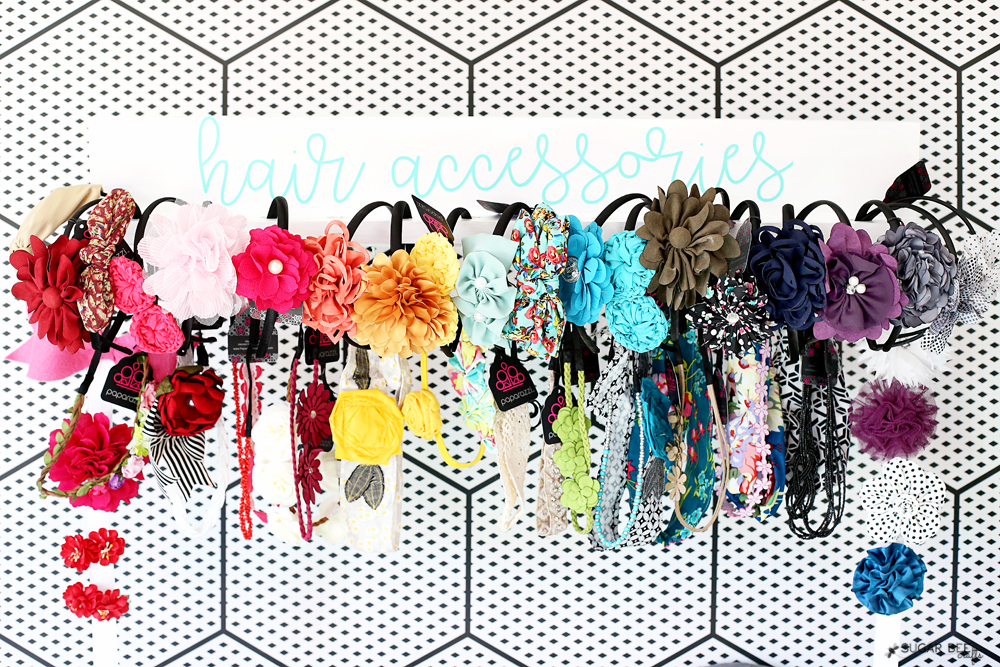
And if you love Jewelry Organization solutions, here’s all about the other one I showcased in the video:

And you might also like:
Headband Organizer
This is amazing! I love that it doubles as wall art! I will definitely be making something like this in the future! 😀
Megan Lacey recently posted…Tailwind Review & December Honest Income Report #3
Where did you get your wire mesh for this project?