Rainbow Fireworks Foil Pillow
Hi I am Alicia from Sew What Alicia! I love all things sewing and I am so excited to be here to share this fireworks pillow with you! Nothing screams 4th of July quite like fireworks am I right? So come along and I will show you how to make this adorable pillow!!
Rainbow Fireworks Foil Pillow
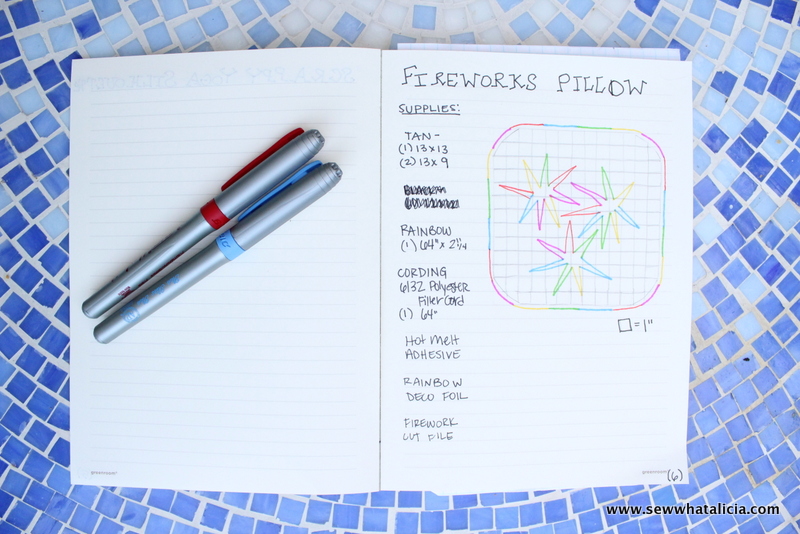
Supplies:
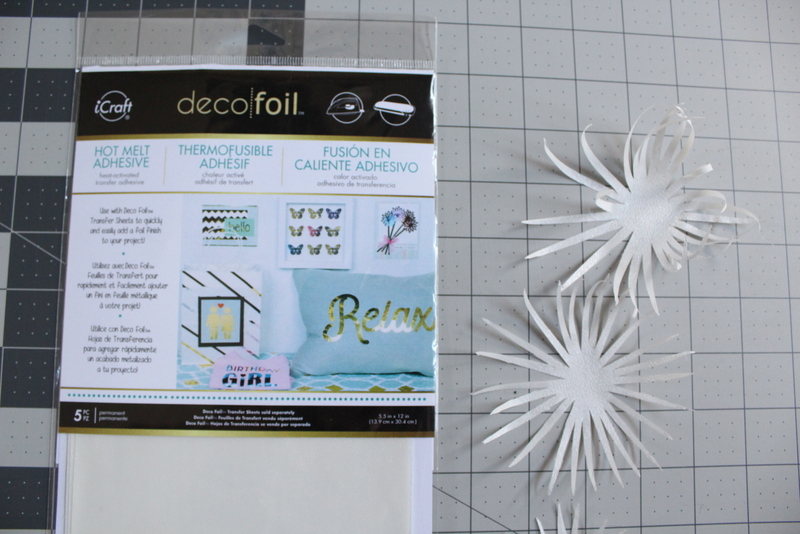
Deco Foil Hot Melt Adhesive
Rainbow Deco Foil
Tan or White fabric
Coordinating Rainbow Fabric
6/32 Polyester Cording
Fireworks Cut File
The first step is to cut the fireworks out of the deco foil. You could cut these out by hand but I use the Silhouette because it is way easier and less time consuming!
We are going to cut the base fabric for your pillow next. I cut the front square to be 12″ x 12″. Then you will cut two rectangles that measure 12″ x 9″ for the back of the pillow. This is going to be a pocket pillow.
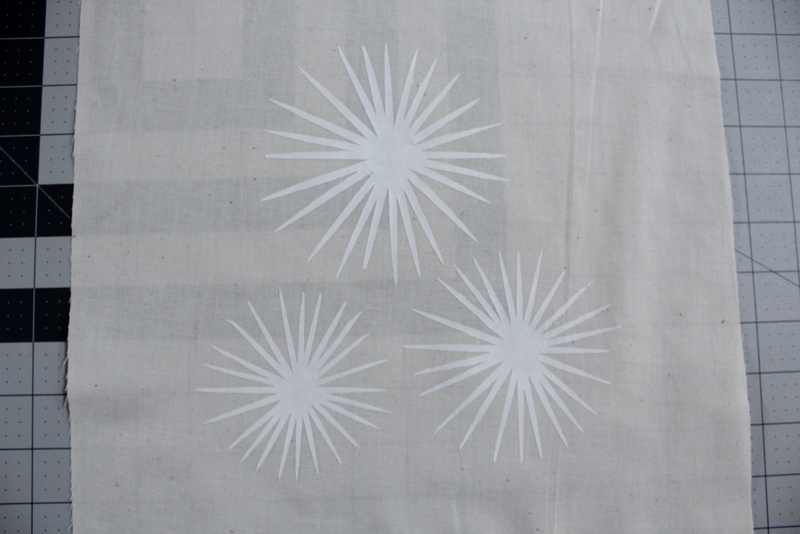
Iron the adhesive onto the 12″ square. The paper will face up and you will want to use a pressing cloth. (For tips on using the deco foil check out THIS POST!)
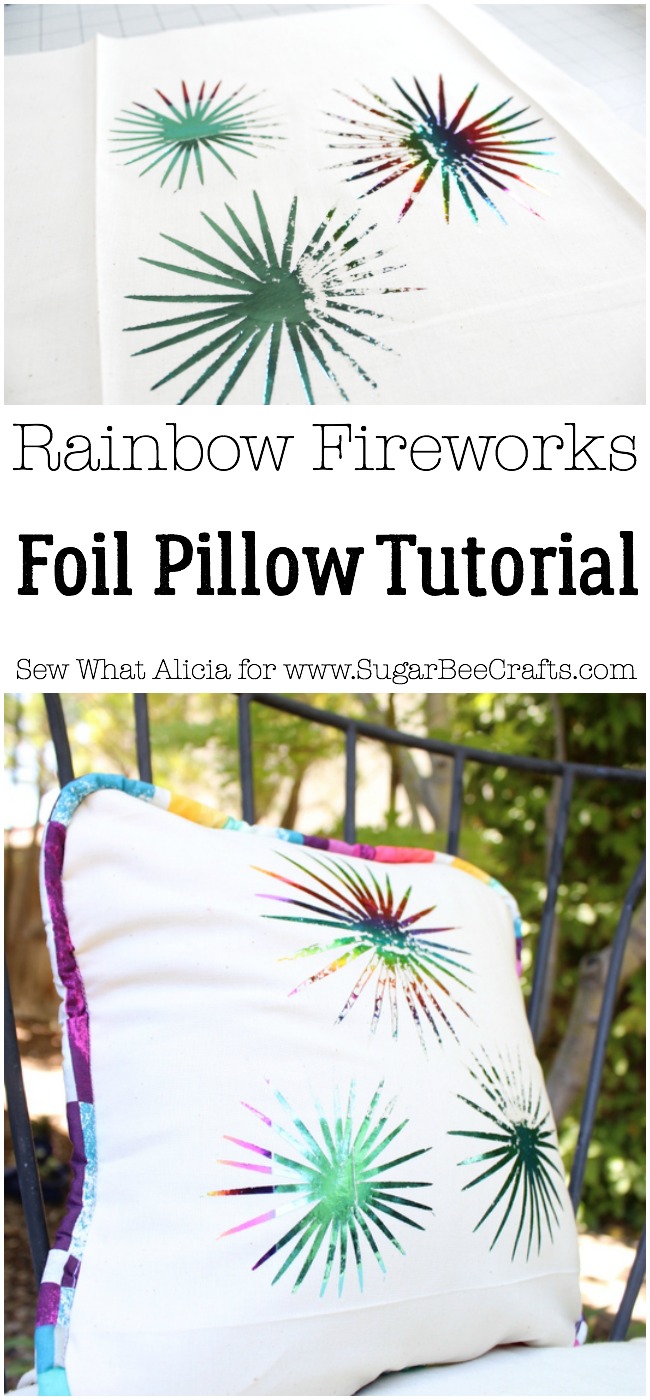
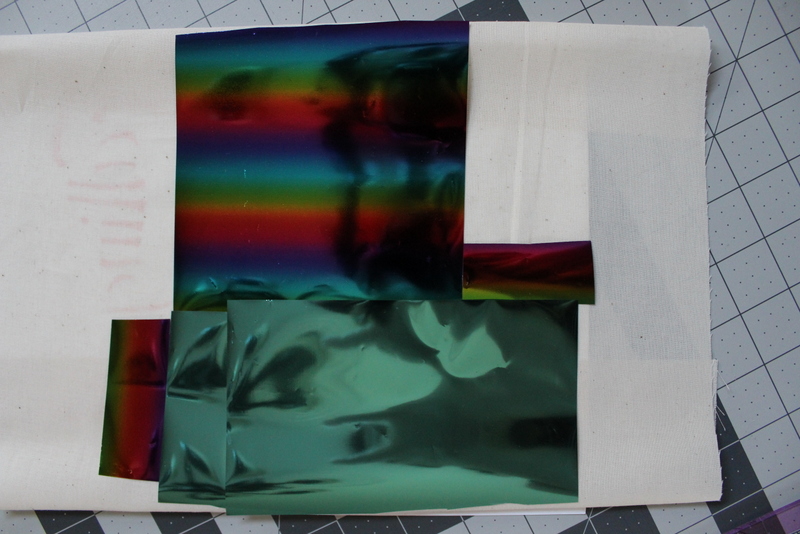
Peel the paper off and cover the fireworks with the foil. Use a heat source, I like to use my laminator and chipboard, to attach the foil.
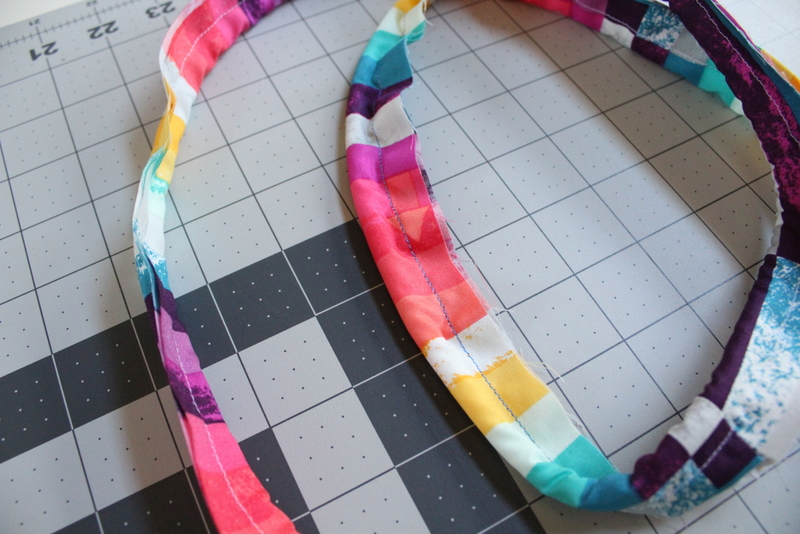
Once you have attached the foil we are ready to make the piping for the edge of the pillow. You will need a strip of the coordinating fabric that is ~64″ by 2 1/4″. You will also need a length of the cording that is ~64″. Enfold the cording in the fabric and use your zipper foot to sew as close to the cording as possible.
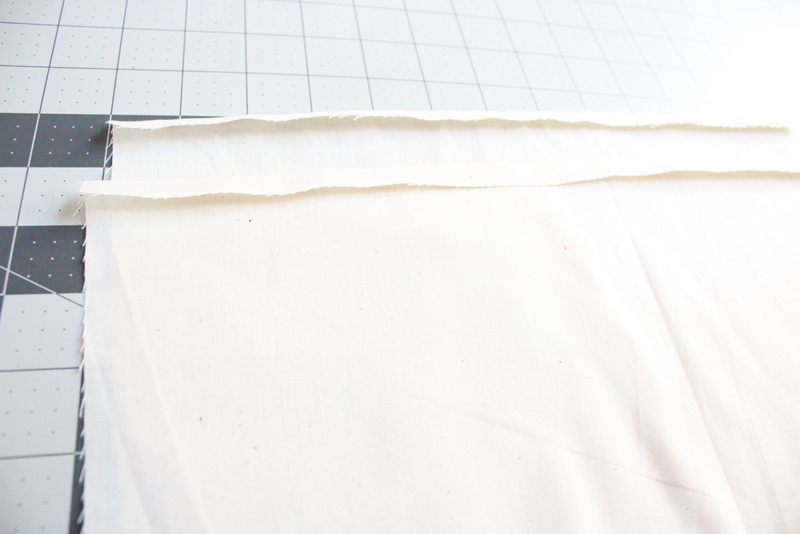
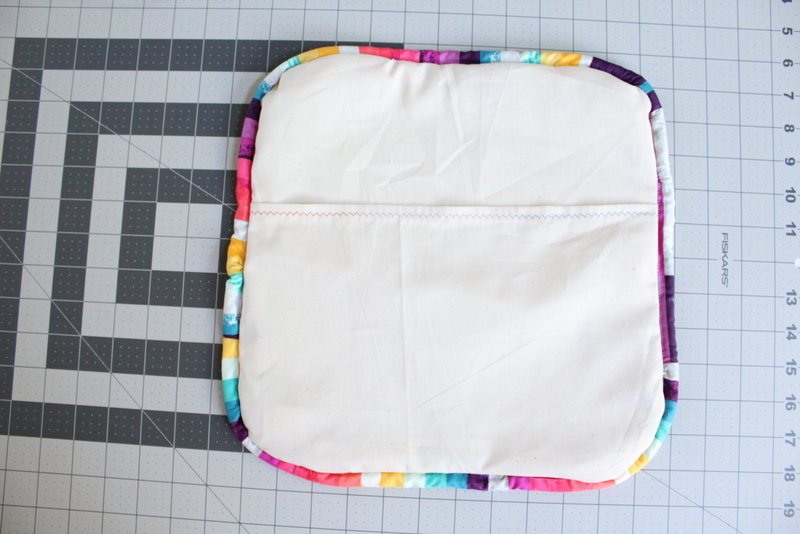
Next take the two rectangles and press one of the long edges under by 1/4″.
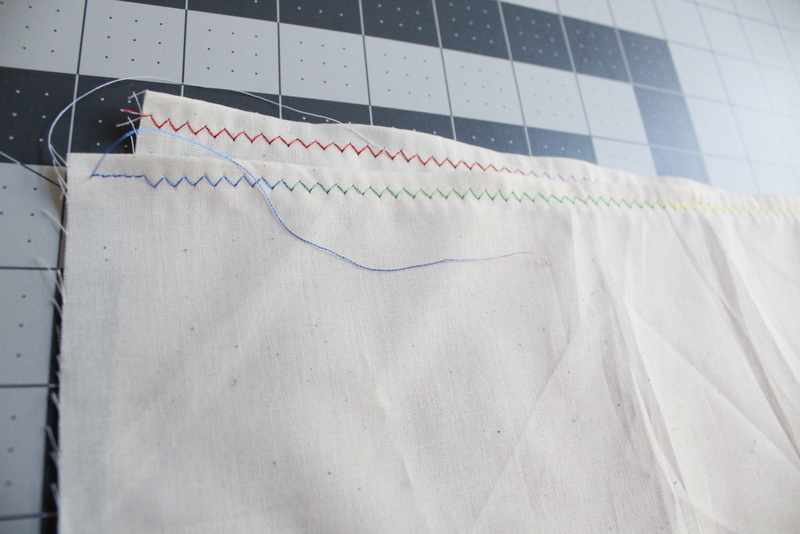
Top-stitch this seam in place. I used a zig zag stitch and a rainbow thread to add to the detailing of the pillow.
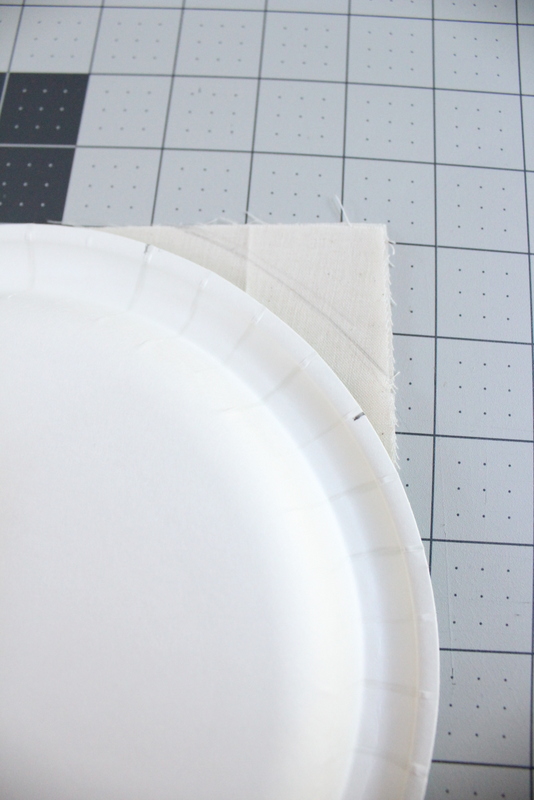
To make it easier to add the piping I wanted to go with a curved edge. I used a really fancy tool to achieve this, a paper plate! Mark off a few inches on the paper plate and use it as a template for the curve. You could also use a bowl or something else round if you don’t have a fancy paper plate!
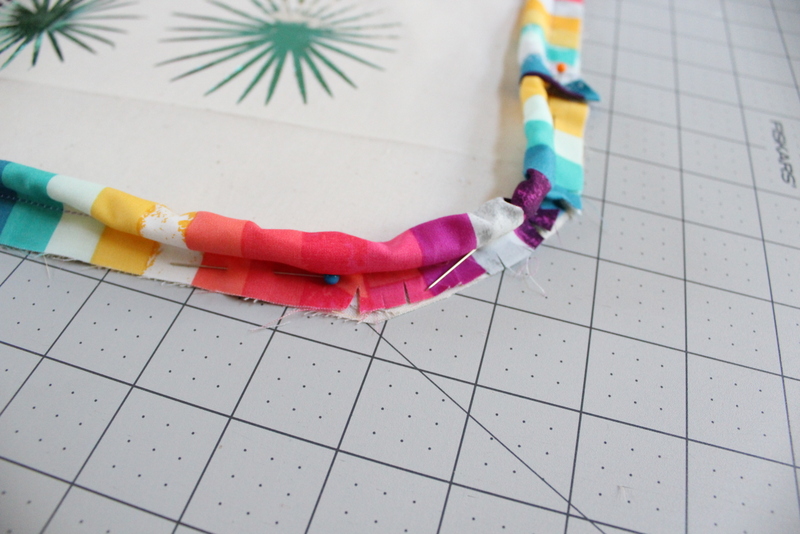
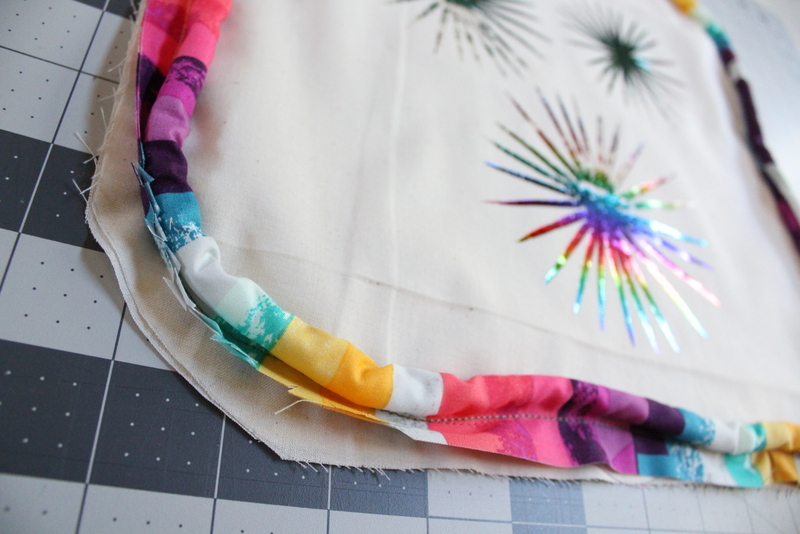
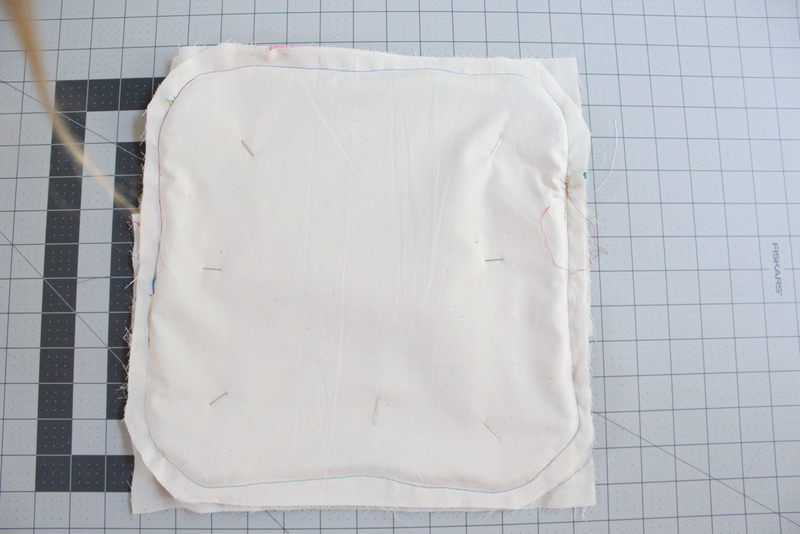
Trim the corner and then start pinning the piping in place. The raw edge should face the raw edge of the square. When you get to the corners you will want to snip little triangles into the fabric so that it will turn, but don’t get too close to the seam and the cording.
Using your zipper foot again sew the piping in place as close to the cording as possible.
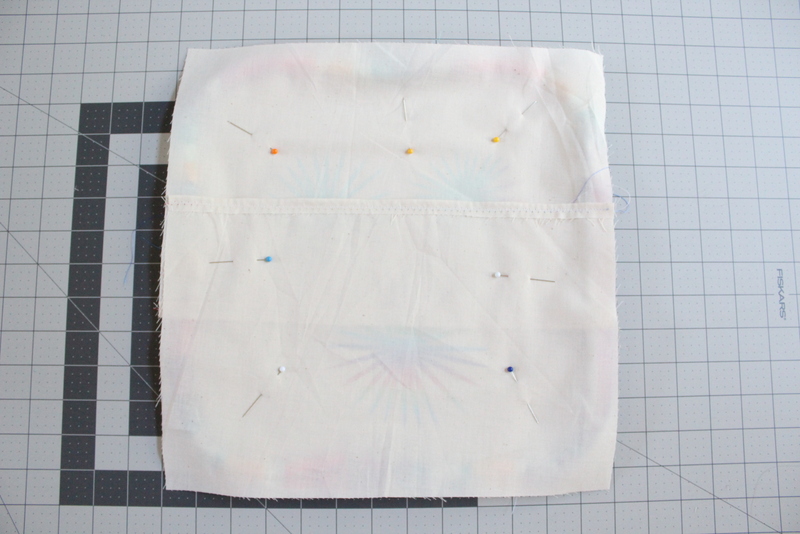
Now we are ready to put the pillow together. Take your to rectangles. Line them up so that the wrong side is facing out, right side facing the fireworks. Pin this in place well away from the edge. Don’t worry about trimming it to match the other side yet.
Turn it over and sew again with your zipper foot. Try and go over the seam that you made when you attached the piping. That is why you will turn it over and why you have pinned well away from the edge, so that you can see the piping and the stitches you already created.
Now you are ready to trim the excess and turn the pillow out.
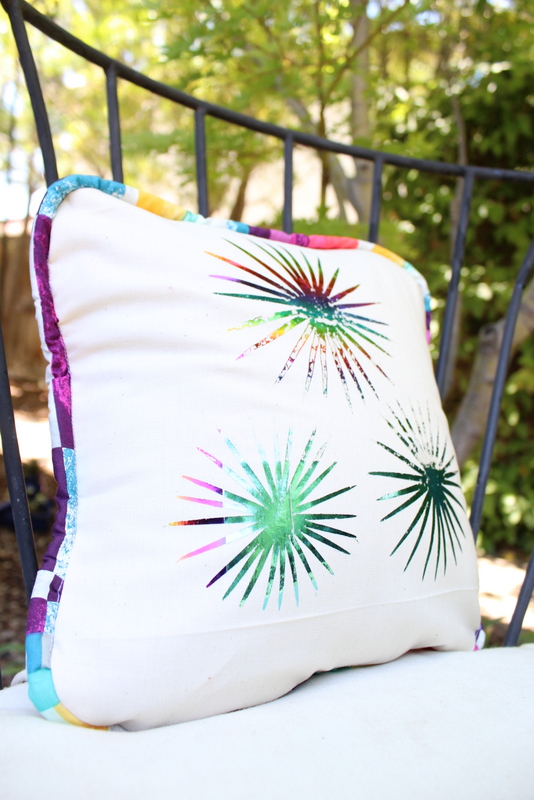
And that is it! Now you have a fun fireworks pillow!!
It is seriously impossible to take a photo of this foil without it catching all sorts of light! It is so so so fun and pretty!!

Thanks for letting me share this fun pillow with you! You can find me over on Sew What Alicia sharing sewing tutorials and other great sewing tips!
If you liked this post you will love my Fat Quarter Pillow Cover and {Almost} No Sew Bubble Gum Pouch
Connect with Sew What Alicia


