Hi everyone! I’m Shannon, the redhead, from eat.sleep.MAKE. My sister-in-law, Jen, and I blog about crafts, sewing and design. We’re so excited to be guest posting at Sugar Bee Crafts today! The tutorial I’m sharing with you today is so easy! A needle-felted tree skirt… may I emphasize the no-sew aspect of this project? I kinda love anything that’s no-sew! Now let’s get started
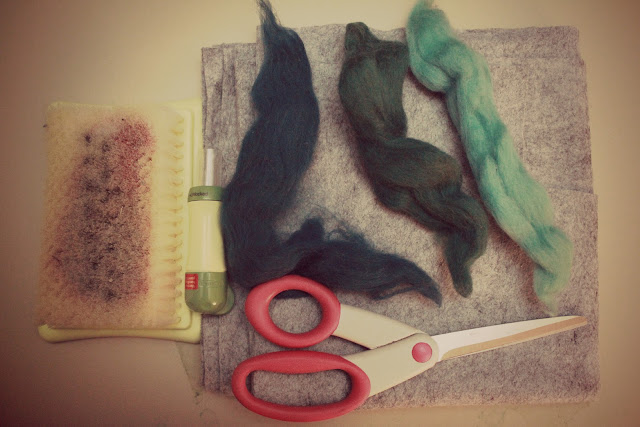
What you’ll need:
Needle felting tool
Needle felting brush
Wool felt (amount depends on size of tree skirt you want)
Wool roving
Scissors
First:
Cut a circle… if you’re doing a tiny tree skirt like mine, you can use a big bowl as a template
Second:
Fold your circle in half, and in half again. Cut an arc at the folded point to create the circle in the center for the tree trunk.
Third:
Cut a straight line from the outside of the circle to the inner circle (this allows you to get it around the trunk of your tree).
Fourth:
Tear of a thin strip of wool roving and line it up about a half inch from outer edge of circle.
Fifth:
Stab it! Be careful not to stab too much or you will degrade the strength of the felt. (bottom left photo is showing the back of the felt post-stabbing)
Sixth:
Continue laying strips of roving where you want your stripes to be and stab away!
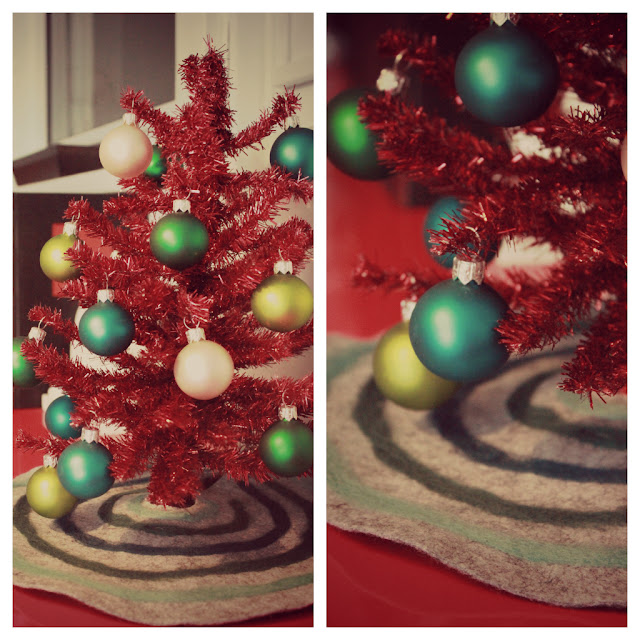
Once you are finished stabbing all your felt, dress your tree!
I actually think I’ll be moving this adorable little tree + skirt to my cube at work!
It’s been a blast being over here at Sugar Bee Crafts! I hope everyone has the merriest Christmas of all! We would love for you to stop over and see us at eat.sleep.MAKE We have tons of great tutorials like our Plywood Inspire Boards and Citrus & Herb Soap!
Thanks for checking out this post from www.SugarBeeCrafts.com – – click on over to read it in its entirety – you’ll love it!


.jpg)


