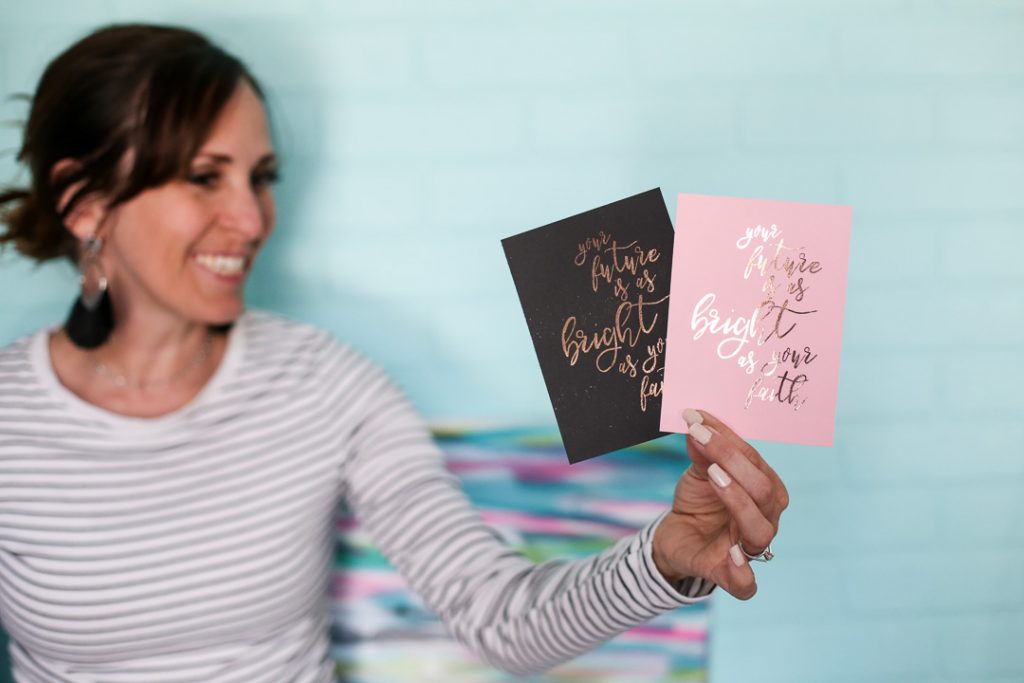
I shared a fun project on IG, and everyone is asking about how I did the foiling – so I thought I’d better show ya how! It’s a simple way to really add that extra step of WOW to your projects!
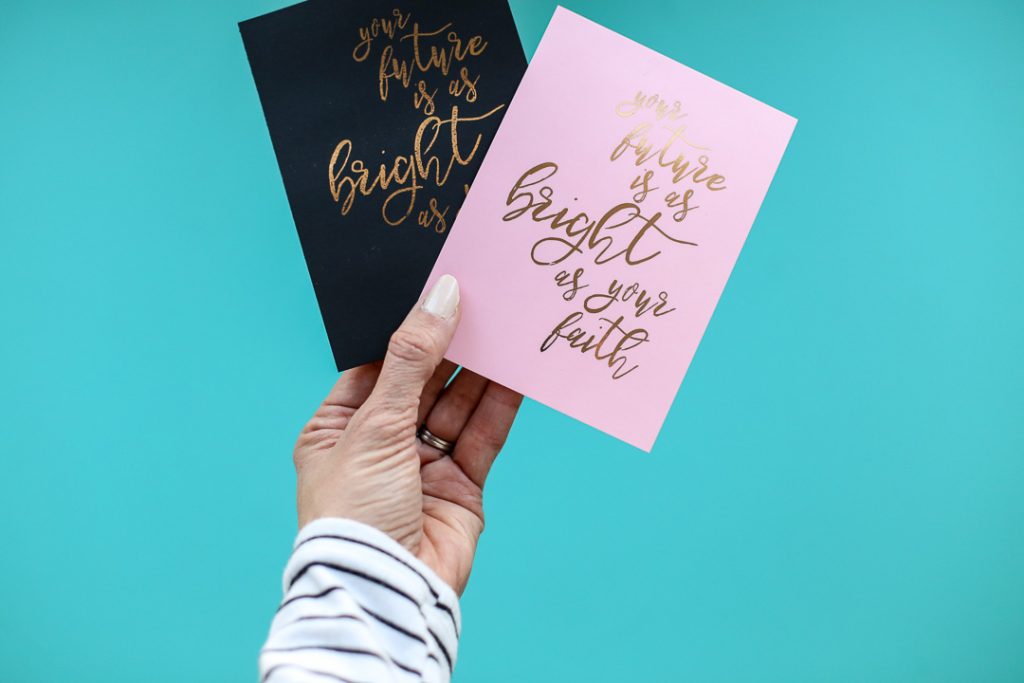
It’s a pretty simple process and once you’ve tried it you are going to want to foil all the things!! This post may contain affiliate links.
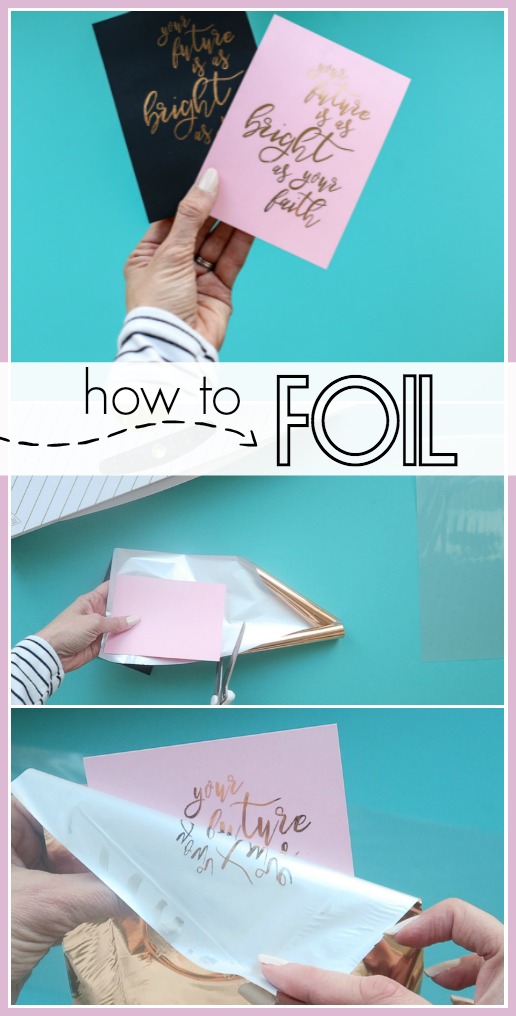
How to Foil Craft Projects
You’ll need:
–your project printed from a Laser Printer – I use my home printer. You can also stop in to a print store and have them print something for you.
–Minc Machine or Minc Mini
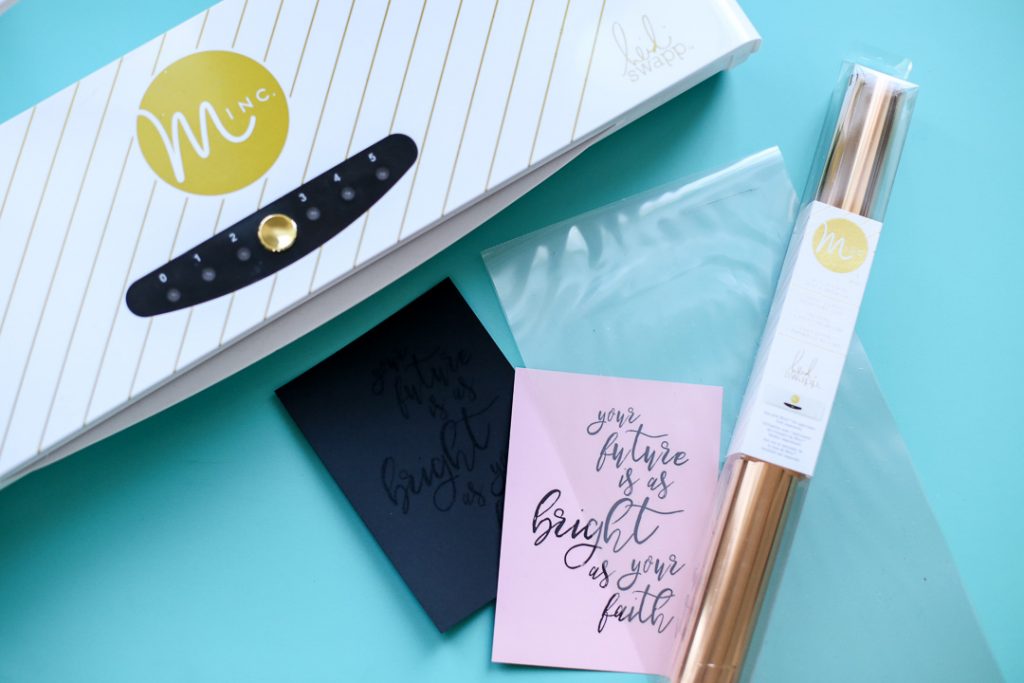
How to Foil with the Minc
Guess what – I have a video tutorial for you! It’s super short and gives you a great run-down of how this whole process works! Here ya go:
How to use the Minc Foil Machine
If you prefer step-by-step instructions, here you! First up, cut a piece of foil big enough to cover your project:
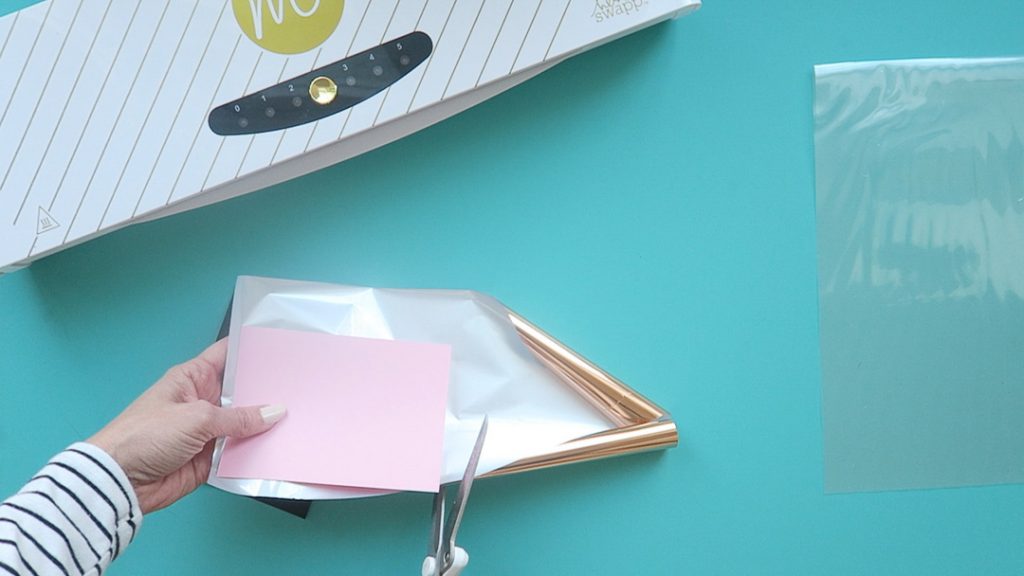
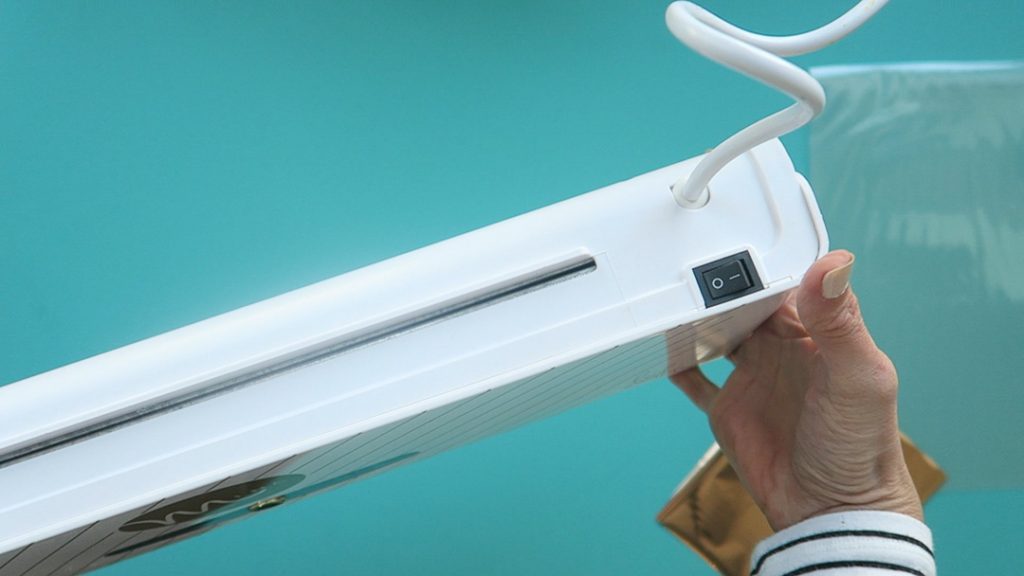
Then turn on your Minc machine. Don’t panic if you hit the gold button and it doesn’t turn on – check to make sure the main power switch is on in the back:
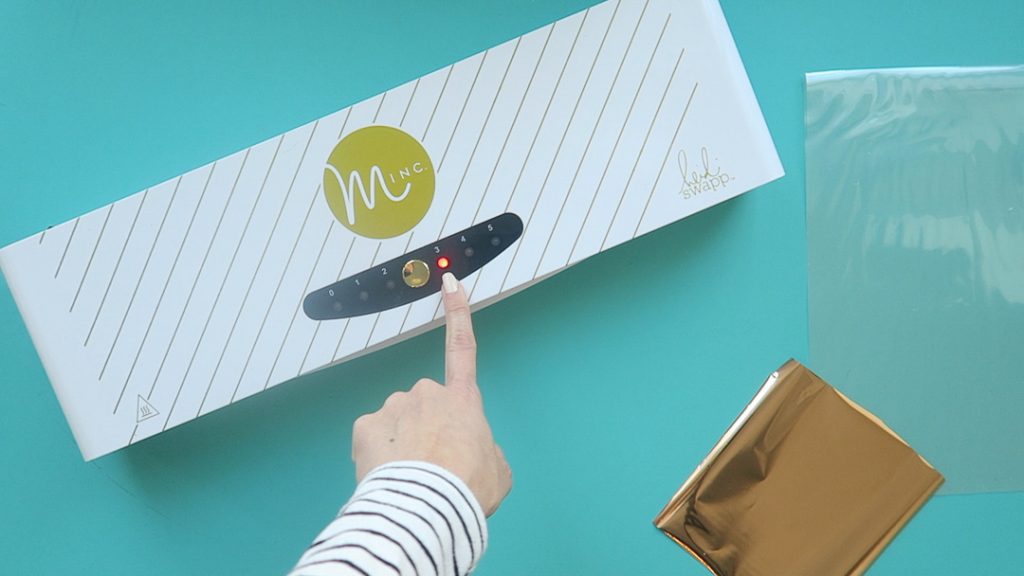
Then you’ll press the top gold button until it’s at the setting you’d prefer. I set mine to 3, but you can experiment to see what’s best for you.
Open your clear folder, place your project in face-up and then place the foil face-up right over the top of it. Close the folder and feed it through your minc machine with the folded side first. Catch the video to see this in action. Then when it comes up, just lift off the foil and voila! It’s SO cool to see the grand reveal!
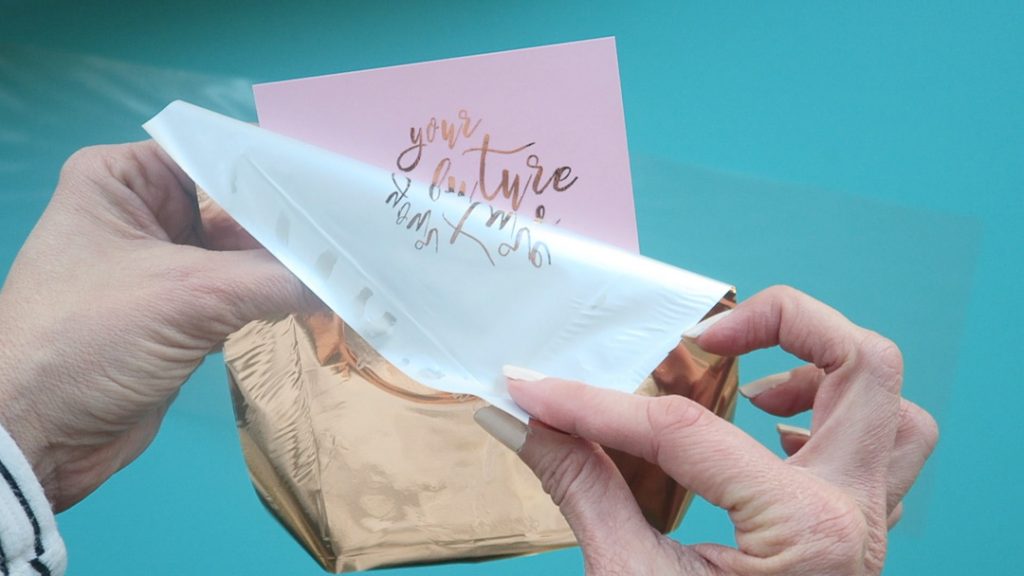
Here’s the foil, you can see how it just takes anywhere that you have ink on your project and just melts the foil right to it. Super Cool!
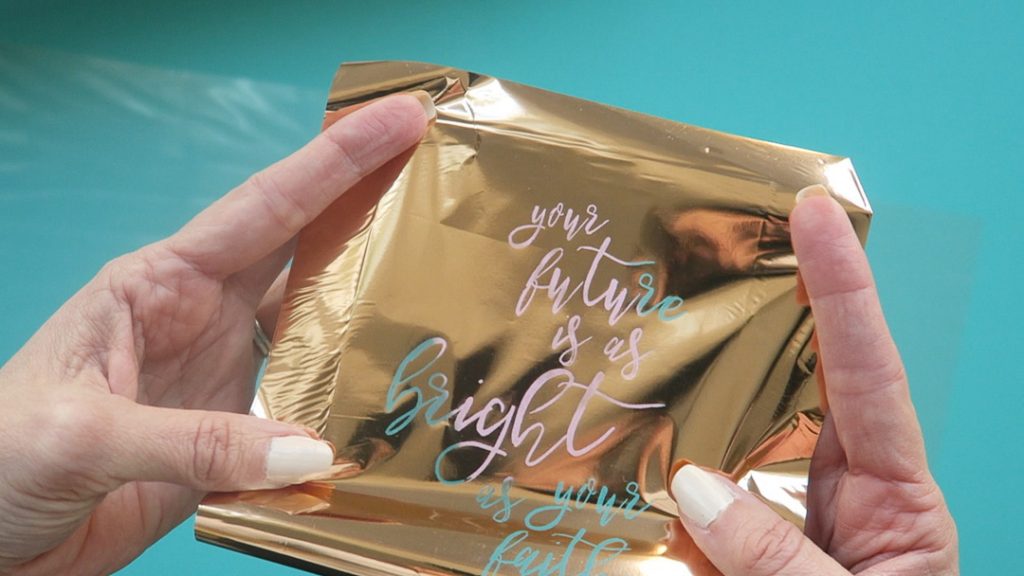
Have fun with your foiling! Can’t wait to hear about all your projects!


[…] was asking about How To Foil, so I put together a tutorial, you can check that out HERE. I love foiling! I can turn simple […]