Today I want to show you a brief tutorial on how to create a Rolled Fabric Flower Necklace. No sewing required!! I created this for a guest post at the Time Out For Women Blog and wanted to share it here in case you missed it there…
Not only will it be fun to make, but you’ll feel great wearing it! Around the holidays, there are several chances to dress up. But there are also several holiday parties that are casual – I wanted to create a fun necklace that would bring in some holiday color to a casual outfit.
Everyone can make this! Let’s get started…
You will need:
-fabric – there are squares of prepacked fabric called “fat quarters” – they are only $1-2 and are perfect. Or any scrap fabric you have laying around is great too.
-a piece of felt – you can buy it in the craft department of most stores for $0.25
-scissors
-hot glue gun
-necklace chain
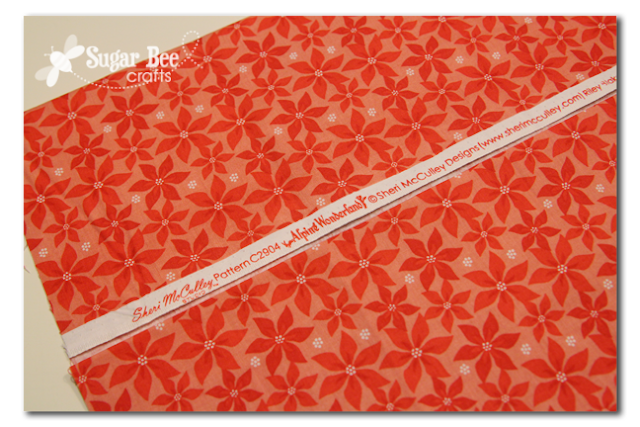
I fell in love with the orangey-red of these poinsettias from the Alpine Wonderland fabric line from Riley Blake. I also think the necklace would look good in a deep red. Or lime green. Or any color really!
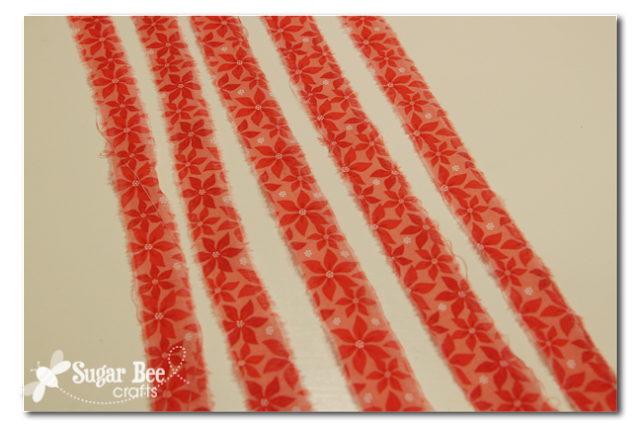
Rip the fabric into 5 strips that are about 1 inch wide. No need to be perfect. To do this, cut a slip at the edge with scissors, then hold the fabric firmly with one hand and rip down with the other hand.
I like to iron my strips after I rip them, but you don’t have to if you’d rather skip that step:
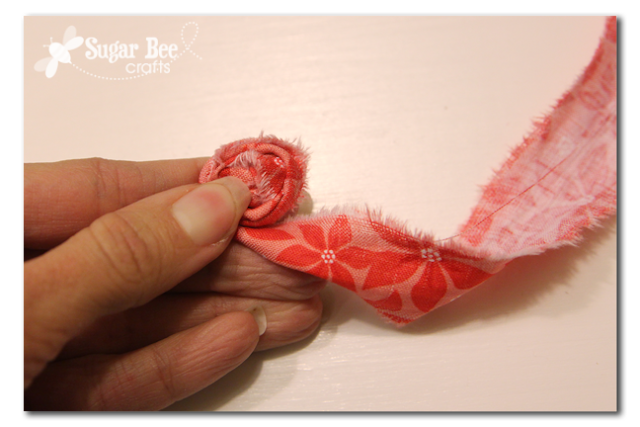
Take one strip and tie a knot in the end – that will be the center of your flower:
Holding the knot, start rolling an twisting and rolling and twisting as you coil around the knot. Hold the flower flat as you go. This part is hard to explain so I have made a How To Make A Rolled Fabric Flower Video if you need additional instruction. If you need to, you can hot glue the rounds as you go, but it’s not necessary if you hold it tight enough.
When it’s the desired size (mine is about the size of a quarter) cut the strip where you want it and secure the end by using hot glue and tacking it to the underneath side of the flower:
Then cover the back in hot glue, avoiding the very edge of the flower. While the glue is still hot, press the flower onto the felt.
After it dries, carefully cut around the flower leaving the circle of felt on the back, like so:
Repeat until you have 5 separate rolled fabric flowers:
Arrange them on your felt in the shape you would like. A slight curve seems to look best:
Once you know the arrangement, grab the middle flower and cover the back in hot glue, then stick it back into it’s spot. Then work your way to all the flowers. Make sure they’re positioned close to each other so you can’t see the felt between the flowers.
Even when you have the flowers positioned close together, when you pick up the felt, it will bend open inbetween the flowers. So you’ll need to put a line of hot glue on the edge of the flower and glue it to edge of the flower next to it, like so:
After all the flowers are glued down, carefully cut around them. This will leave a smile shape of felt on the back, connecting all the flowers.
Grab your chain and cut it in half. If it’s a ball chain like mine you can just use regular scissors. Other chains might require something stronger.
To attach the chain, just put a glob of hot glue on the end of the row of flowers. Lay the chain on top of the hot glue while it’s still hot. Quickly press a small square piece of felt on top of the glue and chain to cover up the area, as shown:
That’s it!! In less than an hour, you have created yourself something cute and fun to add a little spunk to your wardrobe.
Wear it proudly!


I love these….I make them also, and always get the greatest comments whenever I wear them. This looks so festive.
Deborah
threedawgladydesigns.blogspot.com
Love this! It looks like it came from a boutique! I’ve used the rolled flowers on a wreath but never thought of using them as jewelry!
This is so cute, Mandy! And I love the little red accent above your boots – to match the necklace. :-)))
That necklace really adds a nice pop to the outfit. I think the roses are the perfect size & the necklace hits your shirt at just the right length. Very cute & nicely done!
This comment has been removed by the author.
Thanks for this tutorial, Mandy. Although I’m not very crafty, I think I may have to try this. You made it look easy enough. Wish me luck. 🙂
You know Mandy? You are just absolutely amazing!!! I’ve said it before but I’m gonna’ say it again…I want to live next door to you! We would be crafting all day! I love this necklace and I’m gonna’ try to make one! Thanks for the video on rolling the flowers and the instructions to make this necklace. You never cease to amaze me! Love & hugs from one of your biggest fans!
LOVE it – so pretty! -Lindsey
LOVE your hair like that! And the pops of red in the necklace and socks are so fun!
These are soo cute! I can see them on a little headband for Edison too. Love! Thanks!
What a cute idea. I am visiting you via Somewhat Simple. I look forward to seeing you at My Dream Canvas. Happy Holidays. Anu
This is a very pretty piece of jewellery and it does not cost much as well. What a perfect combination to own something beautiful and cost-efficient at the same time. This can also be a bonding activity with young children who love arts and crafts and the fabric colors will definitely get them glued to their seats for more. When I have the time, I would definitely go and grab a few fabrics and at least two colors for each before hitting the crafts room at home. They would make great gifts for the loved ones.
I love this! I know it has been a long while since you posted this, but do you remember where you purchased the chain?
I use an etsy shop called CandyTiles, and I talk about that on this post: https://www.sugarbeecrafts.com/2010/04/glass-tile-pendants.html
good luck with your necklace!