


Yep, foil – you read that right. Not “foil leaf” or something fancy – just regular ole foil I keep in my kitchen. Makes for an awesome dresser, right?!

I saw this idea over at DeJa Renew and knew it was for me! My son’s dresser was a little on the small side so I moved it to my craft room – here it was before:

Obviously fine for a baby’s room, but definitely needs some sprucing up if it’s going to live in a fabulous craft room. First cut a really long piece of foil from the roll and wadded it up – don’t squeeze the ball too tight or it will be a beast to undo.

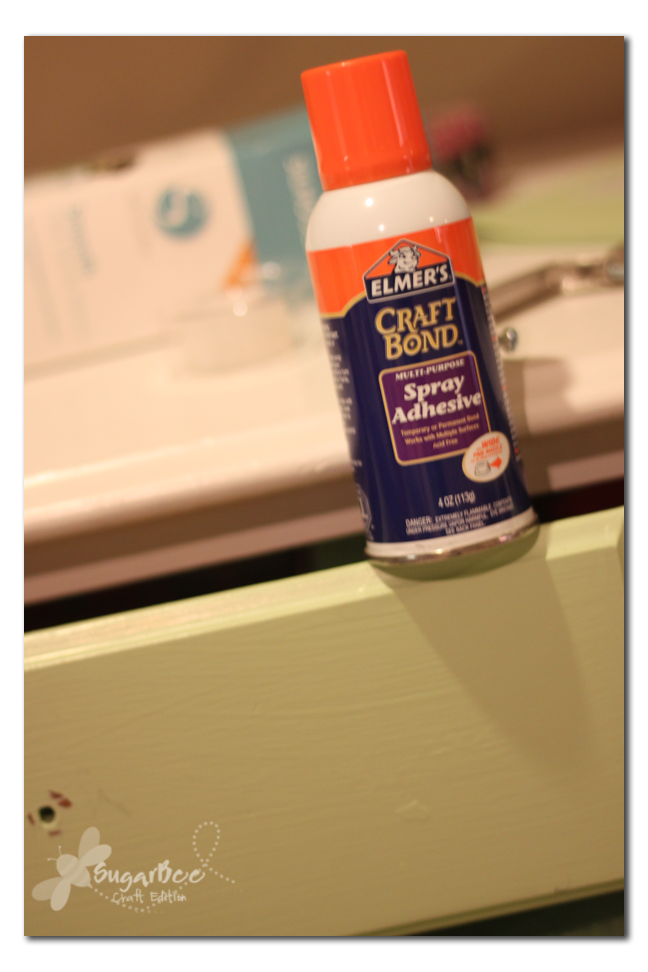
Undo the ball – now it will have those nice wrinkles. Smooth it out flat. Then spray the drawer fronts with glue.
Next press the foil sheet onto the drawer – be sure to press and press everywhere.
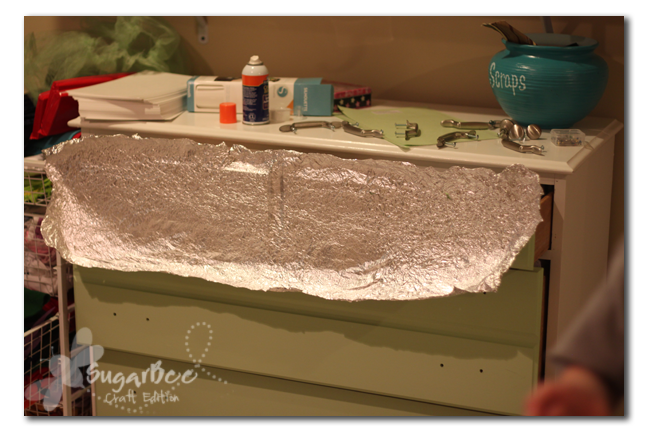
I had overlap all around – I just cut in the crack and pulled off the excess.

When I had all the foil attached, I painted over it all with Mod Podge so the foil would be more protected over time. So far it’s held up great for me – I’m not sure how it would do somewhere in daily use (like a kids’ room) but for a craft room it’s perfect. Love the pizazz!!

And I love that I redid a dresser with stuff I had around the house, so total cost was nothing (well, I did end up buying new handles, on clearance for $0.50 each – not quite what I was looking for but it was too good of deal. It took me a week or two to realize one of the handles doesn’t match the others – it must have been in the wrong bin – whoops!)

Are you kidding me!!! OMG that looks so expensive. wow I am so going to do that to a table I have here.. Thanks for the Idea, so clever.
creative genius on the cheap…LOVE it!
You are Ah-mazing!! 🙂
Wickedly awesome & uber crafty! Loving the shine!
Oh Wow — who would have ever guess! It turned out very nice – amazing what you can use in furniture makeovers!
This turned out really well! I did a foil tray and its like my favorite thing in the kitchen. 🙂
Wow, Mandy! THis dresser looks so amazing. Love it!
Halsey
i done my son’s entire room in tissue paper.. he loved it and it was so cheap!!
Too cool! I love the use of the unexpected on everyday items, awesome job!
SuWeeet! I’m not gonna do it…But I Love It!
That is awesome!!! Love that you used normal foil!! 🙂 And it’s so shiny and spiffy now!
hiya , lovin that make over and lovin that it was FREE yay , tfs
xmaggiex
This is such a fun makeover! I love how inexpensive it is too!
Can I keep it?! It looks simply stunning!
I just found your blog and am your newest follower. Thanks for creating such a great blog that is overflowing with fab inspiration!! I love it.
This is GORGEOUS! I love that you used regular ol’ foil too, very innovative. Sometimes I like to use crumpled brown paper bags when Mod-Podging, I’ll have to give foil a try!
For the 500th time you rock! I am so stealing this! Thanks for linking up with DIY under $5!
Wonderful job!
Okay now you have me looking for a cute dresser to try this on! I am trying to make one of our guest rooms into a guest/craft room and this would be the perfect look!
Just one word…FABULOUS!
this is awesome, i nver would have thought of this. was it difficult to not rip the foil? since the foil was in one piece would it have been more easier if the foils were ripped up in different pieces?
it didn’t really rip, as long as when you crumble it you don’t crumble it too tightly. good luck!
I might try this on the file cabinet I have. Its so ugly!
k, this is just RAD!!!