I love String Art! I just can’t get enough of it. So here we are again with another string art project – but this one has a twist…. can you guess??
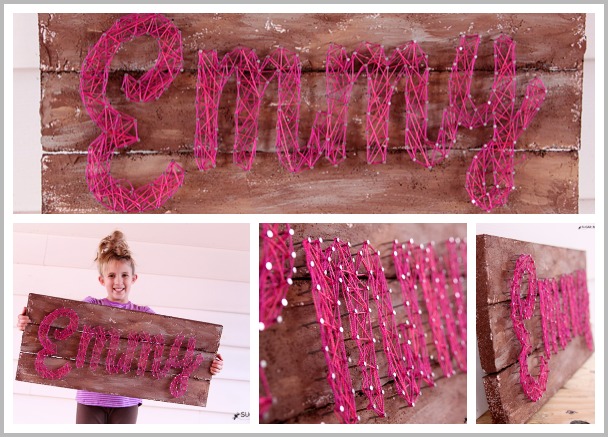
This Word String Art is made from FOAM – yep, foam! For my FloraCraft Make It: Fun Team project this month, we were challenged to make some wall art with foam sheets. I knew I wanted to try faux pallet wood out of foam, and I knew it would be an awesome base for string art. I have an awesome initial art in my son’s room, but it’s pretty heavy – I knew foam would be an awesome base and I was excited when it came out just as I pictured. It’s a large piece of wall art, but not heavy at all. Love that!
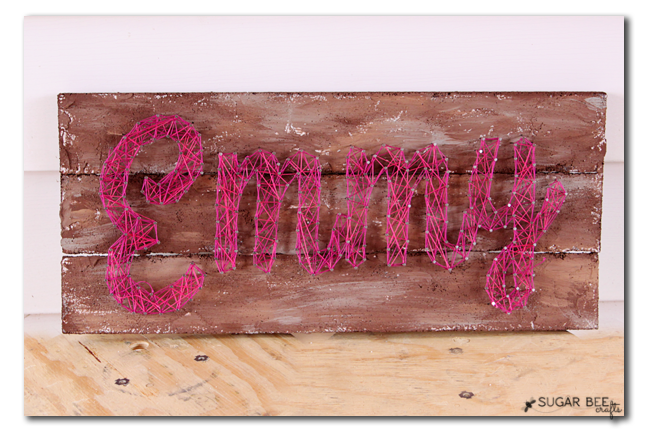
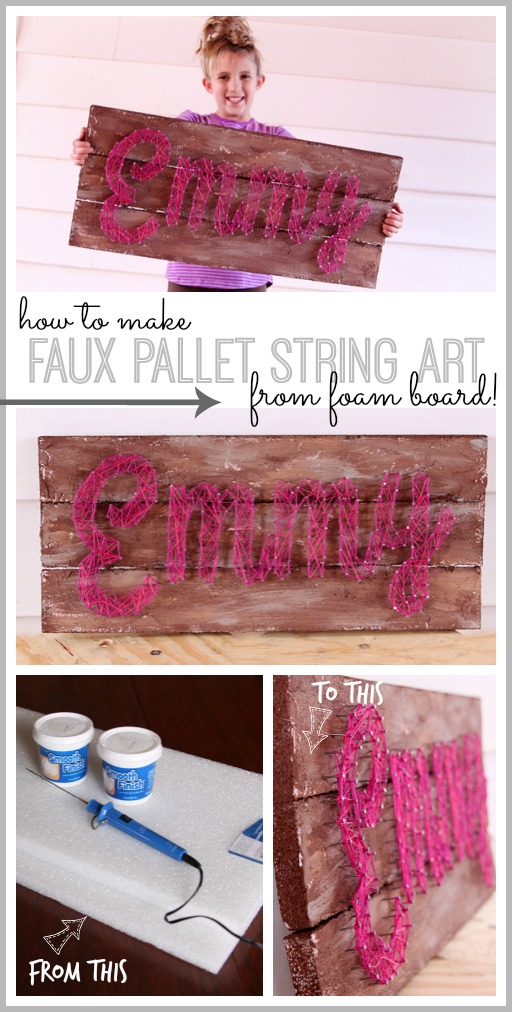
So here we go, on to the tutorial – how to make Faux Pallet String Art, from foam board!
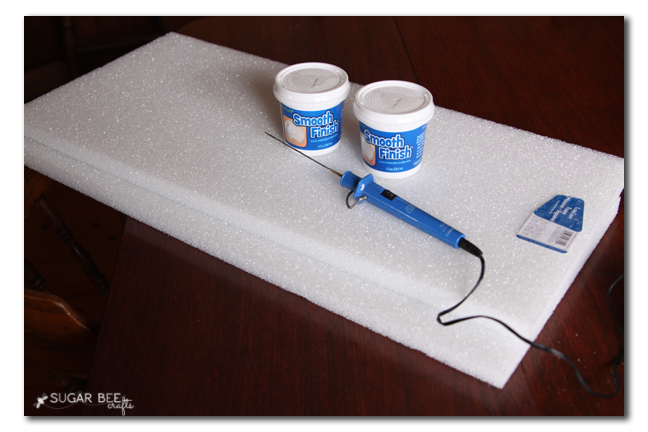
You’ll need one large foam sheet. I show two because I was making a couple of different signs (yep, more in the works….) – you’ll also need Smooth Finish, this special cream for foam. It’s located in the store by the foam. I love my foam cutter – it heats and melts right through the cuts – but you can use a knife as well. Then you’ll need foam connectors (more on that later), paint in a few shades, string, and nails.
First up, divide your sheet into 3 strips, so mark 2 long lines. Mine were 4 inches wide.
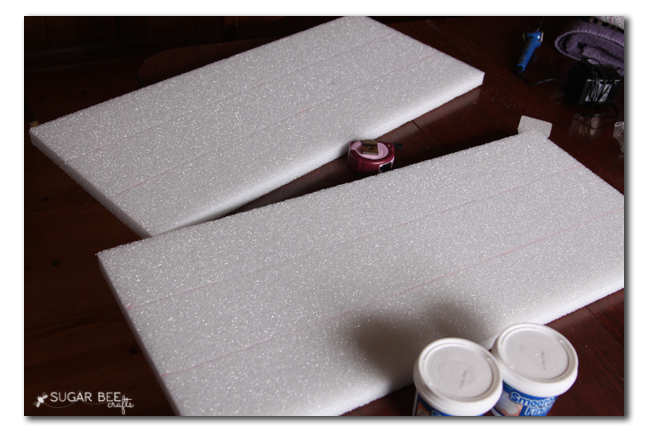
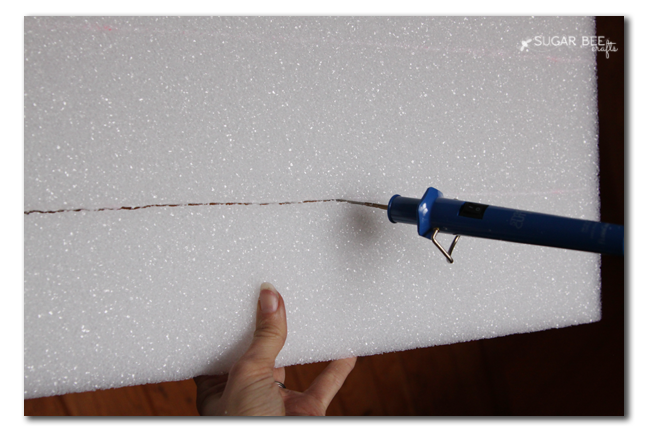
And then cut along those lines – it doesn’t have to be perfect, that’s part of the charm of the pallet wood look.
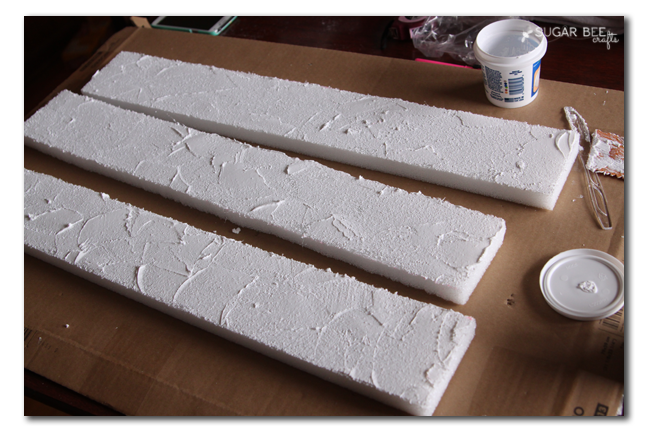
Now the fun starts – you spread the Smooth Finish in a messy fashion over the 3 strips. I used one can , but two might have been better and I would have gotten a little more coverage. Then let it dry completely (maybe an hour?)
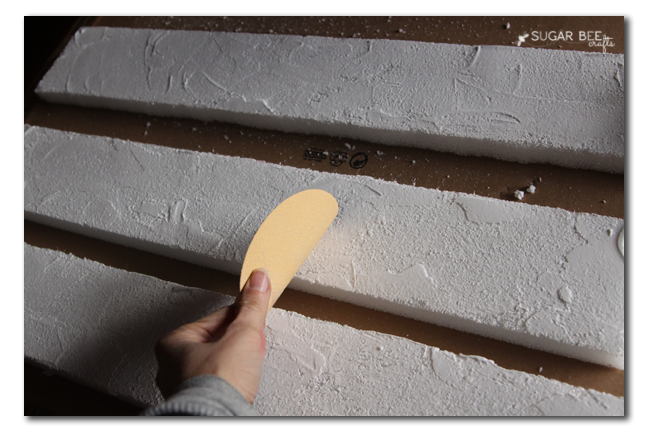
After it’s completely dry, give it a light sanding with some sandpaper, to smooth it down just a little.
Now, on to another fun part – painting! I started with a base of brown, but I didn’t worry about covering everthing exactly – I just did a quick brush on. I made sure to cover all the edges as well.
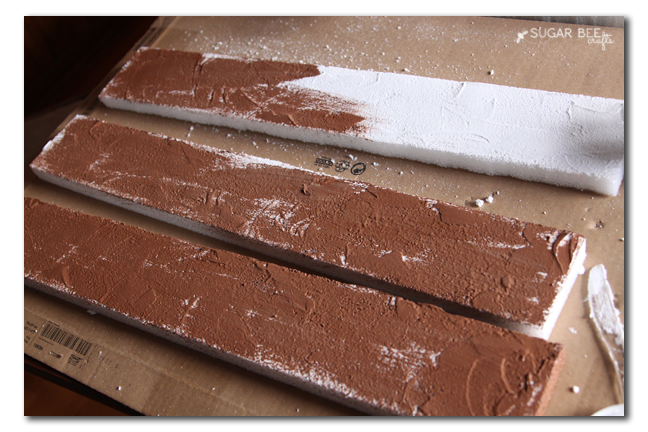
Then you can layer on a couple of other colors – you don’t even need to clean your brush or let layers dry – just keep adding colors in splotches while it’s all still wet. I used a lighter brown and a gray. Then let the paint dry completely. I let mine dry overnight.
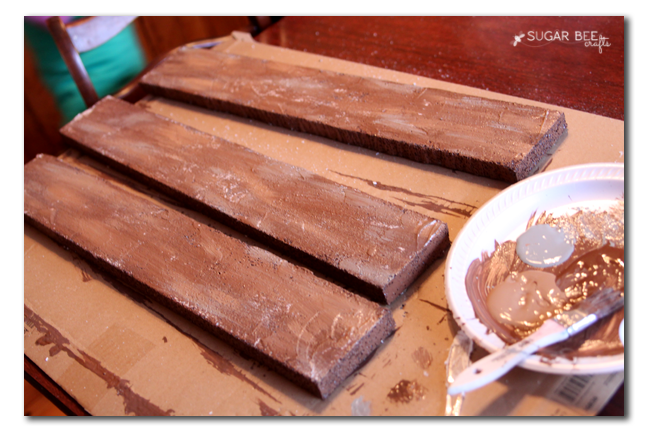
On to assembling the pallet – this is so much easier than working with an actual pallet (if you’ve ever tried to take a pallet apart and put it together again in a project, you know what I’m talking about – those things are awful!). You can use these awesome foam connecters – they look like this:
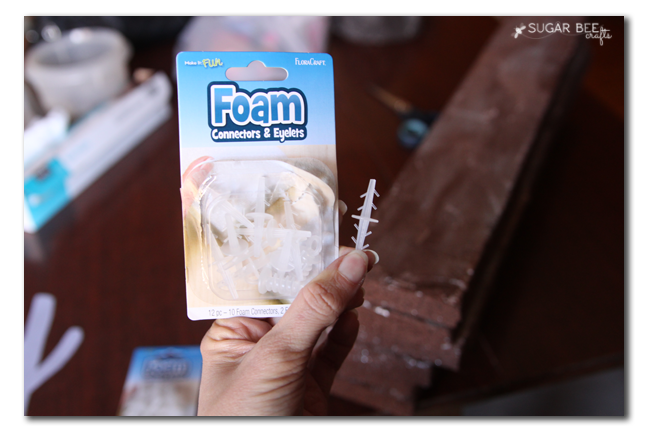
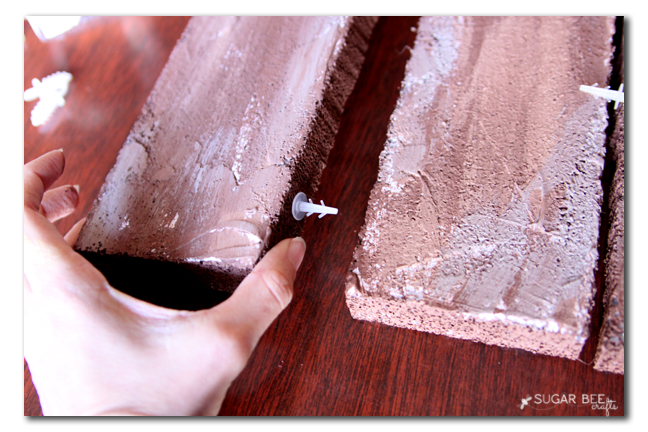
They slide in to the foam and then those spike side things catch and prevent it from coming out. So you push it into one “wood slat” and then push the other slat onto the other end. They hold everything together surprisingly well and sturdy.
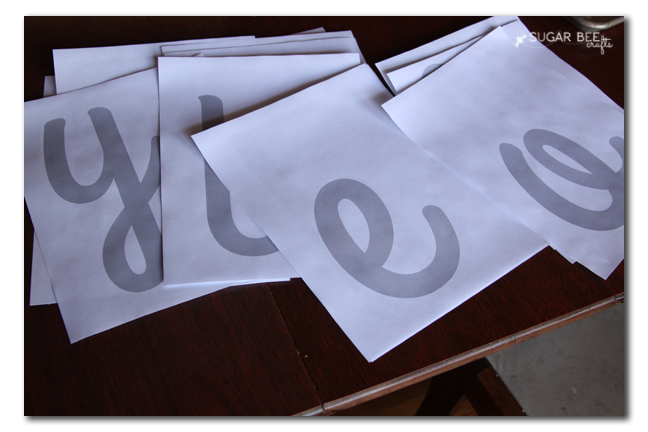
Moving on to the string art part of the project – – I printed out letters on the computer and then cut then out to use them as my template.
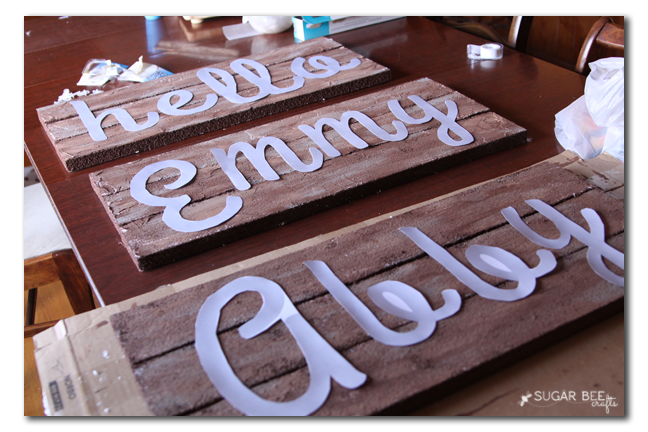
Then lay them out on your “pallet” how you’d like your final string art to be situated.
Next up, you’ll need nails. And way more than you think! I used about 3 packs on one sign, and I could have used a little more. I used these ones, but I’m sure you have tons of different options.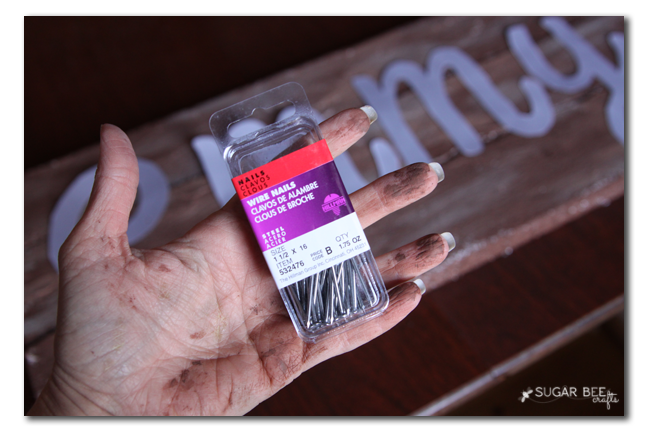
The more nails that you use, the more details you can bring out in the curves of your letters, etc. You just push them into the foam about half-way, using your template as a guide.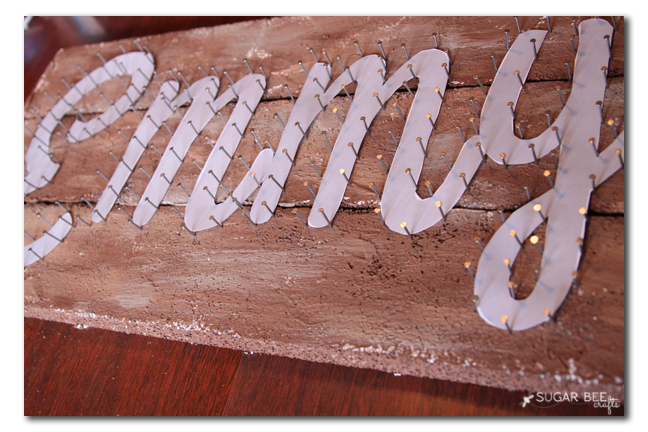
Then tie on your string and start wrapping. It’s hard to tell in pictures, but I used a purple and a pink, and just had both strings going at the same time and kept alternating on which one I was using.
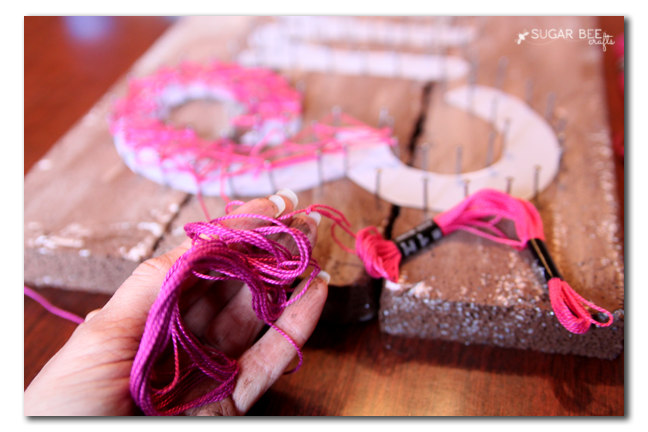
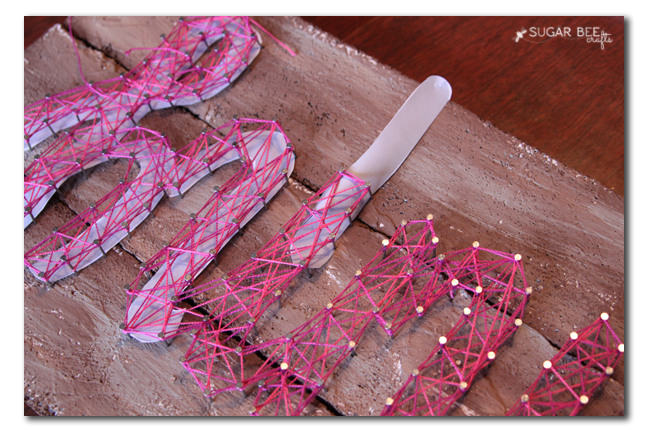
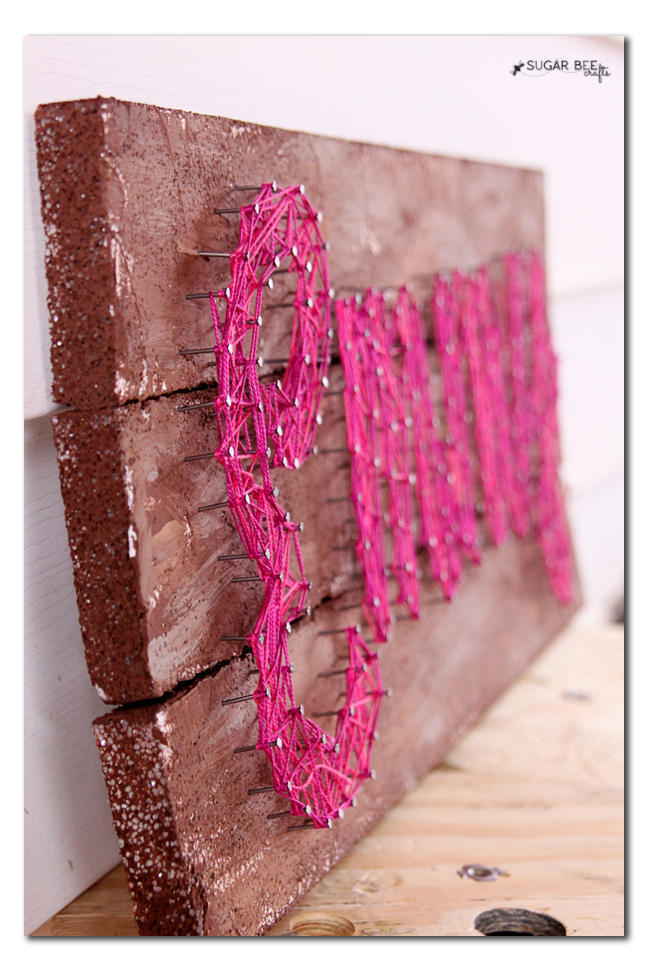
Be sure to wrap the outline of your words – it helps to really define the letters and helps your image to pop. After you’re all done, you can pull out the template papers – you might need to cut it in a few spots to get it to pull out.
That’s it! Here’s a close up view of the wrapping, if that helps:
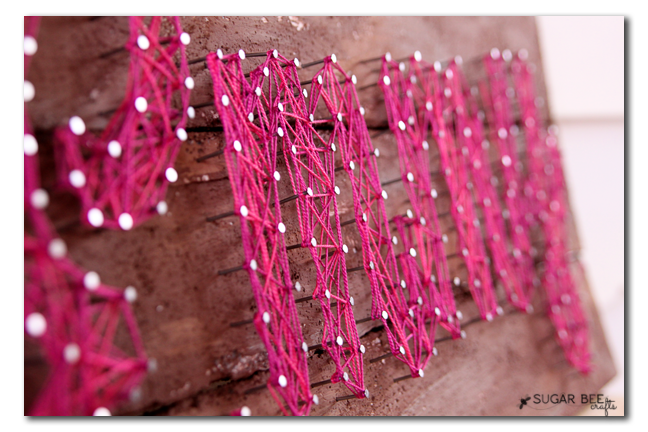
I love that it’s a big statement piece, but still lightweight and easy to work with. I think wall art is meant to be personalized and this will be an awesome addition to her new room (whenever we build it…..)
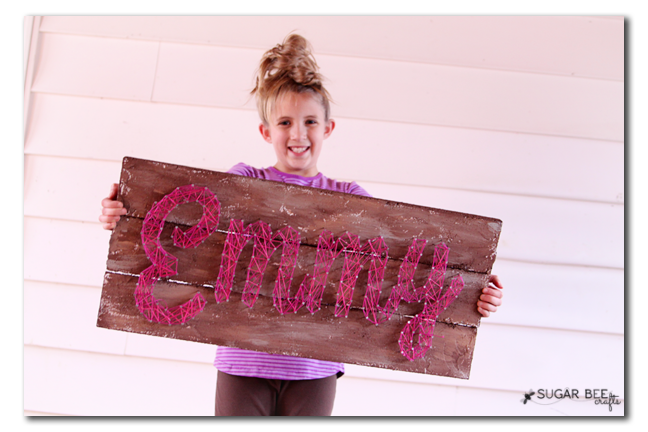
You can kind of see here on the edges that it’s foam, but it takes that close-up look to tell. Trevor came in when I was wrapping string and he thought I was working on some barn wood that I had put together, so that was awesome 🙂


This is AWESOME! What a fun & easy way to make string art (no smashed fingers, yeah!). Your daughter is a real cutie, too.
Sharon recently posted…How to make a beautiful, Mixed Media Christmas Angel
This is so cool! I have never tried string art but I really want to!
Katie recently posted…10 Money Saving Tips
OH Mandy, you are SO stinkin’ creative!! This is Awesome & you can tell by Emmy’s smile that she thinks the same!! Happy Holidays!!!
This is the first time I’ve ever seen this. Incredible! I’m thinking this would be just as cool to make the slats resemble birch wood too! Fun to make some that look like words have been carved into them…..Oh, thank you for sharing this incredible idea!
Do you get the foam from a craft suppy or hardware supply store? How well do the nails stay put, I’ve had them wobble and move when nailed into wood?
from a craft store – – and I tried to not wrap the string too tight, so my nails have stayed put, phew!
What website did you use for your letters. I’m having a hard time locating them.
Thank you,
Trina
I just typed them out in a word document and printed them to use as a template – hope that helps!