


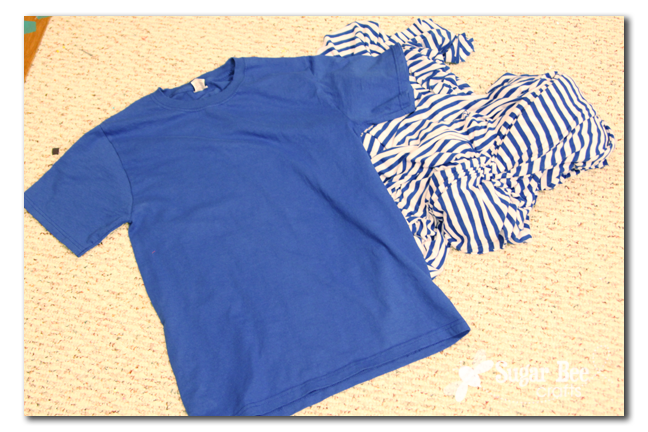
I wanted dolman flowy-type sleeves, so I turned the tshirt sideways to get a wider area. I cut the sleeves off and evened up everything so I had 2 large rectangles. I left the top open for neckline in the middle (and cut a very slight curve in it) but sewed about 6 inches in on the two sides of the top. In retrospec since the tshirt wasn’t drapey I should have angled that shoulder down instead of straight across. Anyways, also I cut a small rectangle out of each bottom corner and sewed along that inside edge as shown below.

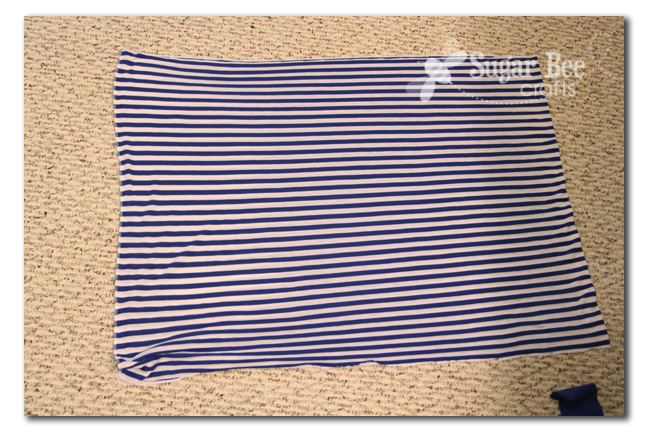
Next up I took the strip and held it up to myself to see how long I wanted it. Then I sewed up the side seam to make it one big tube of fabric.
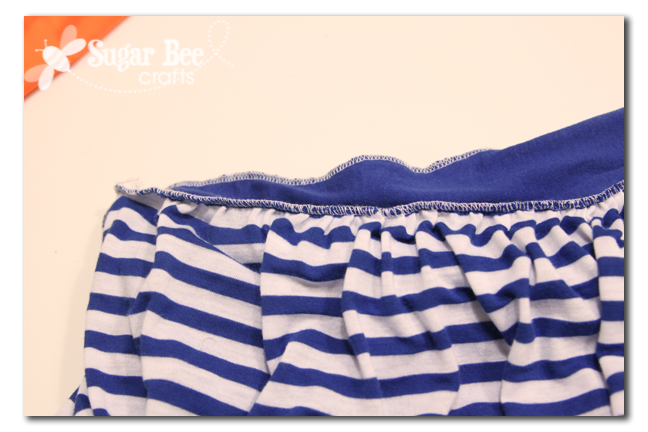
Then gather the top of the skirt part (using a long stitch and pulling the thread, etc) to match up with the bottom of the top bodice piece.

Flip it right-side out. Good – now it looks like a dress (right??)
Turn the neckline under 1/4 in and then again 1/4 to hem it. Same with the sleeve edges and the hemline of the skirt. I used a double needle to sew it down:

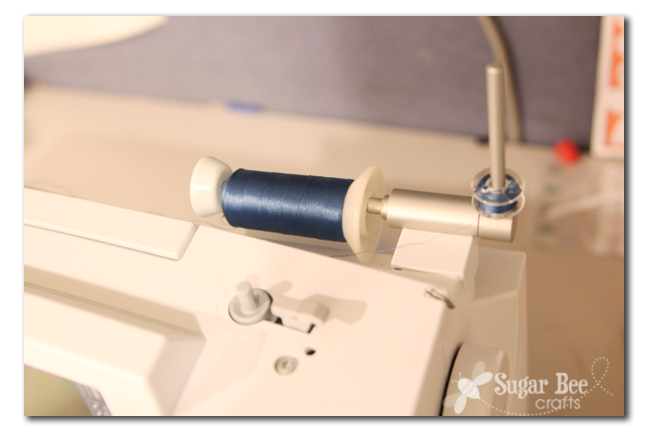
Since no one has 2 spools of the same color of thread, the trick with a double needle is to use a bobbin instead of a second spool – genius! Then you just run them through the machine together and down to the double needle
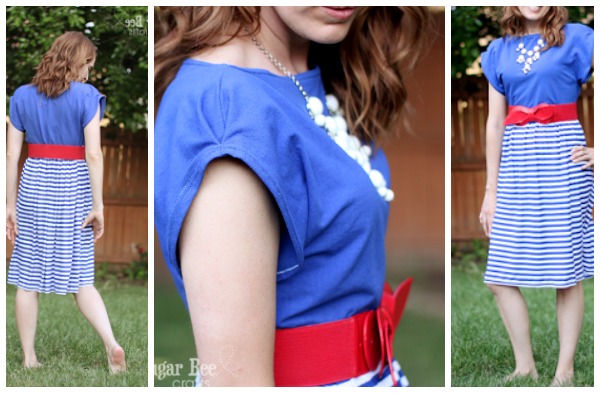
So at this point I put it on and thought “what the what what – these sleeves are ridiculous!” Not really what I was going for…

So I revamped – I pinned what I wanted on the left sleeve – original is on the right. Ignore my weird “did that picture work” face.

So, what I ended up doing was adding a backwards pleat thing on the end of the sleeve. Pinch some of the top seam of the sleeve down into itself and tack it together where my fingers are holding it:
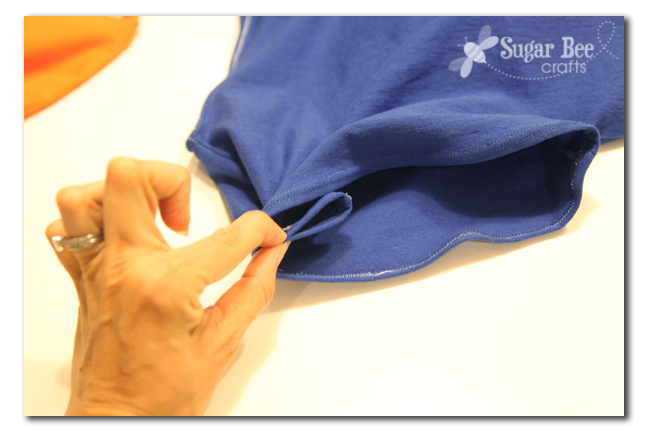
Then open that pinched part up and it’ll look like this:

Then tack it down flat by sewing right over your hem stitches in that spot:
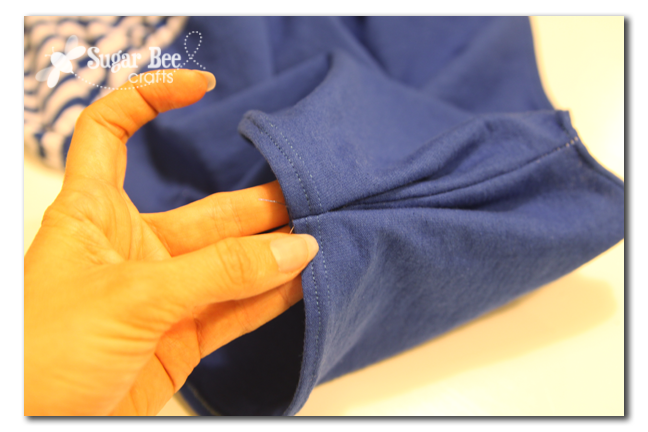
Here’s a better view of what you’re aiming for (oh, and it’d be best to take the extra few minutes to change your bobbin thread from white in case you see in through the large sleeve – doh!)

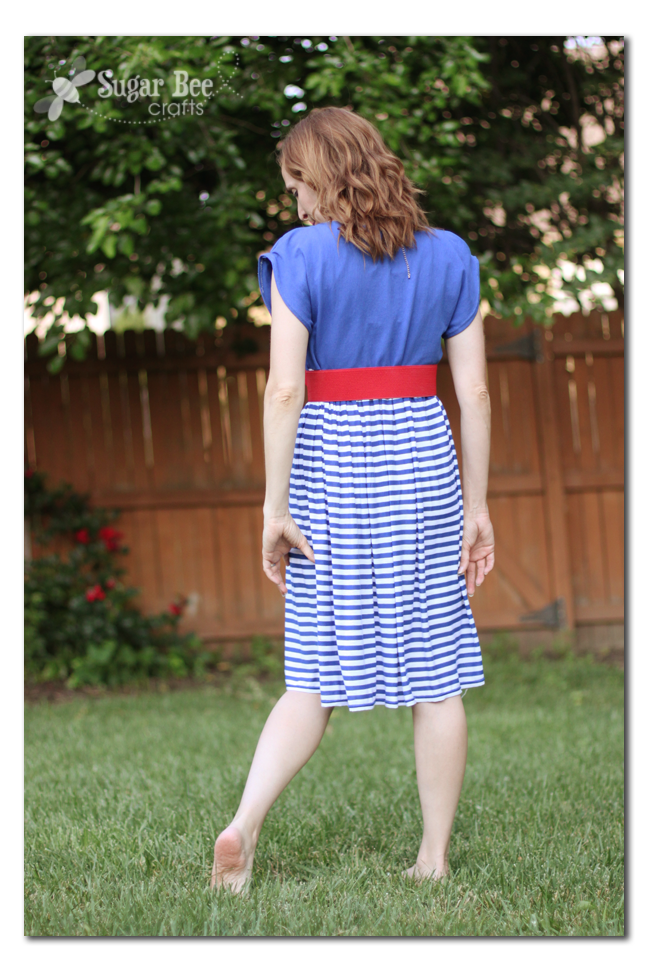
After the sleeve modification, it came out pretty much how I had it in my head – wahoo. Here’s a view of the boatneck look it has going on:

So I knew I wanted a wide red belt for it – but of course waited til the last minute and couldn’t find one and ordering one wouldn’t get it shipped in time. SO – DIY to the rescue. I painted a silver belt red – and it worked! More on that in a later post.

You can sew this dress!! Give it a try!
_________________________________
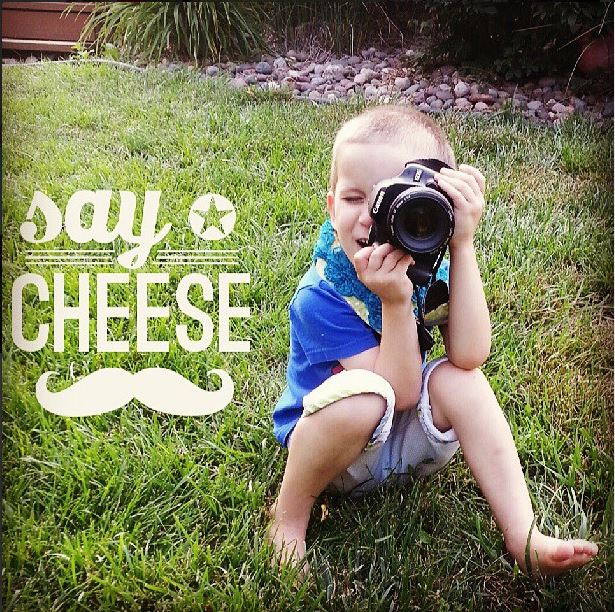
Now, for life behind-the-scenes – my 10 year old took most of these pictures. I set the camera settings how I want it and turn it over to him, hoping he could hit the general focus. I had him stand there while I got my settings right…. 10 year olds can’t ever just stand and wait a second 🙂 Then my 4 year old wanted to take pictures, so he joined the fun too and got the one of me taking a picture of him.
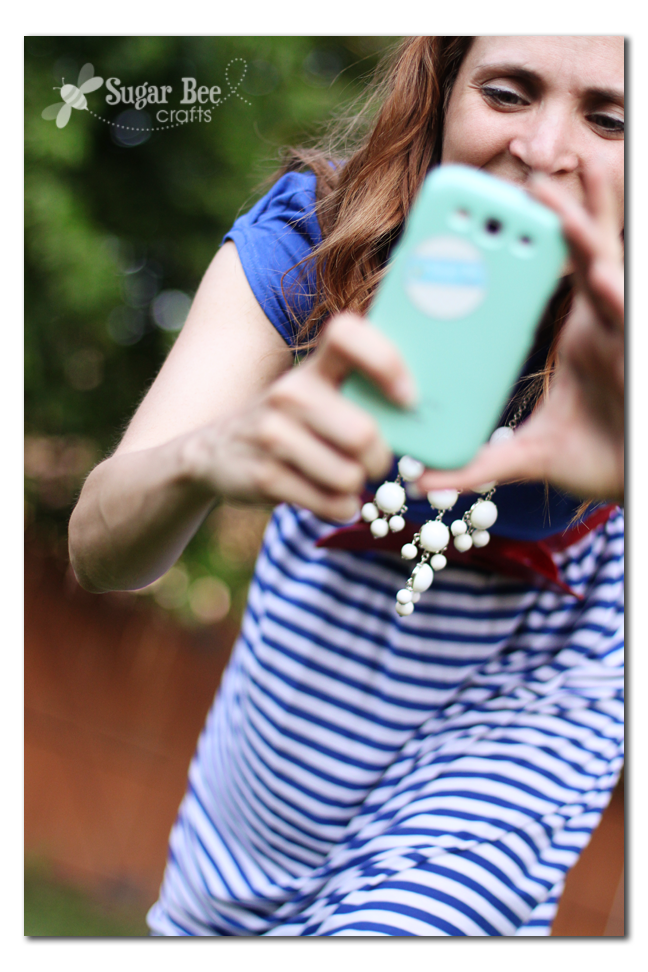
I guess you know you’re a blogger when your 4 year old can operate a DSLR on manual mode 🙂

Love it! The sleeves came out perfect! My husband complains every time I make him use my camera. Good idea to teach the children! Haha!
Love those sleeves! What a fantastic dress, well done 🙂
This is so darling Mandy!! I love the colors and those sleeves are super cute!
I just found your blog! This dress is so cute. I’m learning to sew, and this seems like something I could try! Thanks for the inspiration!
Amanda @ Running In Heels
amandarollo.blogspot.com
I love this dress! It seems like I could actually make it without screwing it up with your awesome directions! I would love you to share it at our linky party https://www.theprincessandhercowboys.com/2013/06/on-display-monday-7.html
Have a good one!
Cute dress, and I love the red belt!
Navy Wifey Peters @ Submarine Sunday Link Party #37
so cute! I never would have thought from the photo that is was made from a plain old t-shirt.
you look so awesome! i love it!
I have a pretty flowered T that is a little too tight across the chest and have been wondering what to do with it, since it’s too good to throw away — your tip on turning it sideways is perfect. Thanks for the tute.
this is so cute and looks easy.