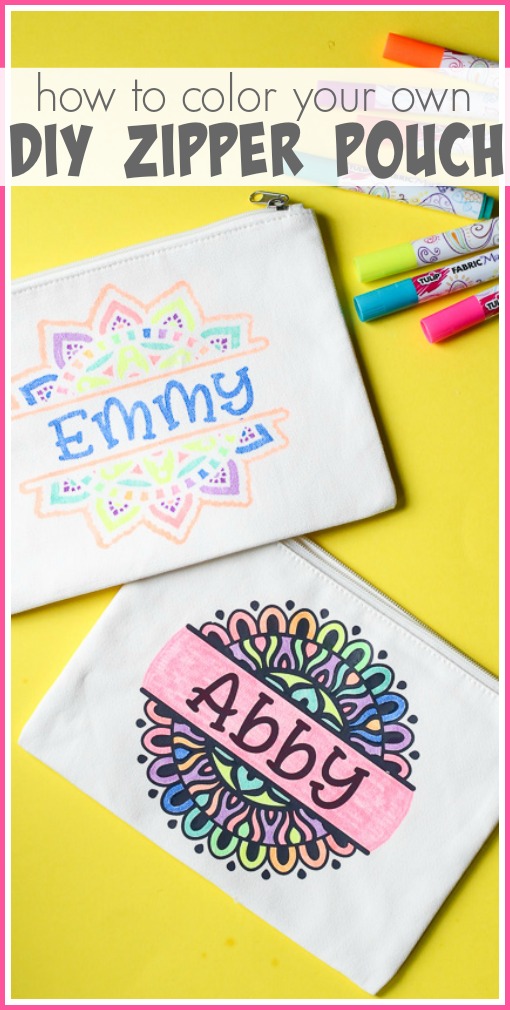
I know, it’s full on summer! But while you’re looking for summer crafts to fill time when you’re escaping the heat, why not go ahead and start crafting things that you can use for back-to-school?!
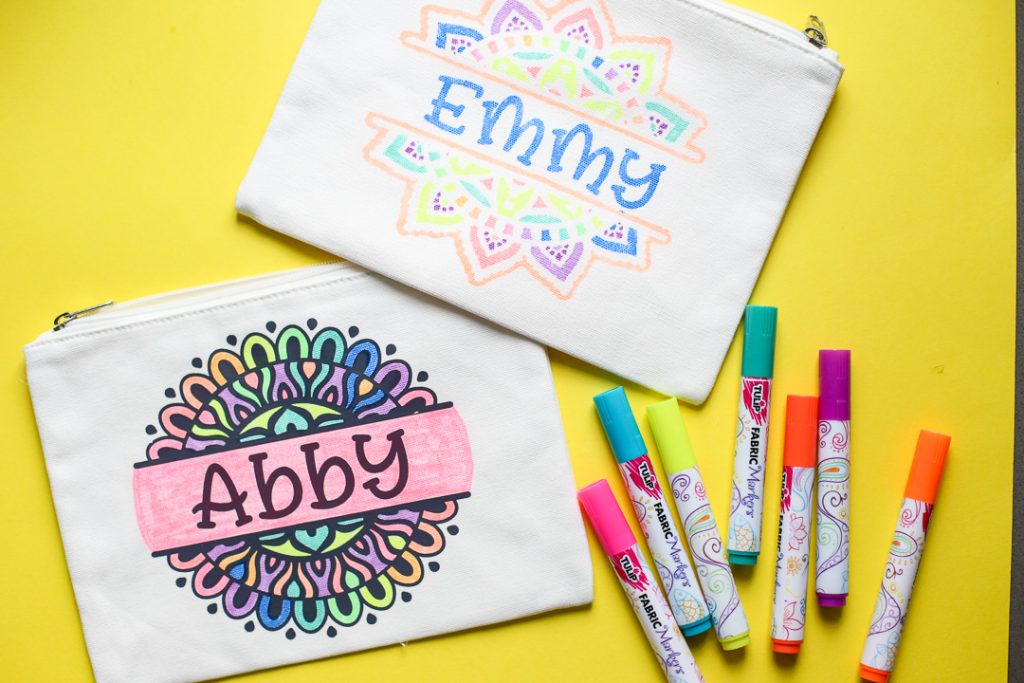
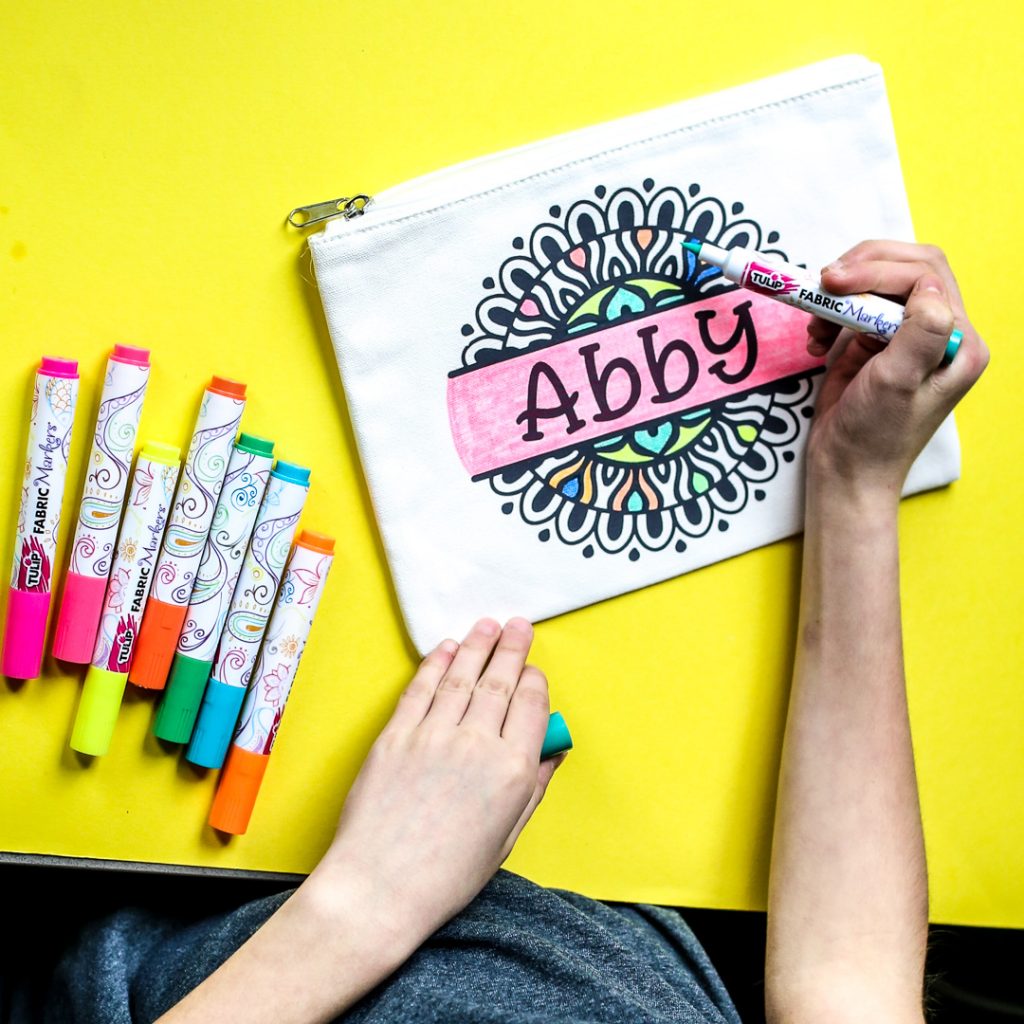
So fun, right?! I cut a stencil (one was removeable and one was heat transfer) and then my girls had fun coloring their own designs. I’ll show you all the details! This post may contain affiliate links.
Create a Stencil for Coloring Fabric
You’ll need:
–Stencil cut using your favorite cutting machine (I love my Silhouette!)
—Adhesive Vinyl (sticky vinyl) for a removeable stencil -or-
—Heat Transfer Vinyl for a permanent stencil
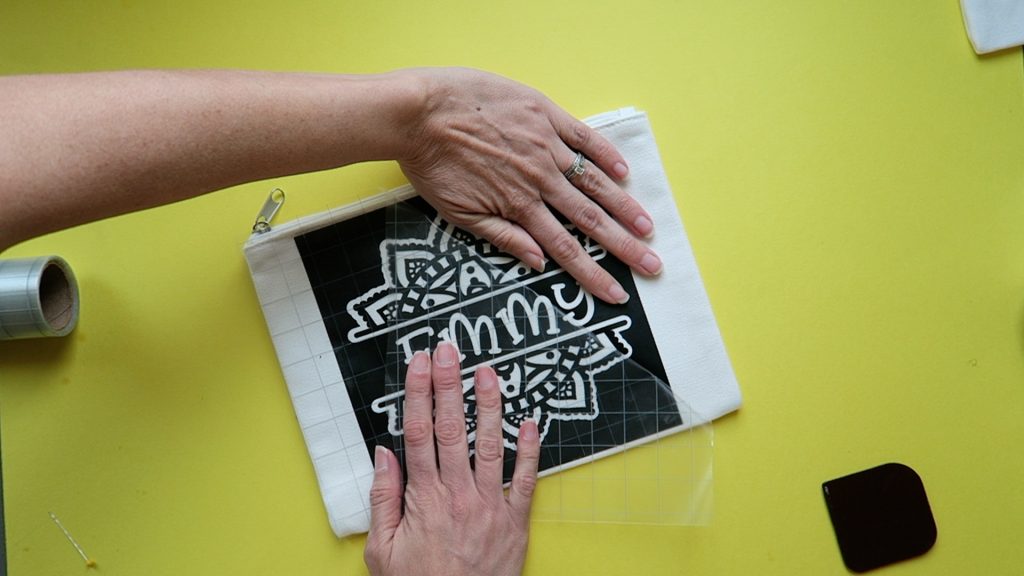
For the removeable stencil, weed out portions of the stencil that you would like to color in. Use transfer tape to attach your stencil to your pencil pouch.
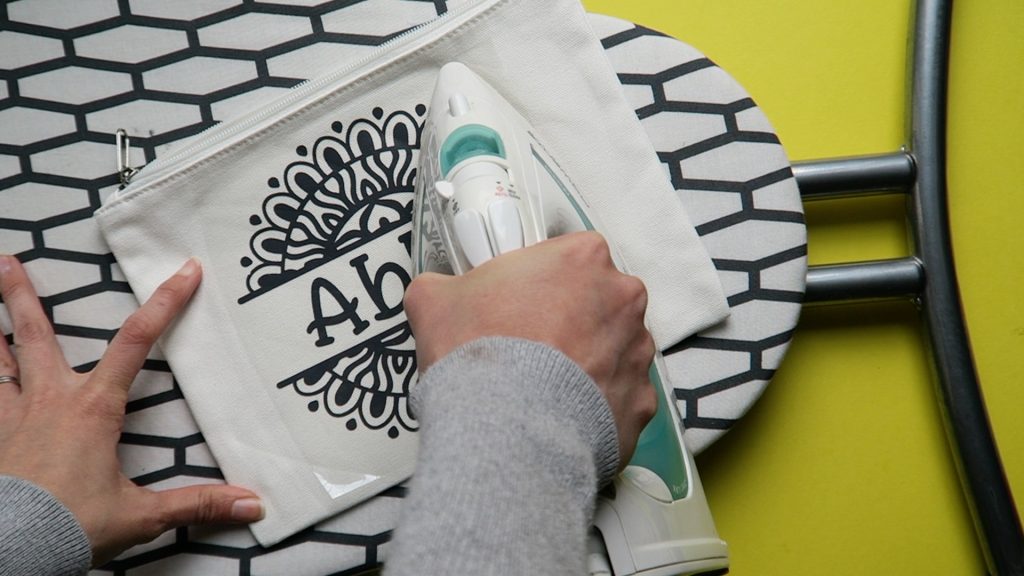
For a permanent stencil, use heat transfer vinyl and weed out the portions that you would like to color in . Attach the vinyl to your zipper pouch using an iron or heat press and peel off the carrier sheet.
Coloring a Fabric Stencil
To color in a fabric stencil, the easiest way is to use Fabric Markers. Use a variety of colors to get just the right look. And of course, have fun!
Back to School Craft Ideas
If you love to craft for Back to School, here are some more ideas that you won’t want to miss!


