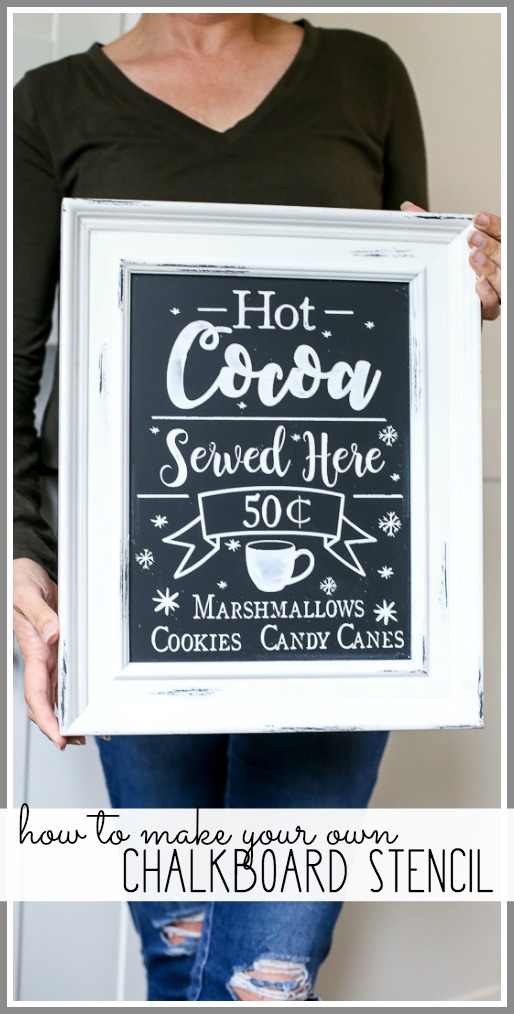
Have you ever wanted the perfect chalkboard? Same here! I’m not great at hand lettering, so stencil to the rescue! Did you know that you can create your own Custom Chalkboard Stencil with Vinyl? It’s true! It’s just as easy as using vinyl, yet you get the chalkboard look, AND you can wipe it off when you want to switch up your chalkboard. I have all the how-to details for you!
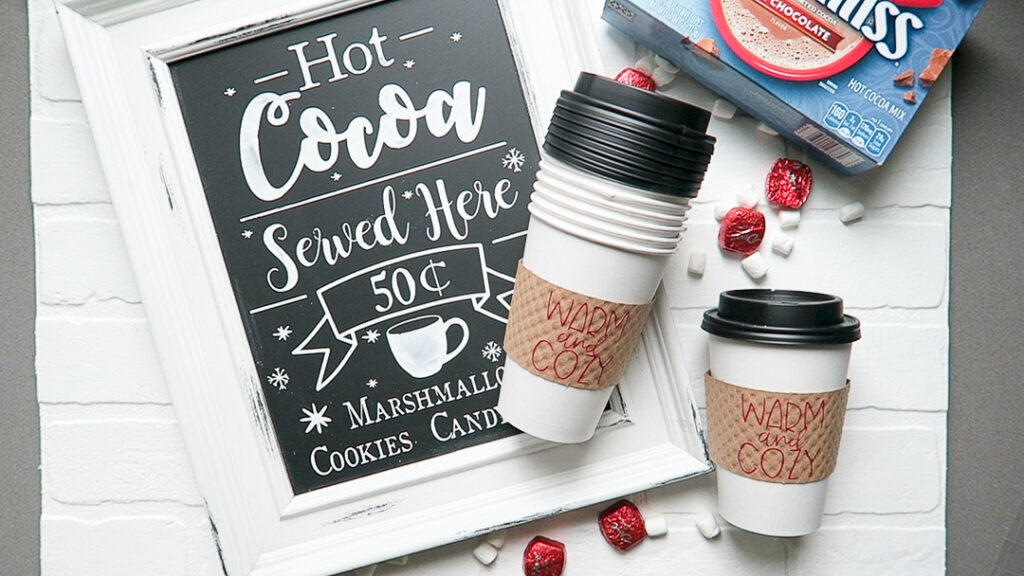
So cute and easy! You’ll want to pin this for later so you can come back and reference this post. This post may contain affiliate links that generate a small commission.
Make a Chalkboard Stencil With Vinyl
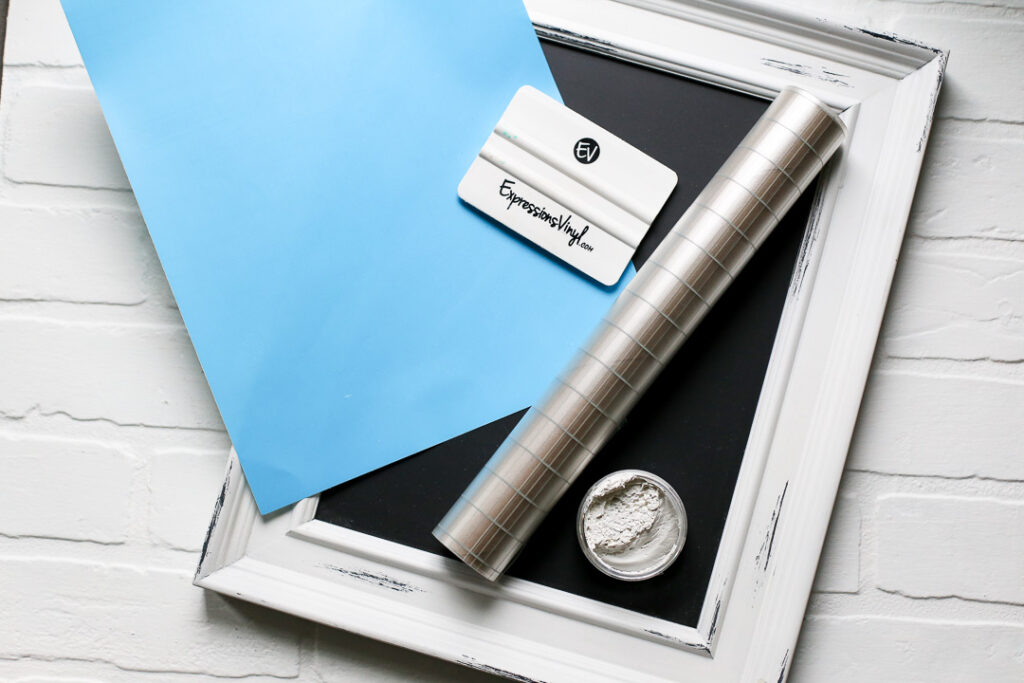
You’ll need:
—stencil vinyl (you can also use regular vinyl, but when stenciling I really do love the stencil vinyl – it does a great job!)
—transfer tape (THIS type is my favorite)
—chalk paste (goes on like a paste, but looks like chalk and wipes off like chalk)
—chalkboard (season it if it’s new)
–cute cut file (here’s the HOT COCOA Cut File that I used)
Chalkboard Stencil Video Tutorial
It’s your lucky day! I have a quick video to walk you through how to use your own stencil for a chalkboard, here you go:
Chalkboard Stencil Tutorial
If you like a step-by-step tutorial, here you go!
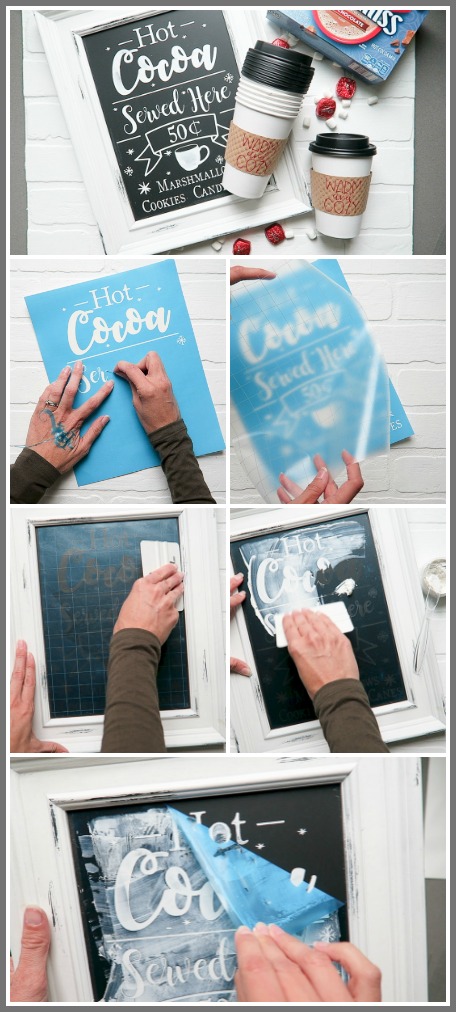
First up, you’re going to find a Cut File that you would like to use as your stencil. I used this cute Hot Chocolate SVG and just love it! Next, use your cutting machine (I have a Silhouette Cameo) to cut the design out of STENCIL VINYL. When using the Stencil Vinyl, the settings are similar to vinyl – DO NOT use the settings for Stencil Material, that is different. You can read all about what is Stencil Vinyl on my post HERE.
Next up you are going to weed your project. You want to take out any areas where you would like chalk to go – so pull out all the words, etc, and leave the background.
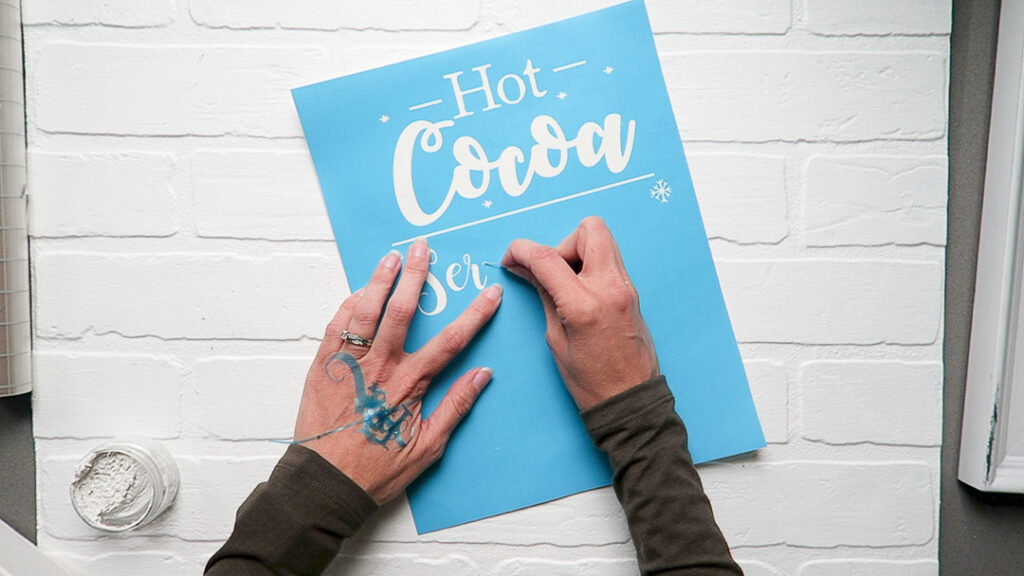
Once weeding, place transfer tape onto the top of your design, rubbing it on firmly.
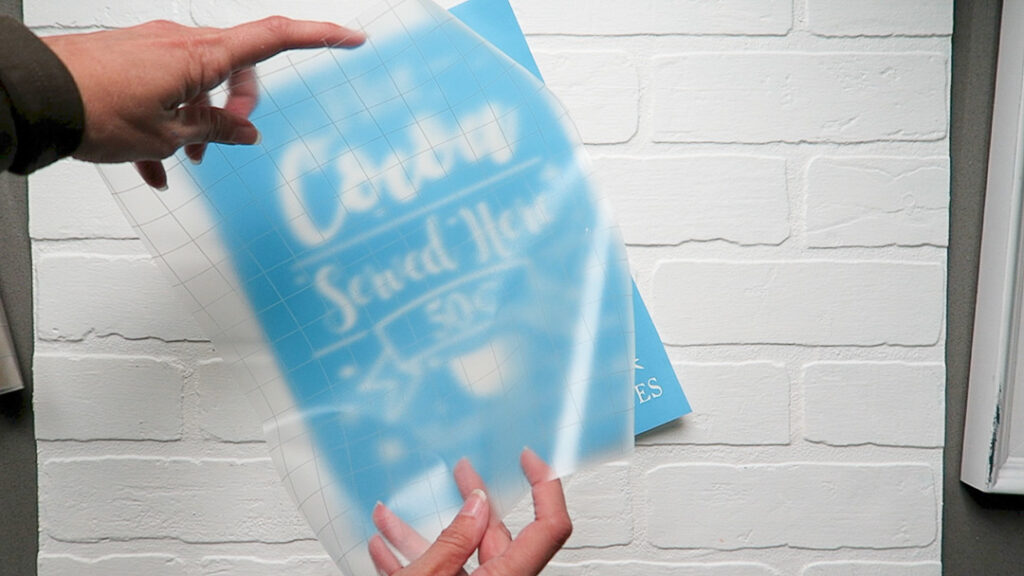
Then while the transfer tape is on the front of the design, you can peel the paper backing off the back of the stencil vinyl. Then stick it down to your chalkboard.
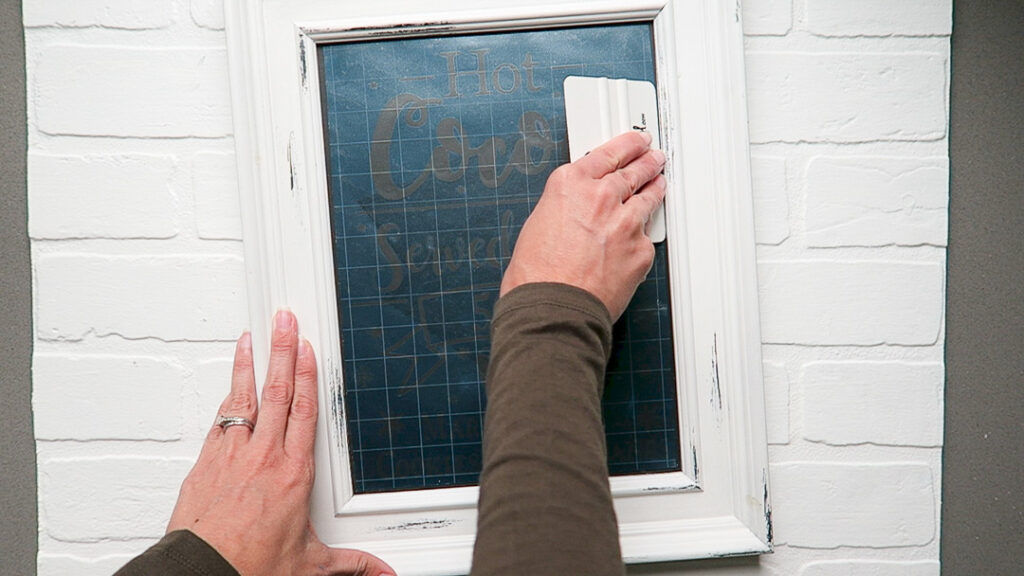
Then carefully peel off your transfer tape. Once the transfer tape is removed, you’re ready to stencil!! Place chalk paste at the top of the stencil.
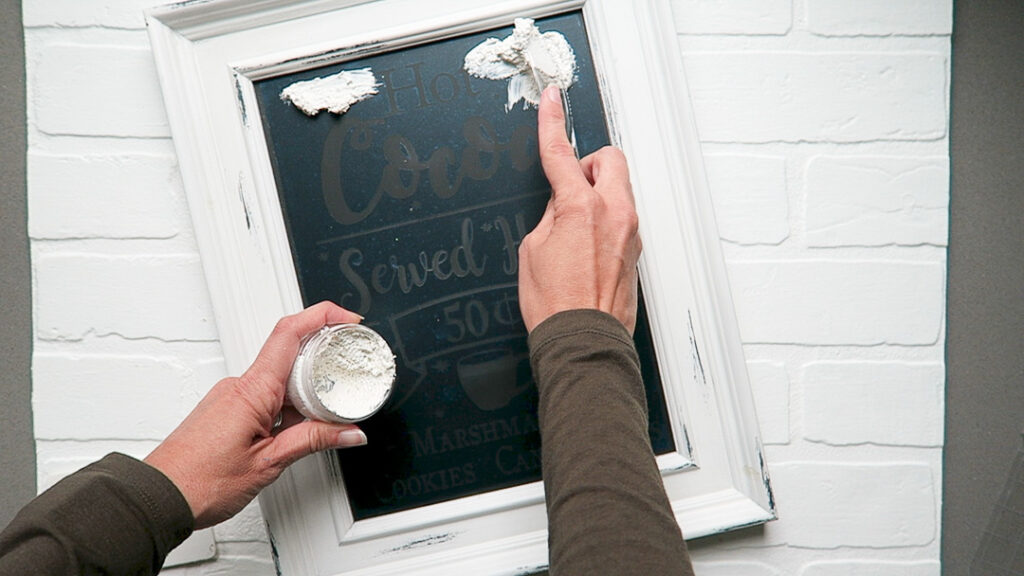
Then use a scrapper or squeegee to pull the chalk paste over the top of the stencil. Be sure to go over it a few times you get everything evenly covered.
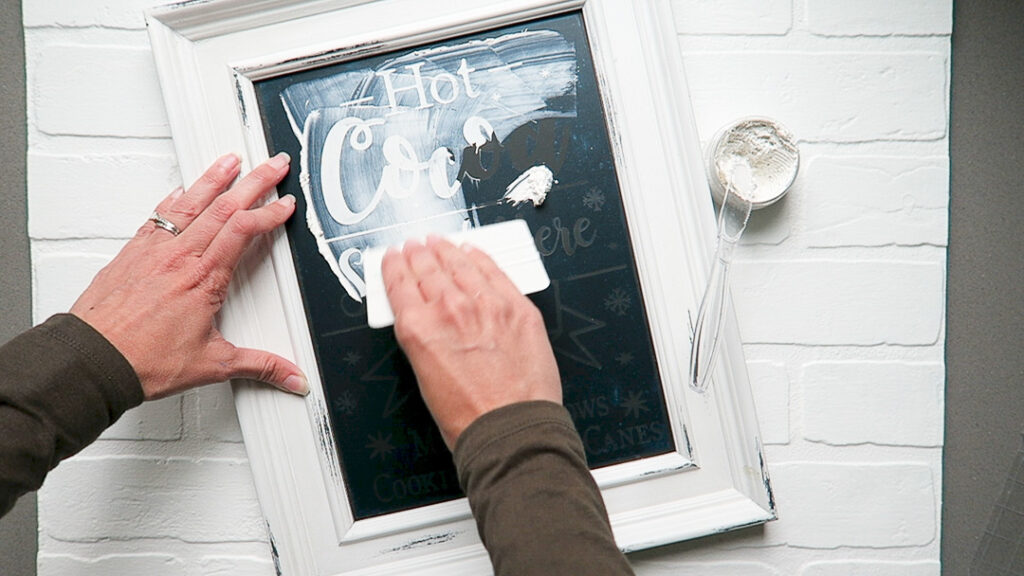
Once it’s covered, you can carefully remove the stencil – it’s the grand reveal!

If there are any spots of mistakes, simple remove them with a wet cloth or paper towel. That’s the beauty of the chalk – it will wipe off!
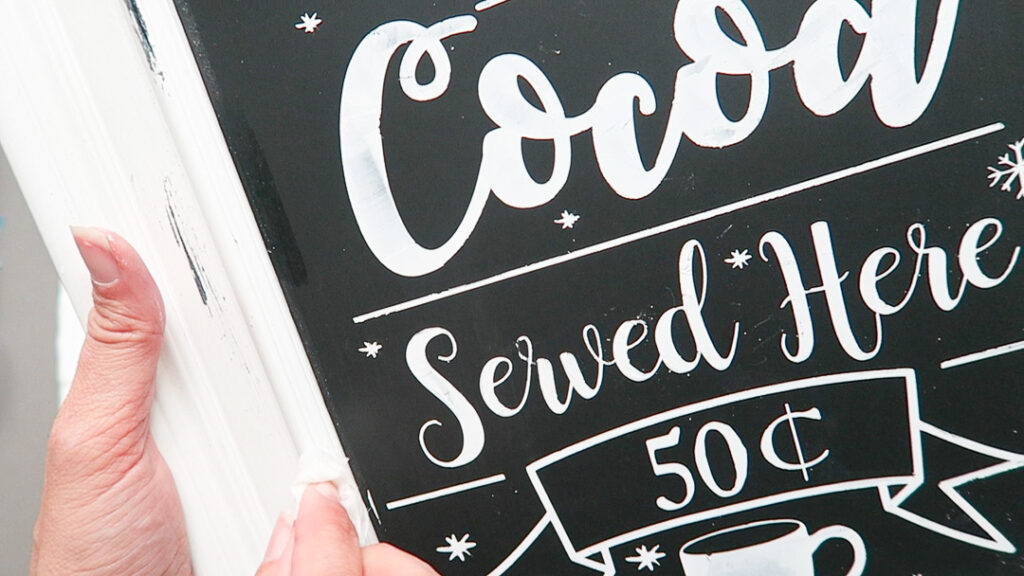
Then you can keep your design until you’re ready to switch out your chalkboard. When you’re ready to switch it out, just wipe it clean and start over.
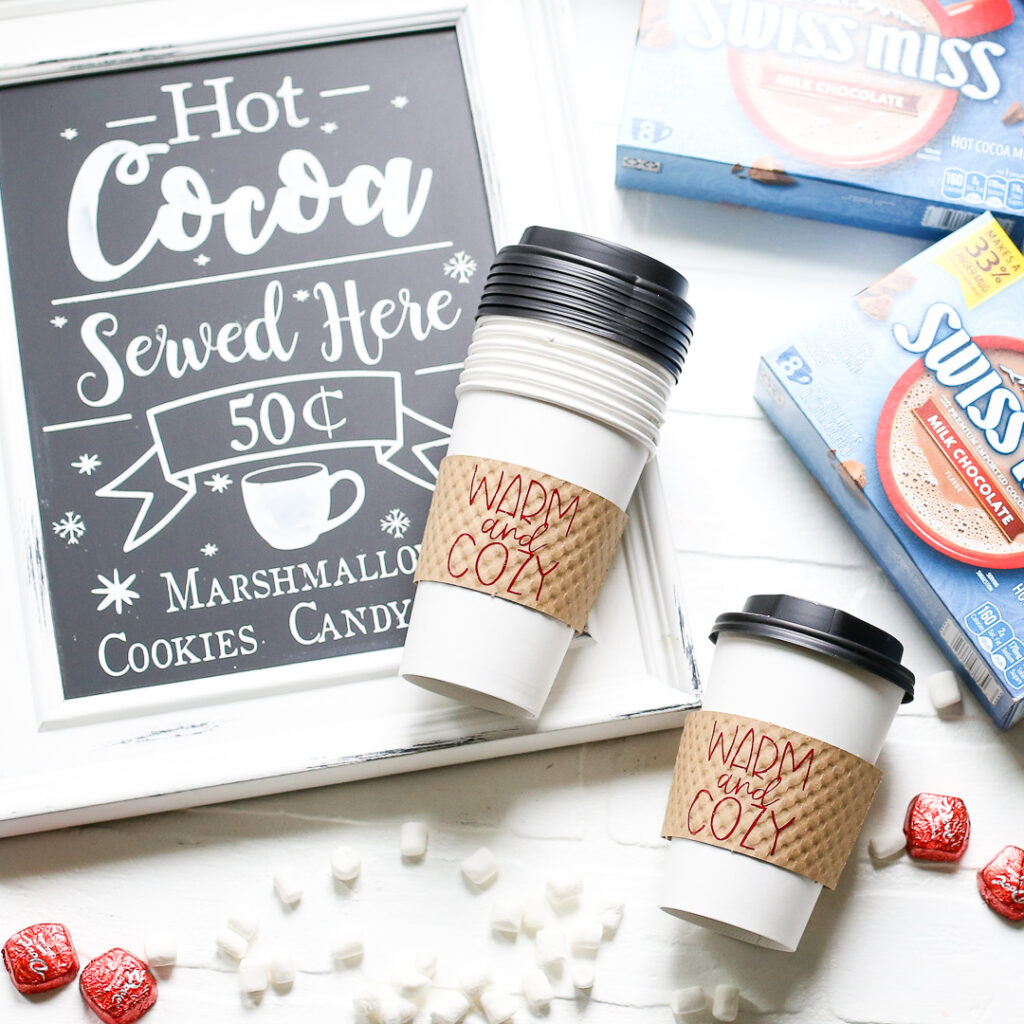
Warm and Cozy SVG
Looking for that Warm and Cozy SVG and project? You can find that on yesterday’s post: Neighbor Gift Idea


