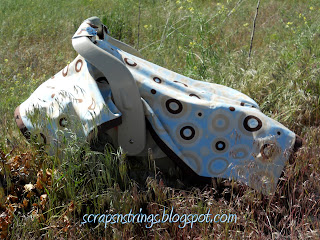
Today I’m going to teach you how to make a car seat tent.
These are awesome for all seasons. Especially for baseball games and things in the summer and for Church all year round! I designed it to be a cover but also to double as a blanket.
Items Needed:
2 yards each of a cotton fabric and a snuggle flannel
2 packets of quilt binding in a complimentary color
matching thread
2 buttons (the bigger the better, I say :D)
To start off I bought 2 yards each of a cute cotton print (for the top) and a snuggle flannel for the bottom. I cut each piece into a rectangle measuring 33 X 41″.
Next you will turn the opposite sides together and sew around the edges about 3/4 of an inch leaving enough unsewn to reverse back to the right side.
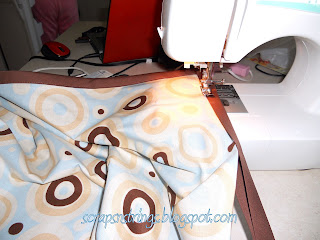
Once it is turned out take your quilt binding and sew around the edges and use this to sew up the hole.
Next cut 2 strips of each fabric 7 X 3″ and turn the opposite sides together sew around the edges and then flip right-side out and sew again along the edges.
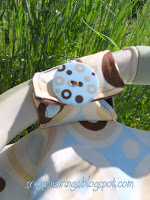
Now sew a button hole to one end of each strip. I used the zig-zag stitch to make 2 parallel lines then connected them with a straight stitch and then used my seam ripper to cut a hole in the middle.
Next sew buttons on the opposite end.
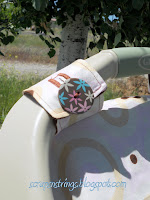
Now lay the blanket over your car seat to determine where to sew on your straps. Pin them on and sew a small rectangle attaching the straps to the blanket.
Voila!! I promise this is easy! I am a beginner and the whole project took me only a couple of hours. I hope that you try it out and love yours as much as I loved mine!
Thanks for checking out this post from www.SugarBeeCrafts.com – – click on over to read it in its entirety – you’ll love it!


Hi! How cute is that. And it looks fairly easy for someone that knows how to use a sewing machine. I wish I did!
Love the fabrics too!
Have a great weekend!
If you use seersucker- I don’t know how to spell it– material it’s good for the hotest of days!!
Good job! I love those and they look so easy to make!