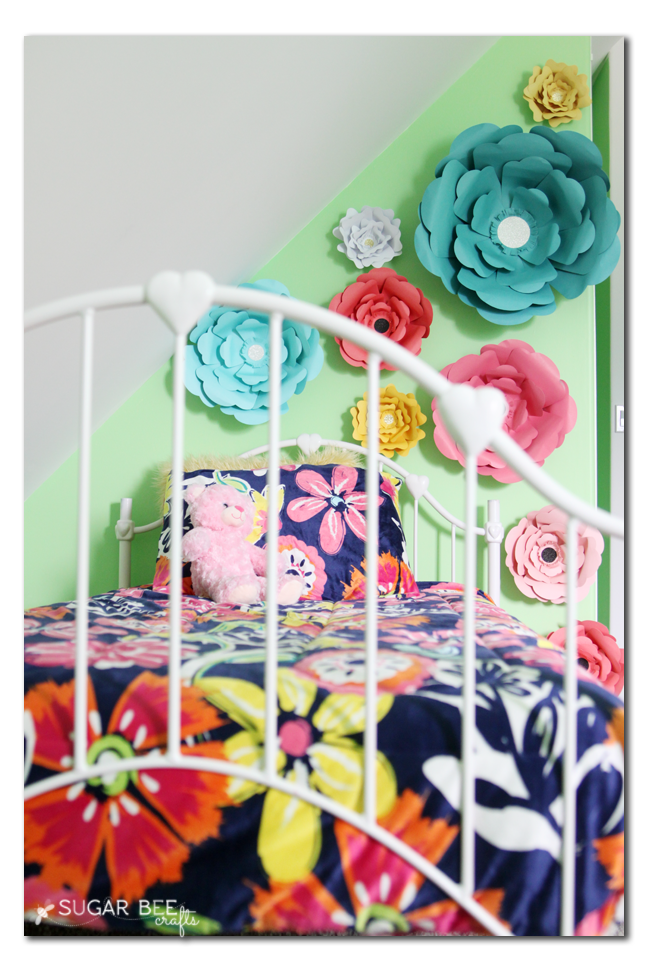
So we don’t even have a kitchen sink in our new house yet, but we’ve got crafty decor up – cause you know, makers gonna make 😉 I was sent some Big Bloom kits from Michael’s and I just had to bust into them right away. My 10 year old recently found a comforter that coordinated well with her lime green walls (her choice!) and I love how the Big Bloom Paper flowers plays off of it.
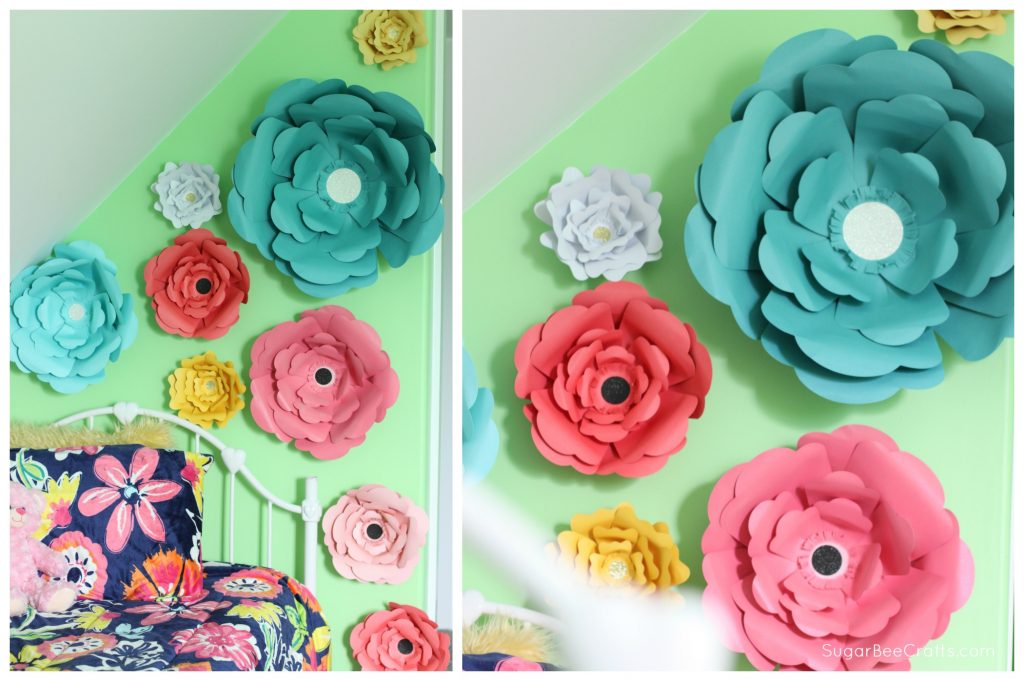
You know me – I love simple, quick crafting, and as such I’m weak for craft kits! These flower kits were no exception – loved them!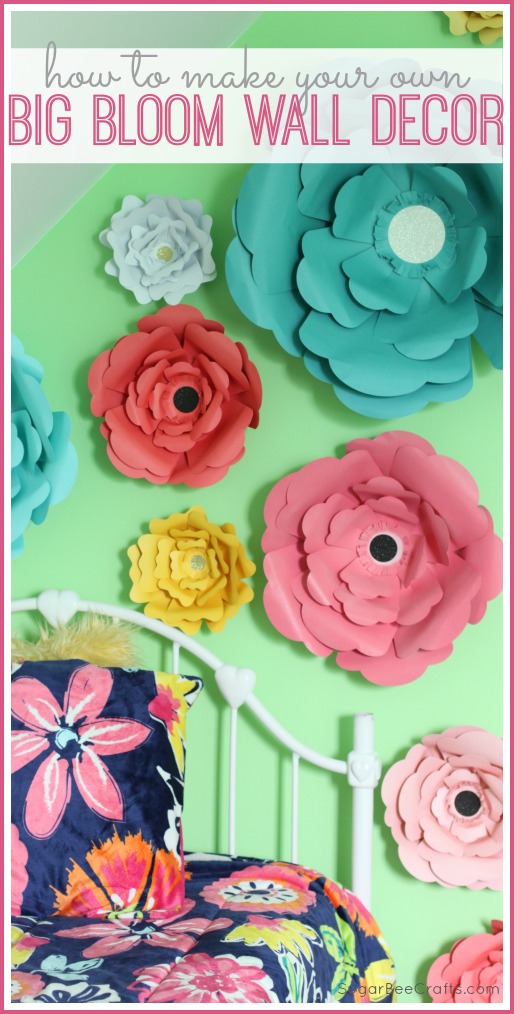
I am going to give you a run-down on how they are assembled via images and text on down, but if you’re more of a video-visual type of person, I’ve got you covered too – – enjoy this super-quick demo:
The flowers come in a variety of colors and sizes. I used a mix-and match of them. I even considered mixing petals and having several colors in a single flower, but I ended up leaning towards solid color flowers.

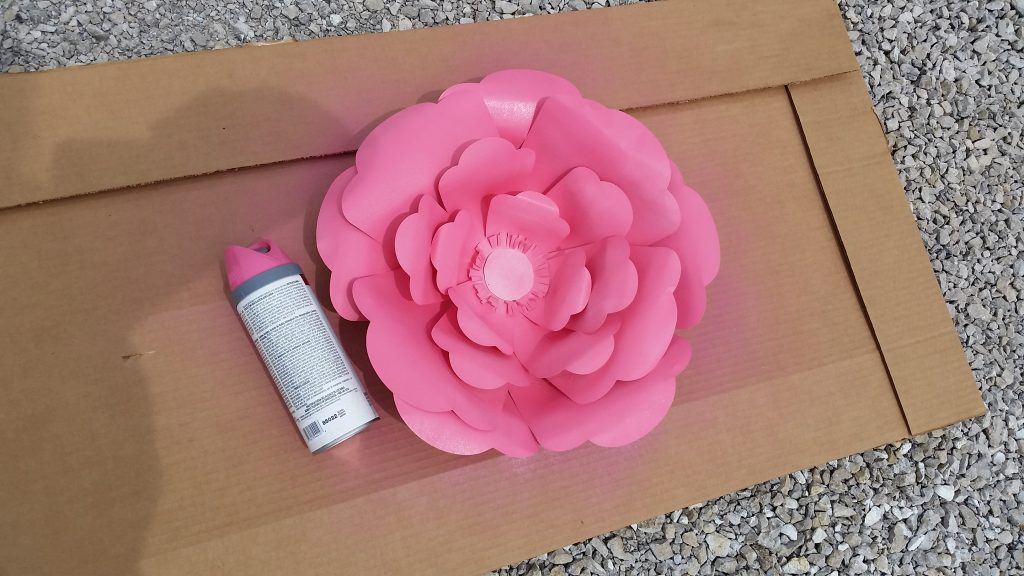
I did want to include a fuchsia flower since that color is prevalent in her comforter, so I risked trying out spraypaint – it worked!! Just in case you wondered about that.
I just love how the colors really make a statement wall for her bed – it’s paper flower perfection!

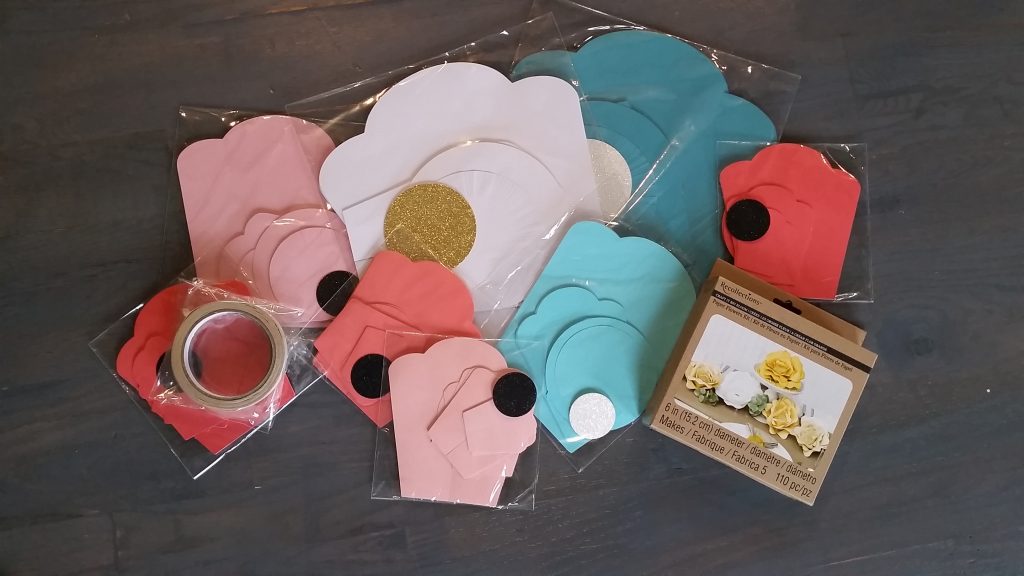
So, to make the flowers – first, grab a Big Bloom Flower Kit from Michaels. I love it because it includes everything you need to make the flowers. And all the pieces are precut, so you can just open and assemble, which is the fun part!
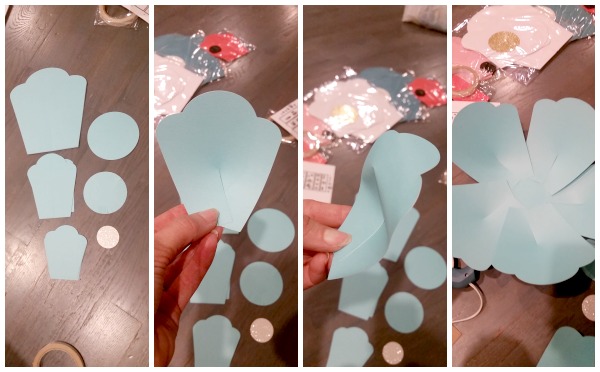
Each kit has flower petals in 3 sizes. To all petals, use adhesive to pull one side of the slit over the other. Adhesive strips are provided, but I used hot glue – either will work. Once you have that slit overlapping, you can see how it gives shape to the petal. Then you’ll want to carefully curl under the outer scalloped edge of the petal (kind of like you’d roll up a newspaper). Repeat for all the petals. Then attach the petals to the large circle base, starting with the bigger petals on the outer edge and adding smaller petals as you work you way towards the center of the flower. Attach the center glitter piece to the middle of center fringe piece and fluff out the fringe. Then attach that entire piece to the middle of the flower. That’s it!!
This kit will turn you into a paper-flower-making pro. They are great for parties, special events, wall decor and more – sky’s the limit! I really think they’re perfect for a tween room. Enjoy making your own set!



Wow these are so cool! Love how big they are – perfect statement.
Kim@NewlyWoodwards recently posted…Making a wall planter from junk
I love how your house is about more decorated than mine. I mean…I have a dishwasher…but still.
kimbowest recently posted…Thrifted desk with a fun surprise!
Hi! How did you attach these to the wall?
I used command strips, those sticky wall hanger things