


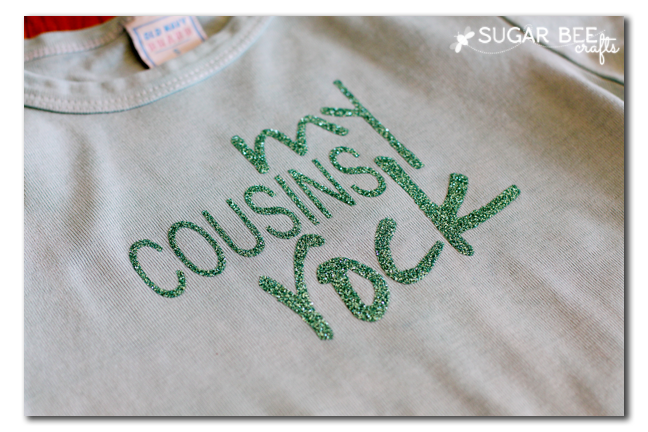
I want to show off one of my favorite things to craft – Custom Shirts! and today it’s stepping it up a notch because I used GLITTER vinyl – love that sparkle awesomeness.
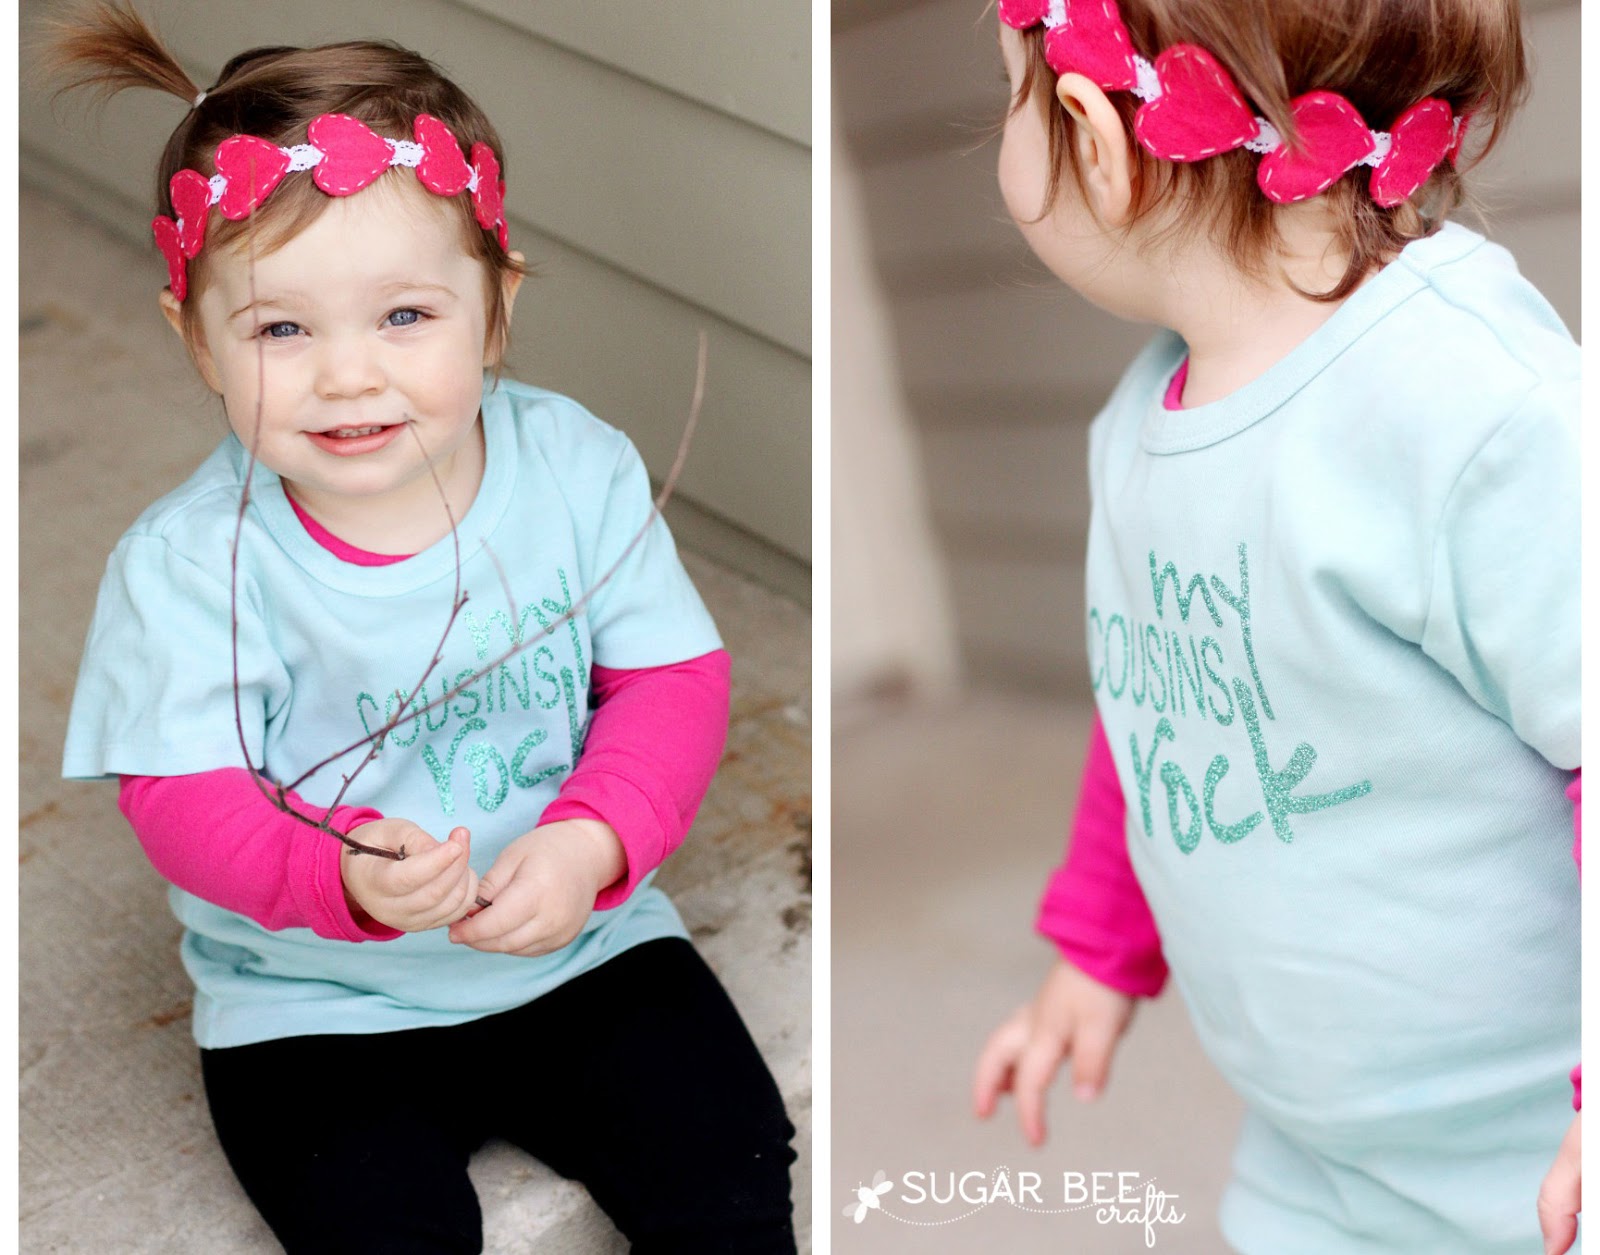
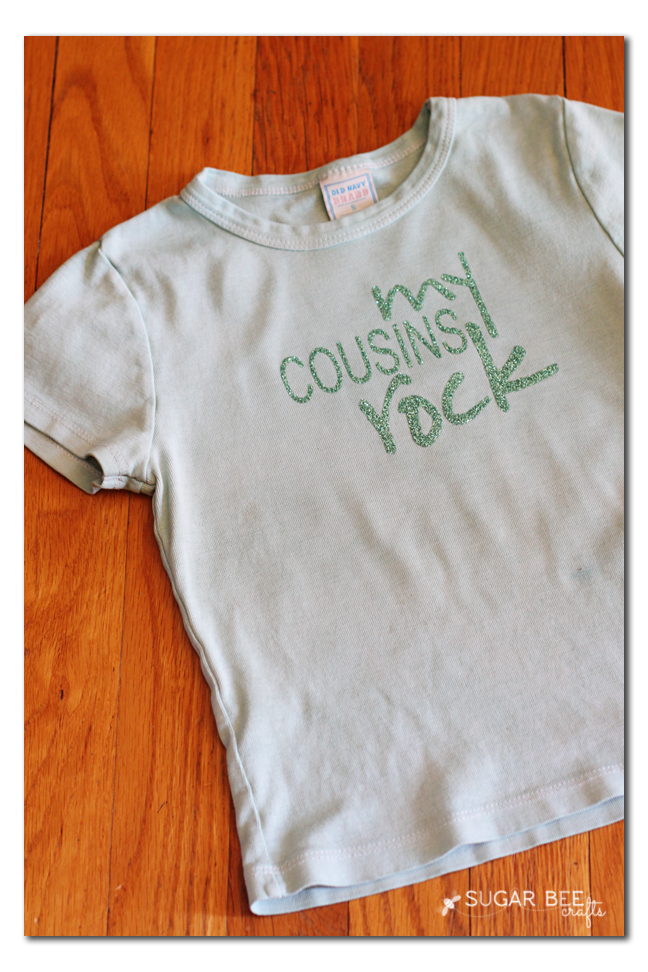
I know I’ve done projects with glitter vinyl in the past, but it’s so awesome that I want to make more and more. My niece has a few shirts like “dad’s the best” or “my aunt is my bff” and my kids thought she needs a “my cousin’s rock” shirt. As a crafter, I love when my kids request for something to be made – I was on it!

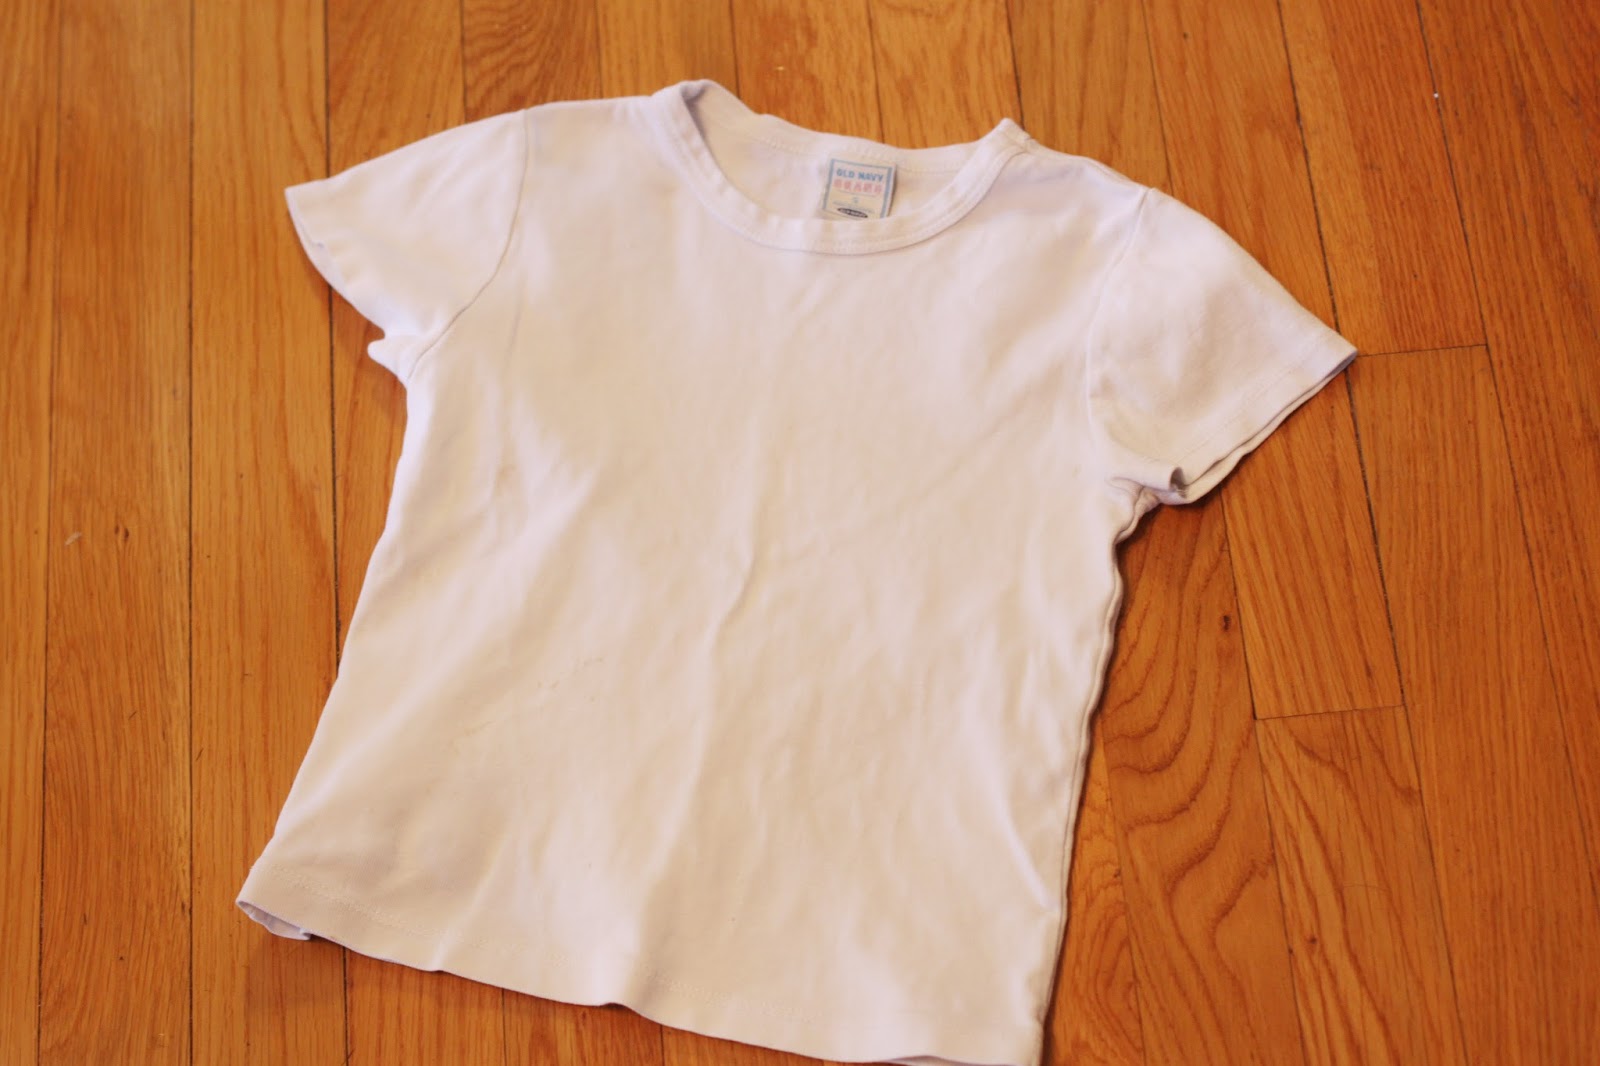
This is a perfect craft for an old t shirt that needs new life – – I got this gem out of a giveaway pile. It was a little dingy, etc, but no holes…
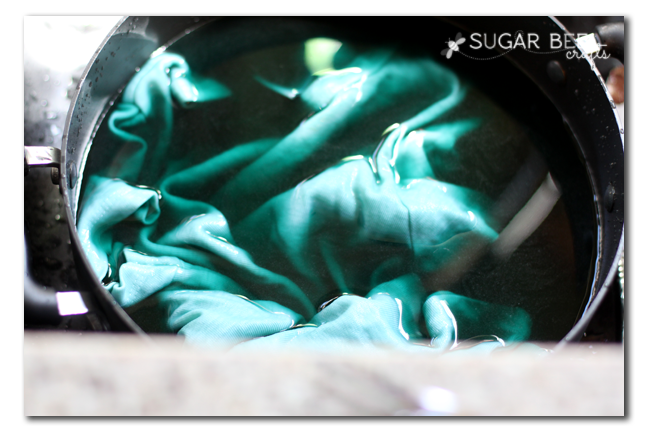
And gave it new life with dye – I was going for mint-ish, so I mixed a couple of colors and didn’t leave it in too long.
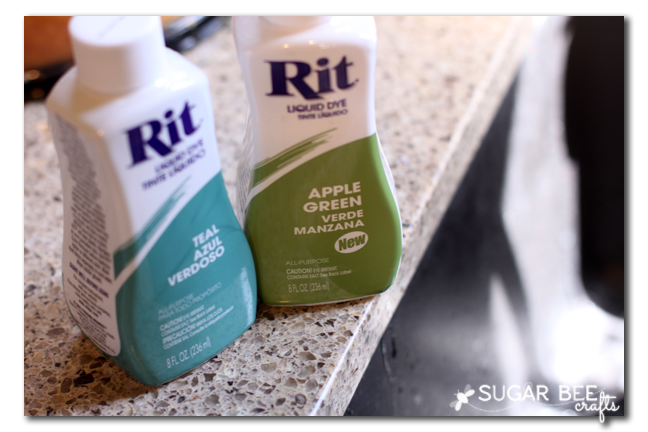
Read the directions when using dye. Also make sure the shirt is wet before you dye it – it will help the dye to take evenly. And throw some salt into the pot too.
I have posted about using Heat Transfer Vinyl before, but let’s just go over the steps in case you’ve never worked with it before. I love the tone-on-tone look with this shirt and glitter vinyl color choice.
Heat Transfer Vinyl is just that – it’s vinyl that transfers to fabric via heat – so it’s what you use to make custom shirts and more.
Basics of Heat Transfer:
–MIRROR YOUR IMAGE – this is the most important! unlike regular vinyl, you cut HTV from the back, so your image needs to be backwards. You do this with the Silhouette software by clicking “Object” then “Transform” then “Flip Horizontally”
–Place your vinyl with the shiny side down – the shiny side is a clear sheet that covers the front of the vinyl. You will need to cut on the back of the vinyl.
–If you are using Glitter HTV, I suggest using the “Heat Transfer Material – FLOCKED” setting on your Silhouette.
–After cutting, peel away the negative space. Your cut lines may be hard to see if you used glitter vinyl, but they’re there.

–Your design should be backwards and stuck to the clear cover sheet.
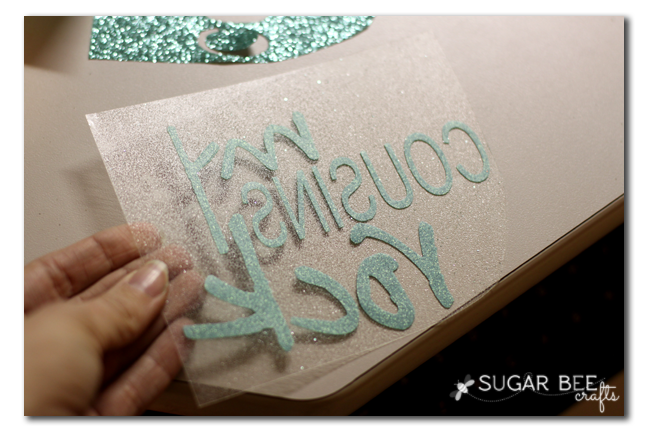
–Flip it over so the vinyl is on your shirt and the clear sheet is up.
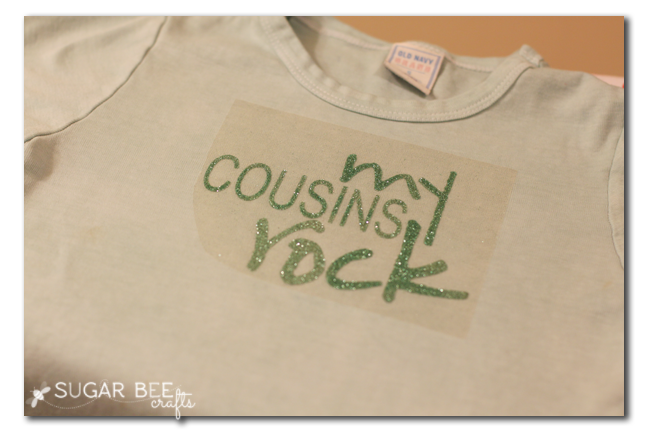
–Press firmly with an iron. You are wanting to heat up and melt the vinyl into the fibers of the t shirt.
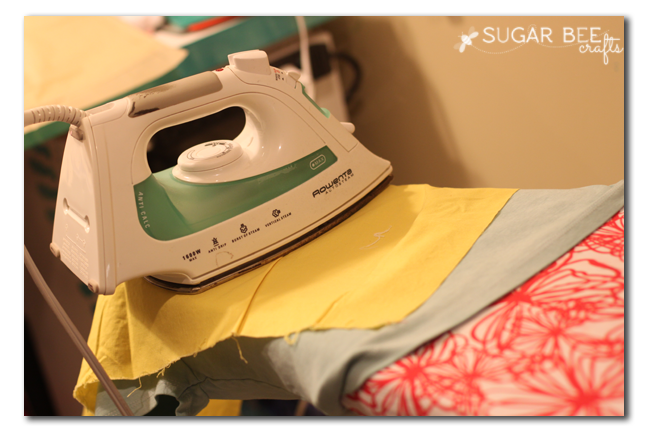
–When done, slowly peel the clear sheet away. This will leave your design attached to the shirt. I like to iron it again just to make sure I have it stuck down enough.

–I like to wash the shirt inside-out when laundering. Enjoy the awesome sparkle of Glitter Vinyl!!

Oh, and the headband is super easy to make too – – I have details instructions for it here:
How to Make a Felt Heart Hippie Headband

[…] might also like these projects (click on the text below to take you to posts about these projects) Custom Glitter Tee – – DIY Concert Shirts – – LOVE Glitter […]