THANKS TO ADOBE PHOTOSHOP ELEMENTS FOR SPONSORING THIS POST! ALL OPINIONS ARE 100% MINE.
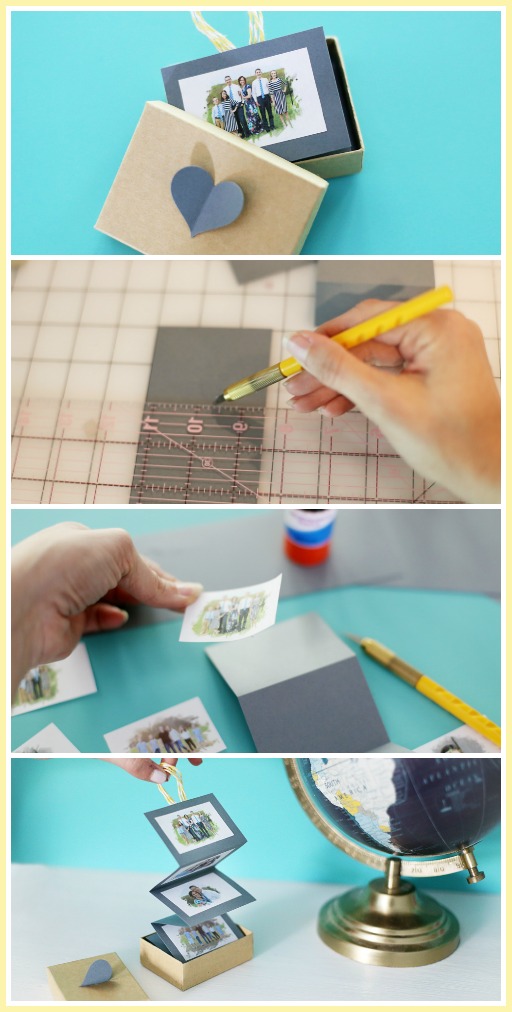
Cutest Project Ever!! I just love picture crafts, and this Accordion Photo Box is no exception. It’s a perfect gift – think Father’s Day, or Grandparent’s Day, or mom’s birthday – and it can also be a perfect memento to make after a fun summer trip. Or maybe fill it with pictures of baby’s first year. Really the reasons for making an Accordion Photo Box are endless! This is a bonus project – not only will you learn how to make the photo box, but you’ll also learn a fun feature of my favorite photo editing software Adobe Photoshop Elements .

It’s super fun and easy to make, and comes together really quickly.

Accordion Photo Box
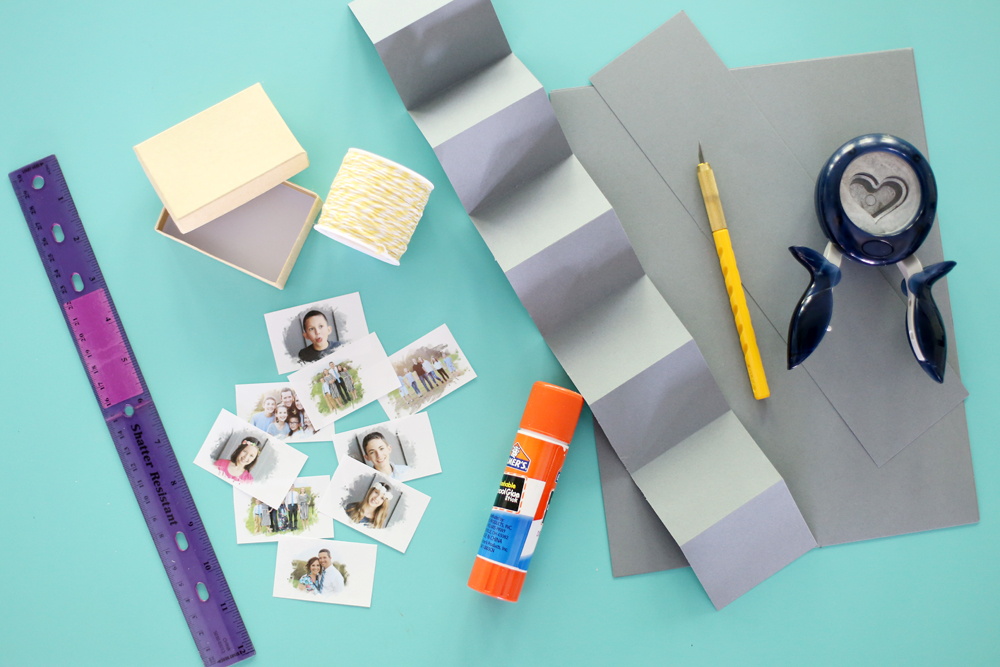
You’ll Need:
–photo (via Photoshop Elements and the instructions below)
-1 piece of cardstock
-glue stick
You’ll also need those pics – again I did my photo editing in Photoshop Elements and tried out another fun feature in the Guided Edit. You can GRAB A FREE TRIAL and see if you like it. I know I’ve talked about Photoshop Elements before, but just for a refresher, don’t be intimidated – Photoshop Elements is the scaled-back version of Photoshop, so it’s simple to use – I use it almost daily and love it. Even with all the amount of time I spend with the program, I recently learned some new things I wanted to share with you. It’s a section of the program called “Guided” and it was mind-blowing – I don’t know why I haven’t explored that area before, but I’ve for sure been missing out!
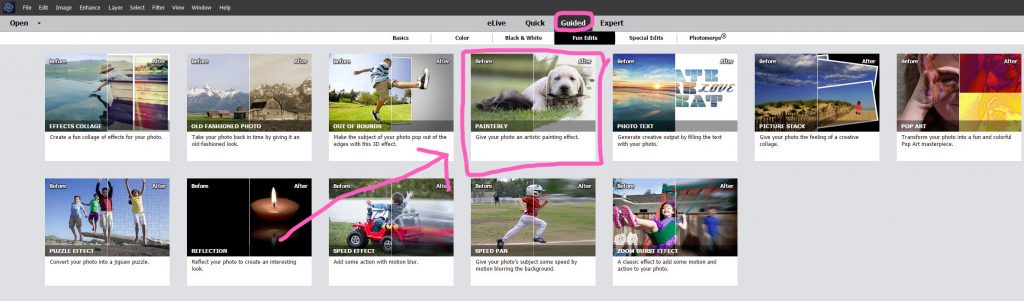
PHOTOSHOP ELEMENTS GUIDED EDIT – Painterly
There are 3 main ways to use Photoshop Elements – the Quick mode, the Guided mode, or the Expert mode. Guided has been so fun to play around with – there are tons of edits that it helps walk you through, things I would never be able to figure out on my own. For example, with the photo today I used the Painterly Guided Edit. With the photo today, I used the Painterly Guided Edit to give them a unique, artistic look. Go to Guided -> Special Edits -> Painterly:
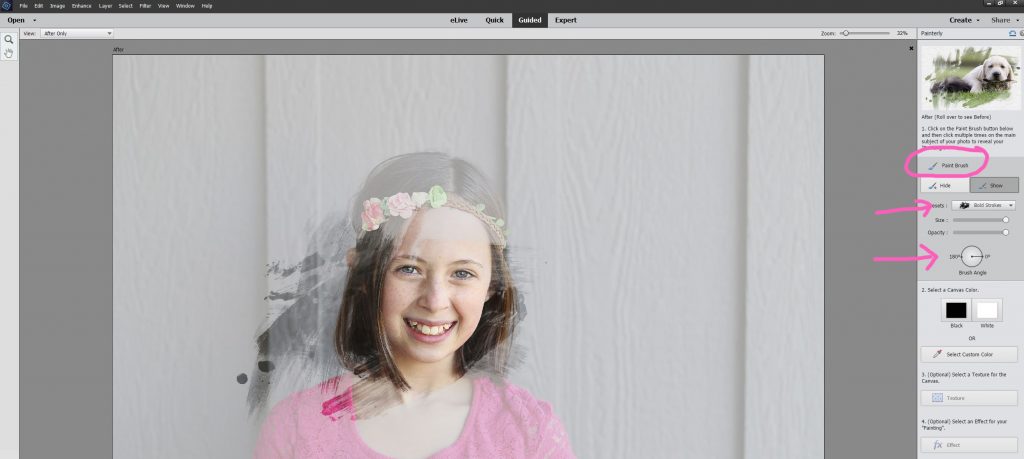
Once in Painterly, click Paint Brush. This will turn your cursor into a stamp of sorts – you can see in the image below, I stamped the paint brush onto the center of the photo. You keep stamping anywhere you would like to keep in your design. So I stamped on her face and a little bit around it. You can change the type of brush, and you can change the position of how it stamps by clicking on different Brush Angles on the diagram on the side.
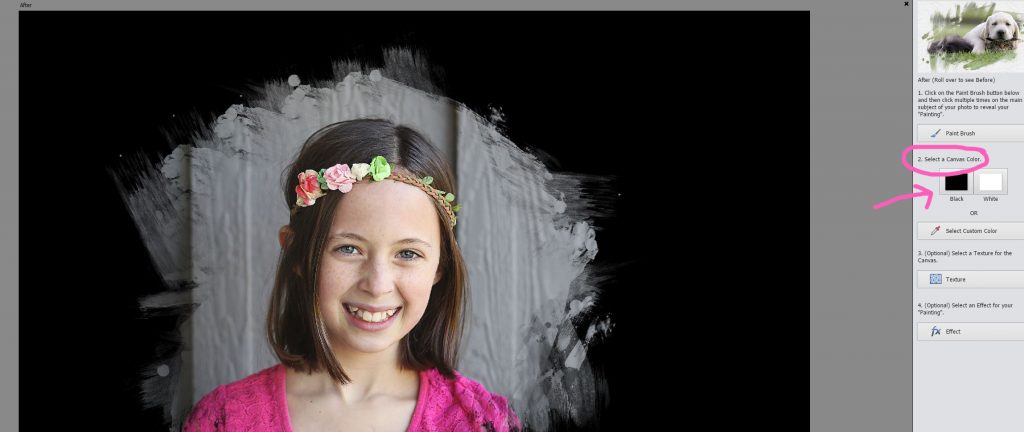
Once you have everything stamped, then you can determine the color of your canvas – you can choose black or white or even select a custom color. For the project I used a white background – down below I showed how it looks with a black background.
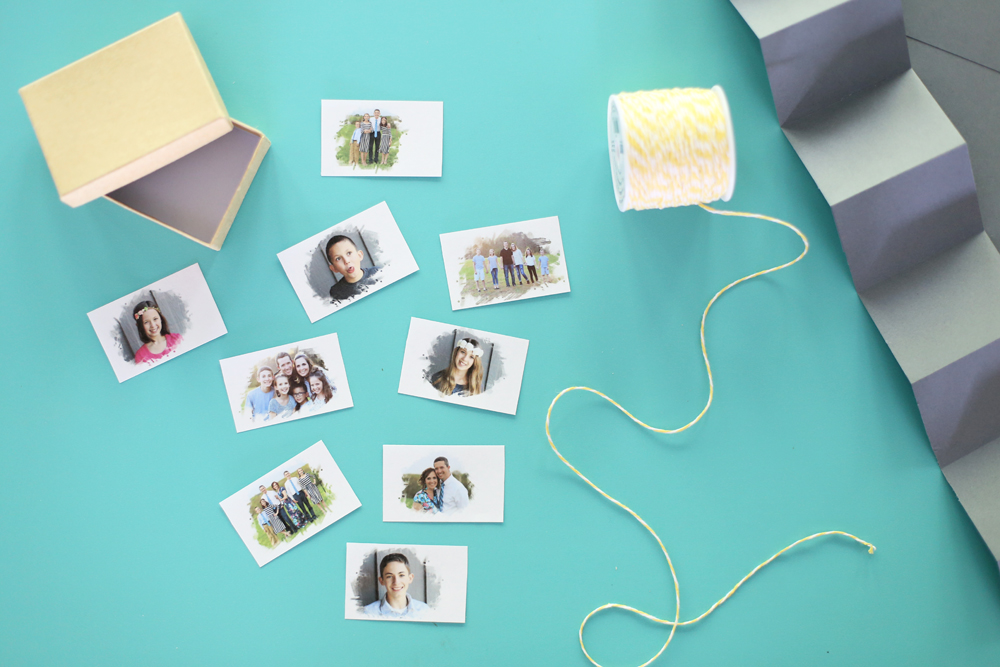
Didn’t it turn out awesome?? Photoshop Elements made this effect super easy even though it looks like it was complicated to design. I used Painterly on all the photos in this project:
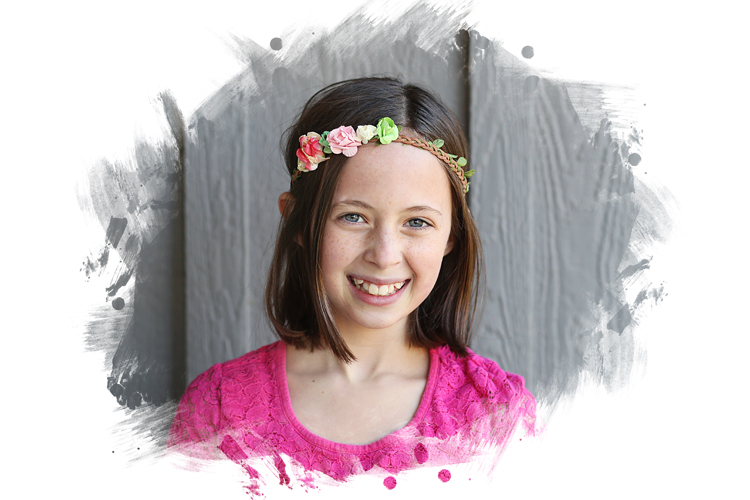
Then you can resize your pictures to the size needed, which will be determined by your box. Mine are 2.5 inches wide.
Are you convinced yet that you need Photoshop Elements?? Grab that free trial and see what all it can offer!
Accordion Photo Box Tutorial
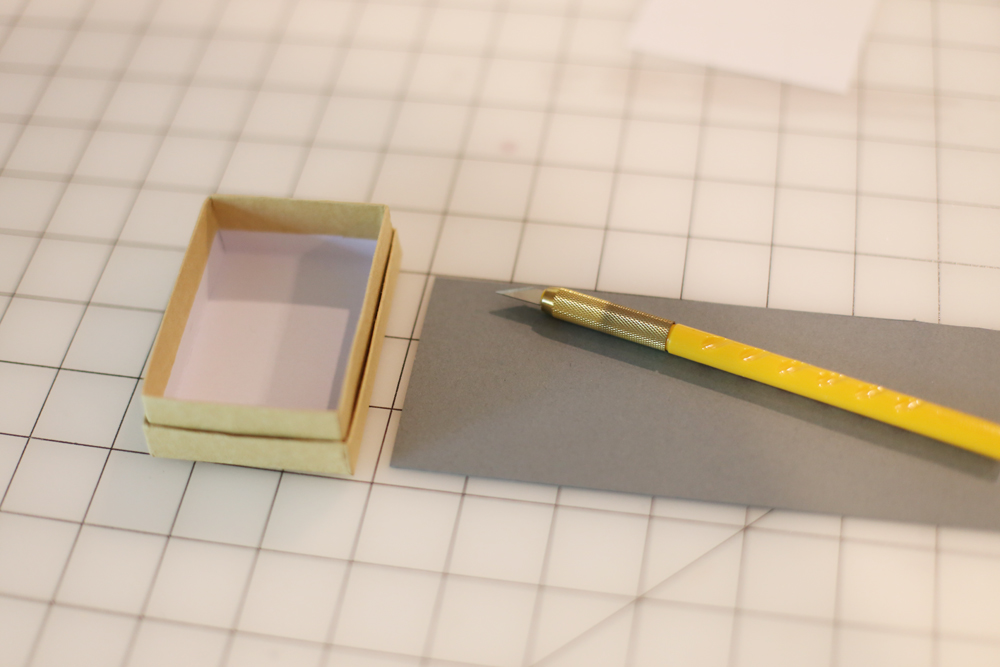
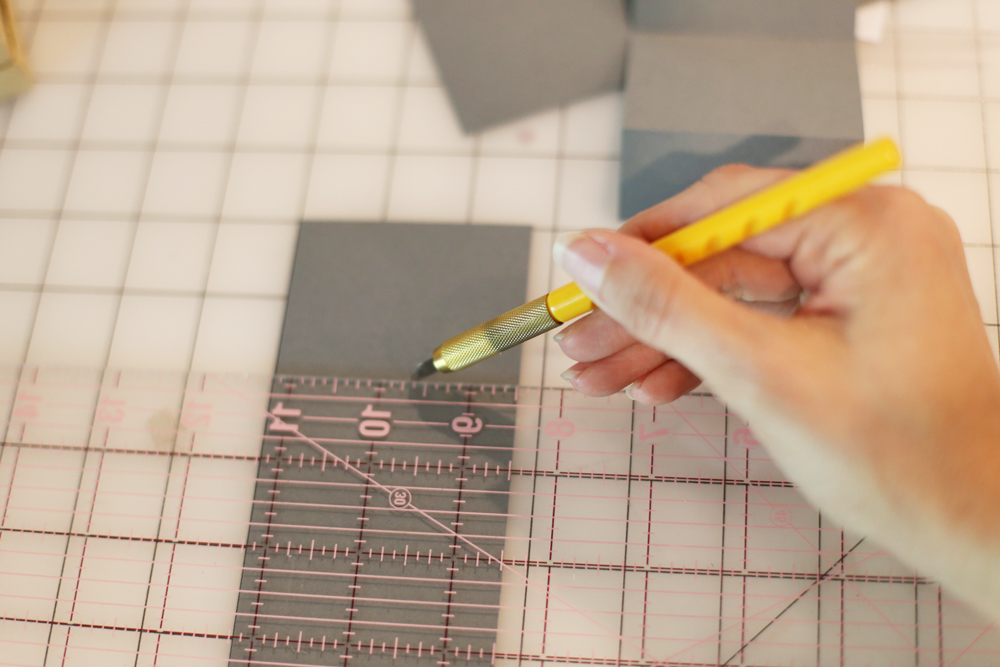
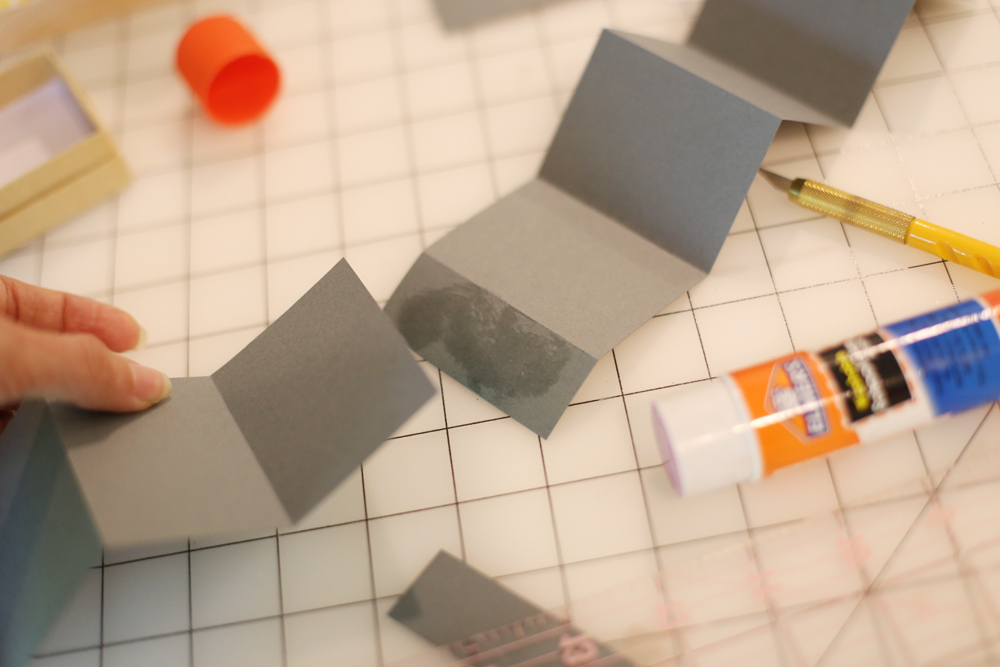
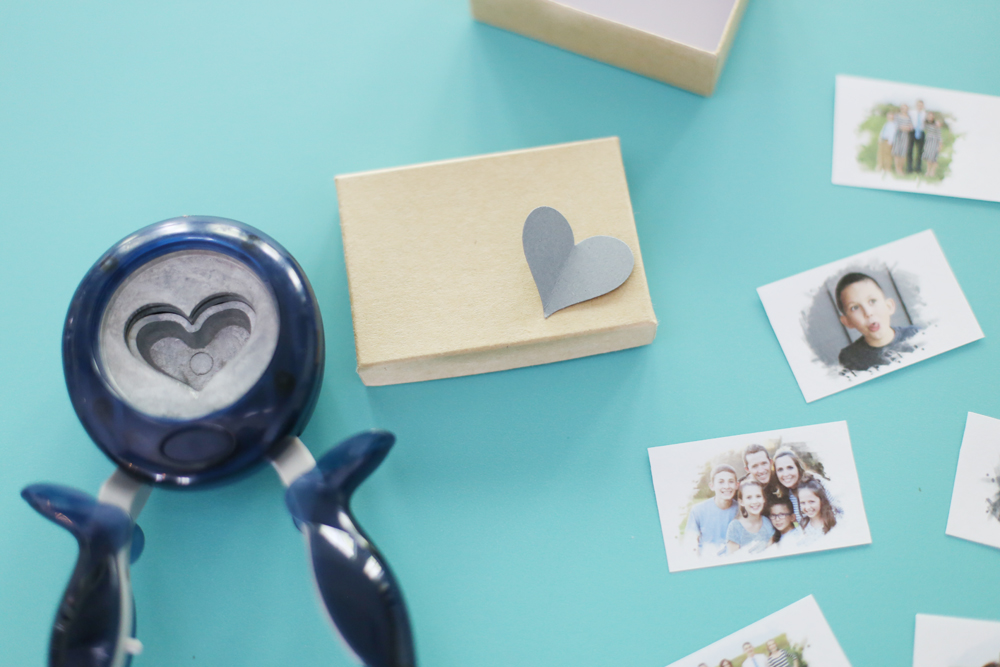
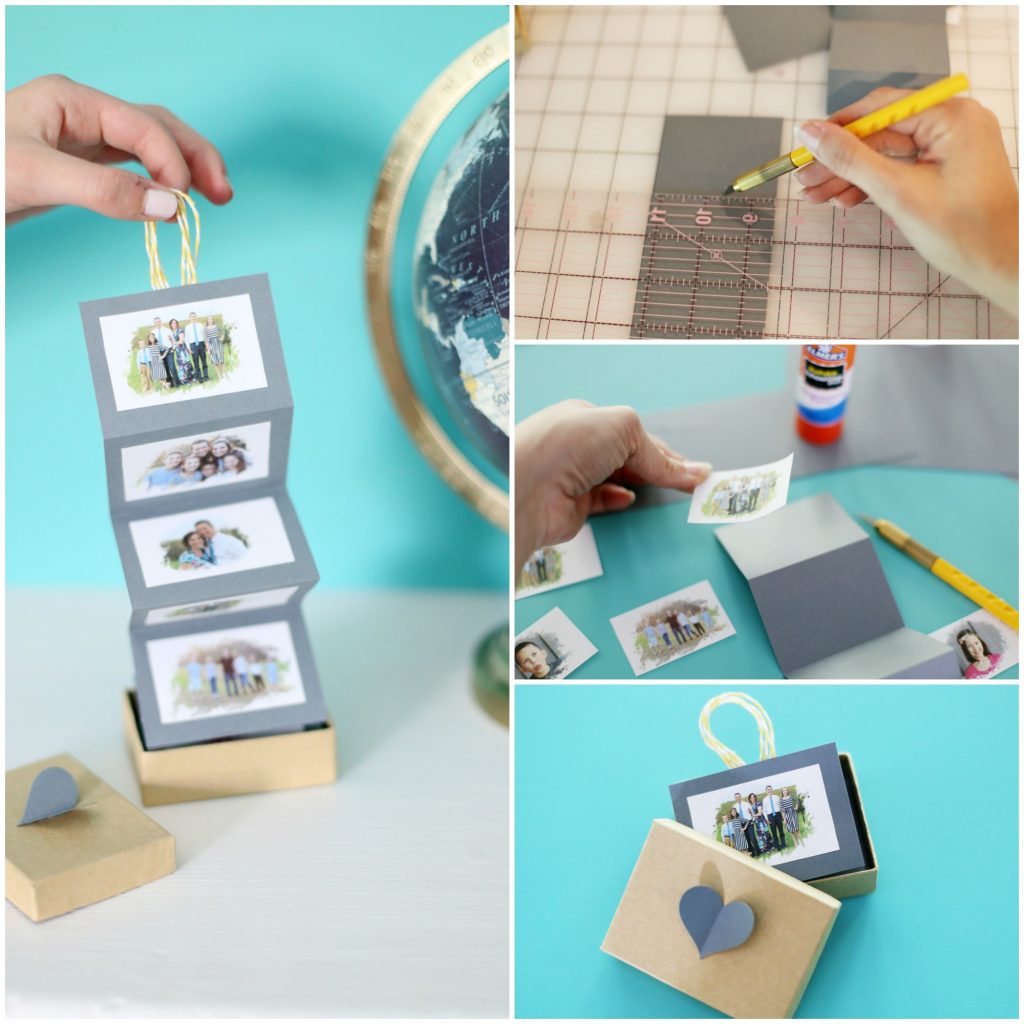
For the photo box, cut a couple strips of cardstock wide enough to fit the width of the box. Mine was 3 inches wide.
Then you’re going to score the creases in it according to box size as well. Mine were every 2 inches, and I used the back of the exacto knife, so it didn’t cut all the way through, it just scored it.
Keep going, alernating the creases on the front or back side, to give the accordion fold:
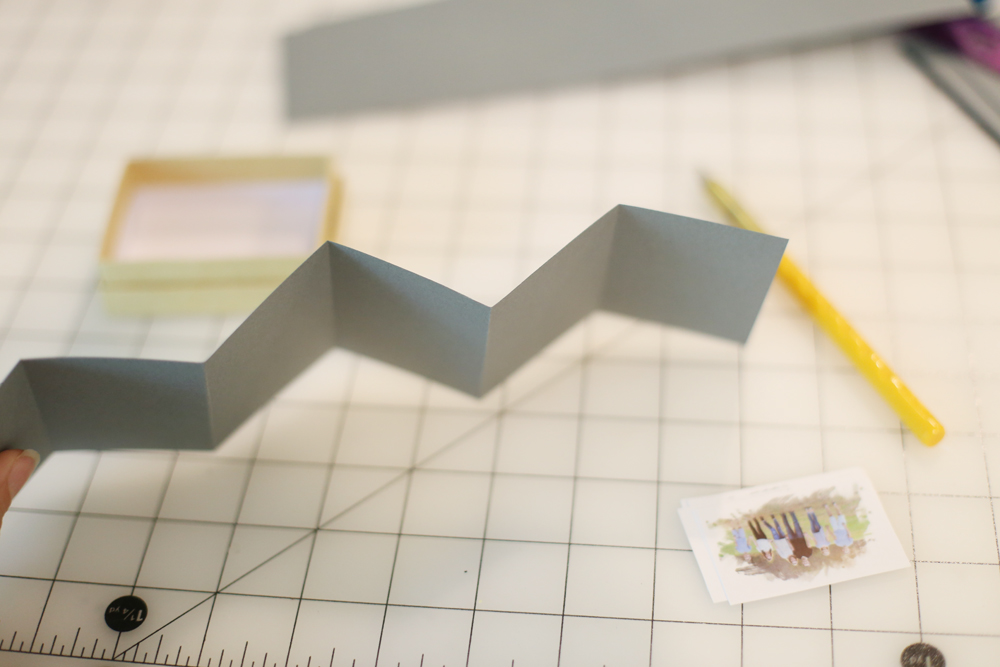
And then at the end you can glue two strips together to make one long photo strip:
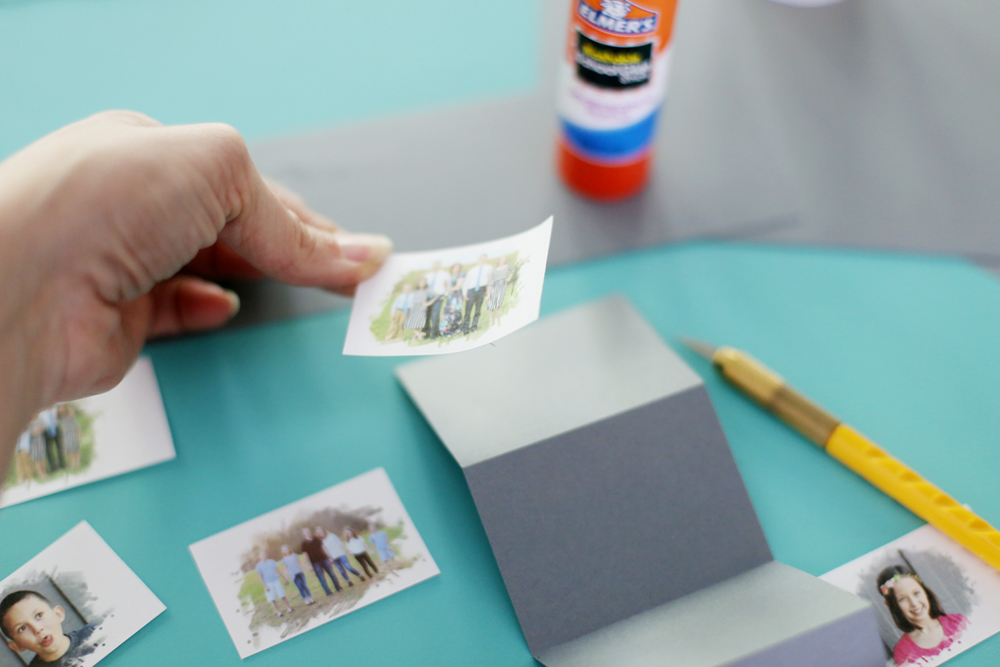
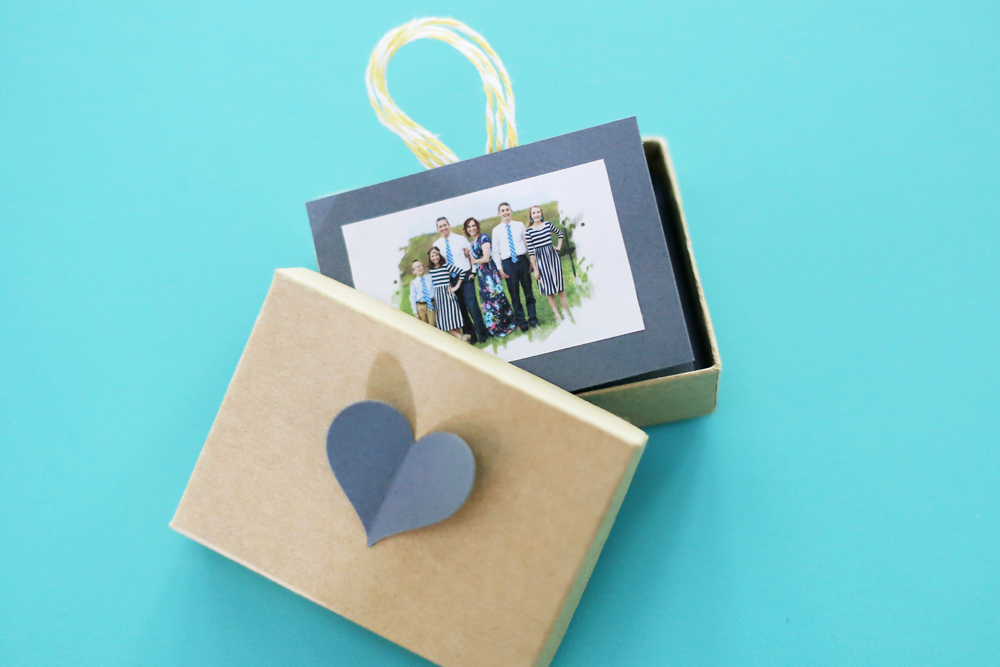
To attach the photos, I just simply used a glue stick. Center each photo onto each folded section. Keep all photos on the front of the strip.
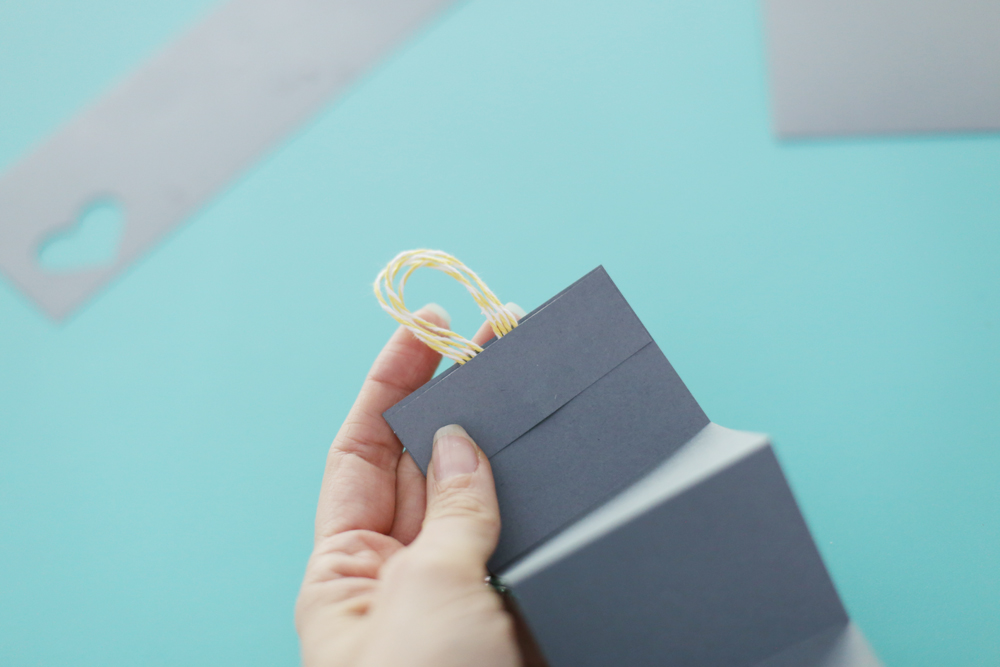
I attached a pull loop to the back of the top using hot glue:
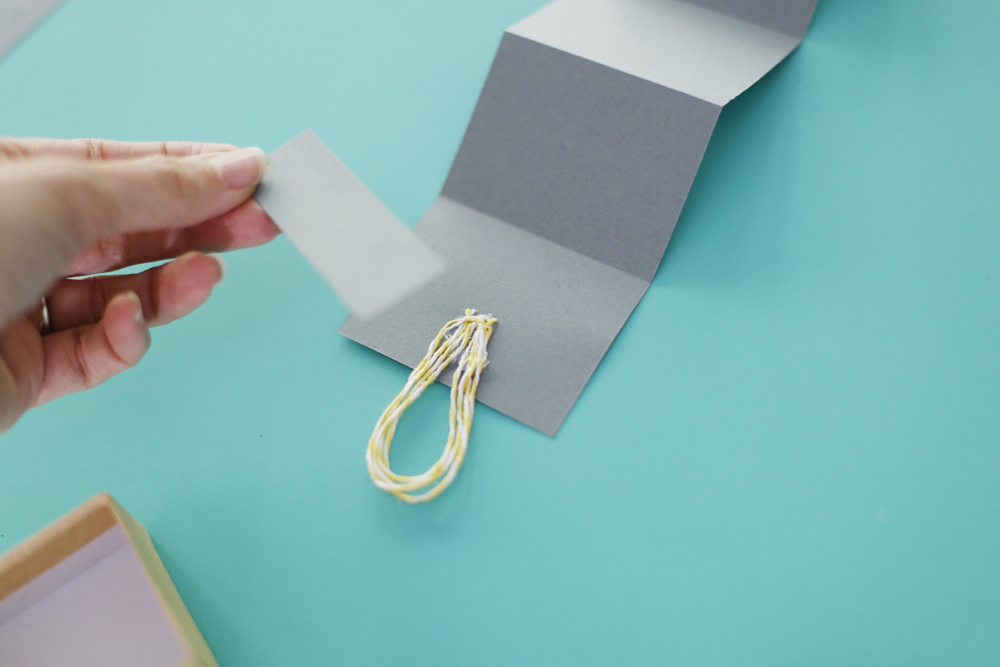
And then I used a scrap piece of paper to cover up the glue section so it looks a little nicer:
To prepare the box, I just punched a heart out of scrap paper, folded it in half, and then glued the fold line down on the lid of the box.
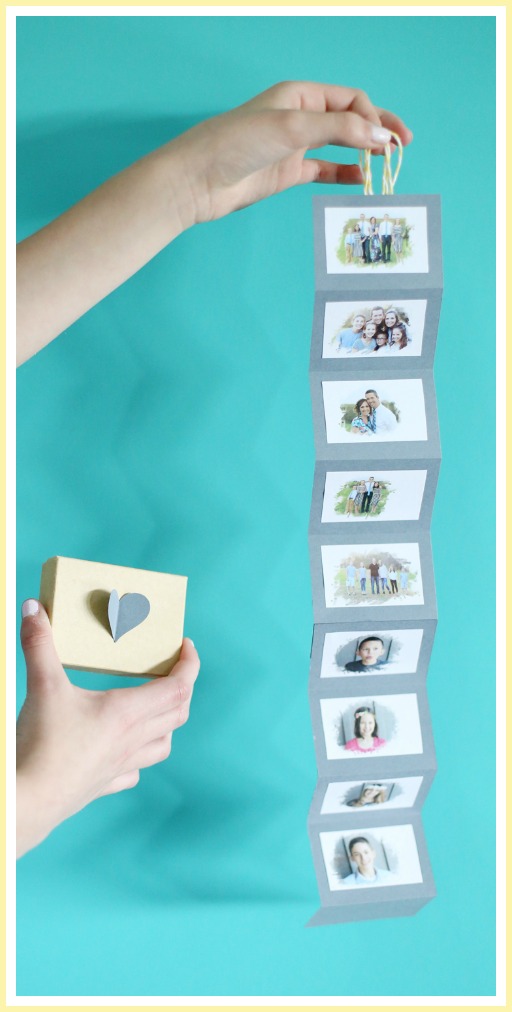
Finally you just fold it into a pile and put it in the box with the loop on top – ready to give!! My kids really loved this project and I need to make one for each of them!
This is so cute and fun! And we have the same globe!
Chelsea @ Life With My Littles recently posted…Tips for Organizing Baby’s Closet
Hey! This is soo pretty, I love it. And it wouldn’t be complete without a beautiful box. Can you link to a tutorial on how to make this kind of box from paper. Please, that would be really helpful!
sorry, I just had this box in my pile of things just in case I might need it one day 😉
WOW nice photo box, Thank you so much for share your amazing photo box blog.
Thank you so much for share your amazing photo views
Did you print the pictures at home? Would I be able to print them at a store? Can the pictures created in photo shop elements be saved to my computer?
I printed them at home, but you can print them at a store as well, either way will work! and yep, you can save them to your computer.
Hi – I was going to make several of these from my wedding pictures, did you use photo paper?
Hi, I was going to do a lot of these things from my wedding photos, did you use photo paper?
Olivai Emily recently posted…5 DIY Garden Tool Storage Organizer Ideas
I used regular paper, but photo paper should work great too
Hi, Such nice ideas thanks for sharing. i want to make this.
Olivai Emily recently posted…5 DIY Garden Tool Storage Organizer Ideas